Categories
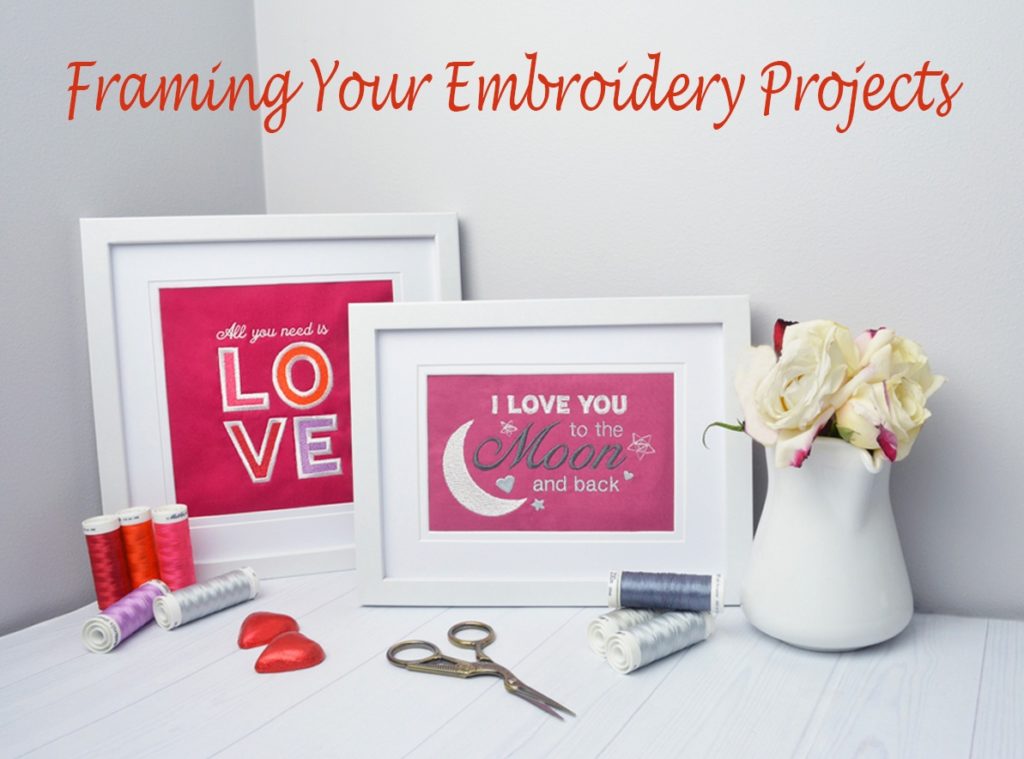
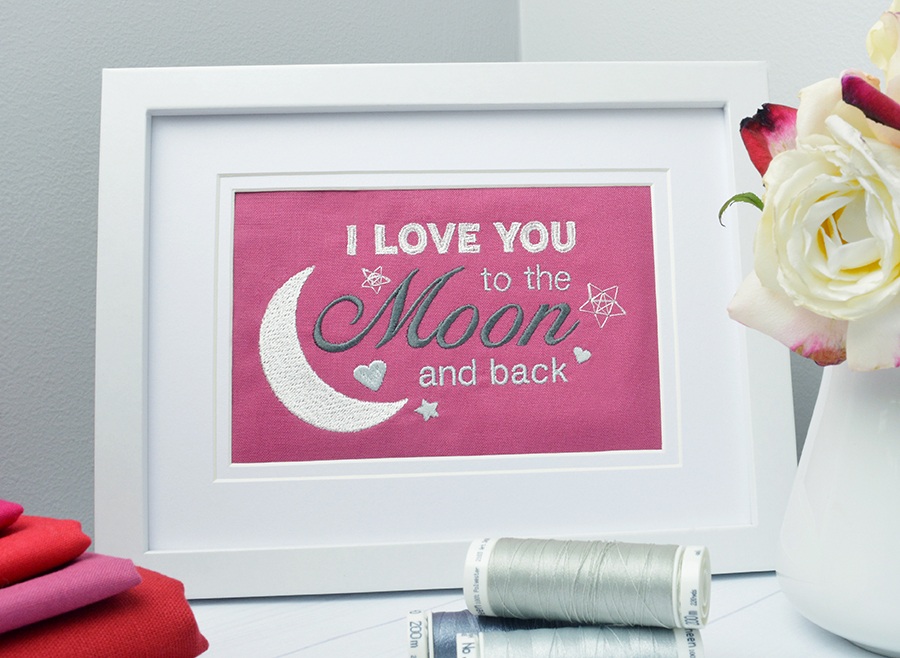
Frame and Display Your Machine Embroidery Designs!
Hatch
Blog | How to
March 15th, 2016
4 minute read
Why not show off your hard work?

Once you have completed your design projects, what better way to really appreciate your work than to frame and display your machine embroidery designs! It is a fantastic way to really round up a project you have been working on or have been meaning to finish for some time. Not only does the finished product add a beautiful and personal touch to your home, each project is a great way to motivate yourself to complete the piece.
Your framed designs make fantastic decorations for the home and are a great talking point for when guests are over! They also make original, meaningful gifts.
Read on to learn about two quick and easy ways to frame and display your embroidery projects.
Using Hand Embroidery Hoops
Using a hoop to frame and display your embroidery is a unique way to polish off a project! You can hang the hoops on the wall same way as a picture, or stick them on with a bit of blue-Tack.

You can even create a feature wall by hanging up a whole lot of frames the way homegirllondon.com did.

What you will need:
- a standard embroidery hoop (both parts)
- card stock or cork backing
- thread
- fabric glue or double-sided tape
- the artwork stitched onto your fabric.
Getting started:
- Simply place your smaller inner hoop over your backing or cork and trace out a circular backing.
- Glue the backing to the hoop, creating a petri-dish like item.
- Place your embroidery over the open side of the hoop leaving about an inch of fabric hanging over the edges.
- Place the larger hoop over the embroidered fabric that is covering the smaller hoop as seen below.
- Flip your creation over and tuck the excess material underneath to neaten up your design.
- You can glue this down to your backing to tidy everything up.
- Once you’re done this can be hung up on a wall or displayed via a stand on a flat surface. Easy!
Using Photo Frames
Framing your artwork traditionally takes a few additional steps (even more if you are the complete artsy type and want to make the frame yourself!).
First thing to do is prepare your artwork. You have finished creating and printing your design, but is it ready to be framed? Does it need to be washed or ironed or trimmed down? When ironing, iron all the areas except for the actual stitches. When trimming your fabric, make sure you do not take too much off as the fabric should still be larger than the frame it will be in.

Make all the necessary preparations for your piece according to the frame you chose before you get started.
What you will need:
- a frame
- foam backing/core
- a ruler
- scissors and/or scalpel
- pins and/or glue
Getting Started:
- Once your embroidery has been prepared you can move onto the actual frame.
- One of the main things to keep in mind is that you do not want your embroidery to be touching the glass. Embroidery is very rarely flat unlike painted or photographed pictures. Having the piece touching the glass can distort or damage your work not to mention shift your embroidery around and ruin the polished effect of your final product. To prevent this, attach your embroidery securely to your backing and then place the backing into the frame.
- With your backing facing towards you, wrap your embroidered design over it with the sides tucked and pinned neatly underneath. Make sure everything is attached properly and place your foam into the frame. Replace the back of it and you are done!
- Much of framing your embroidery is about preparation and measurements. After this it is simply about pinning your design onto the backing and placing it into its frame.
Hatch Embroidery software is the fastest-growing embroidery software used in over 100 countries. It is time to join this global trend and give Hatch Embroidery a try! The 30-Day Free Trial gives you unlimited use of all the amazing features, and the 30-Day Money Back Guarantee ensures that there is absolutely no risk involved.
Related Articles
Fun DIY Projects for You to Try with Hatch Embroidery!
3 minute read
March 2nd, 2016
There's More to Embroidery Hoops than You Think! Hand-embroidery hoops are a great item to have around when... more »
Introducing the Applique Tool in Hatch Embroidery Digitizer
4 minute read
March 2nd, 2016
Did you know that Hatch Embroidery Digitizer now includes an appliqué function?Now Hatch... more »
Behind the Scenes of EmbroideryOnline with OESD
5 minute read
March 30th, 2016
Let's go behind the scenes of EmbroideryOnline with OESDA. Provider of high-quality designs and... more »
Taking the Guesswork out of Monogram Placement
4 minute read
February 22nd, 2016
If you look around, you will always find monograms somewhere. I was wondering how monograms came... more »


