


Categories
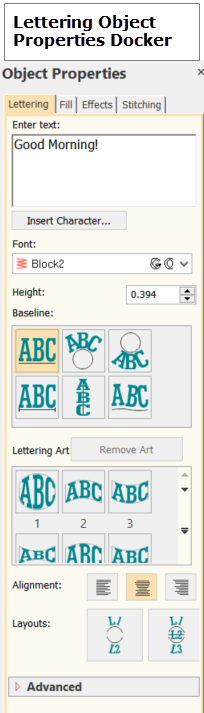
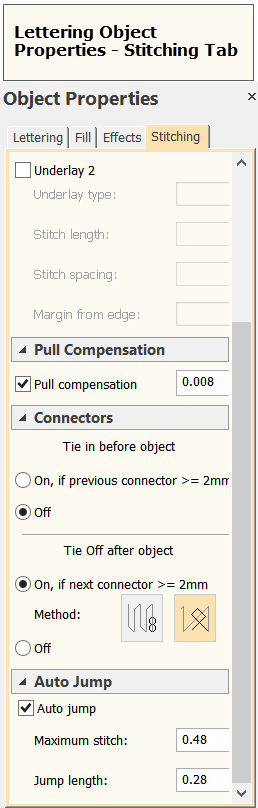
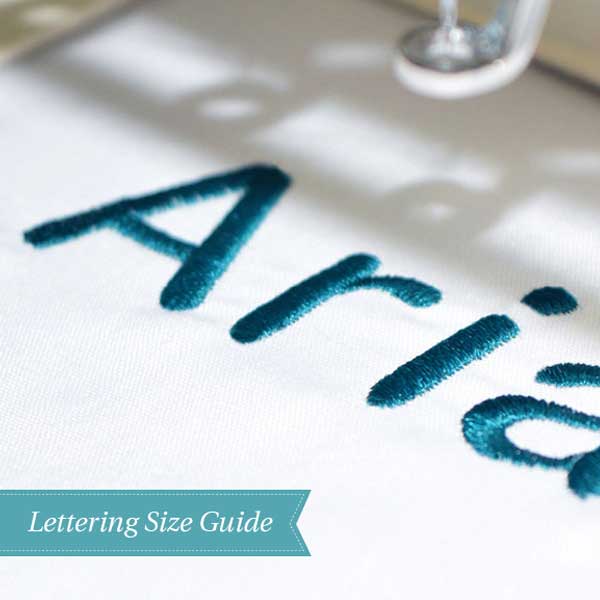
How to Customize your Lettering in Hatch Embroidery
![]()
Hatch Embroidery software is the fastest-growing embroidery software used in over 100 countries. It is time to join this global trend and give Hatch Embroidery a try! The 30-Day Free Trial gives you unlimited use of all the amazing features, and the 30-Day Money Back Guarantee ensures that there is absolutely no risk involved.
 |
 |
 |
 |
Hatch Academy over 200 FREE Lessons |
30-Day FREE Trial all the tools & features |
Money-Back Guarantee ease of mind |
FlexPay monthly installments |
Related Articles
Unlock Creative Lettering with Hatch Embroidery
Imagine a world where your embroidery projects are not just stitched but tell a story with every letter.... more »
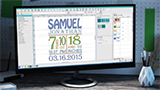
Choosing the Right Size Embroidery Lettering for your Project
Wilcom is known as the world-class leader in embroidery lettering. Hatch Embroidery allows hobbyists to... more »
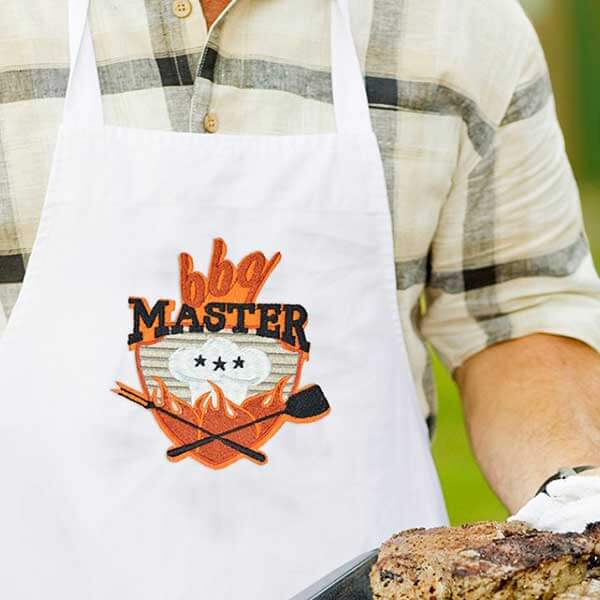
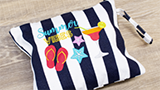
FREE Embroidery Design & Other DIY Gift Ideas For Father’s Day
Spoil Dad this Father’s Day and gift him something to thank him for being the best! We included a... more »
![]()
Learn all about Embroidery Mill, a UK Hatch Embroidery Design Partner!
Embroidery Mill, a UK-based digitizing company is celebrating their 40th anniversary this year and we recently... more »