


Categories
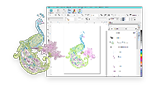
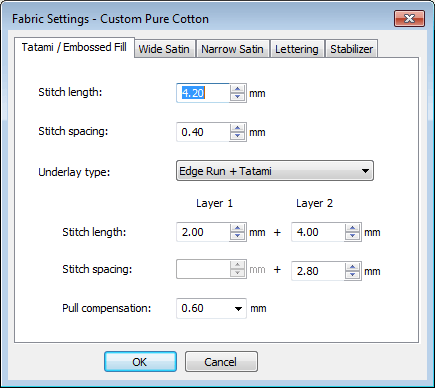
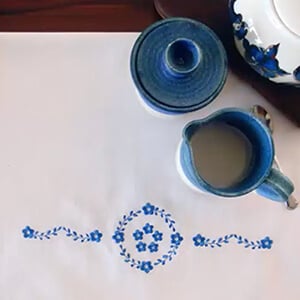
How to Use Auto Fabric or Create Your Own Custom Fabric Settings
![]()
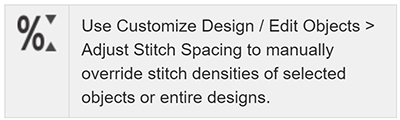
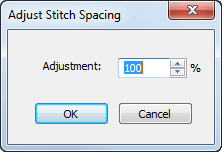
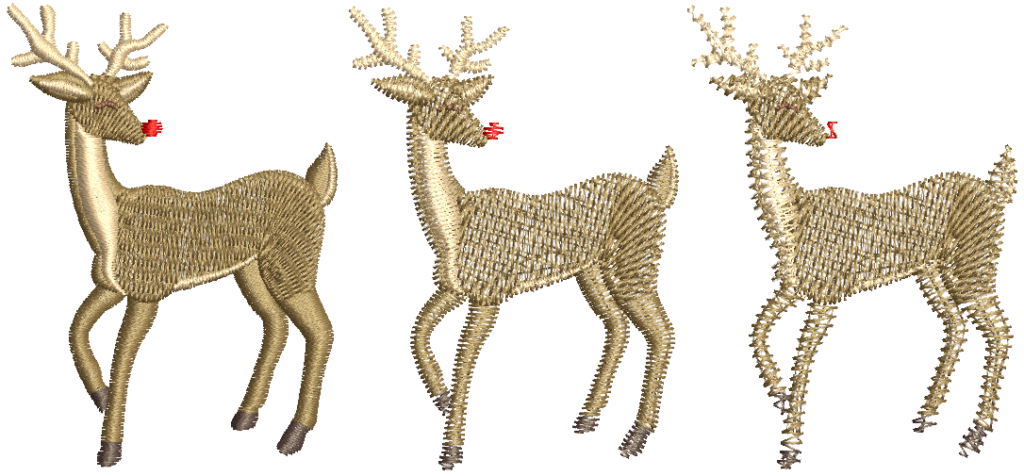
Hope this article gave you a good understanding on how to select the correct fabric setting for your machine embroidery projects to achieve the best possible stitch out results every time. It also showed you how you can adjust the settings in case you need to or change the stitch density of your design.
Happy Embroidery!
Bernadett and the Hatch Team
Hatch Embroidery software products are in popular use in over 100 countries. It is time to join the global trend and give Hatch a try! The 30-day Free Trial grants you unlimited use of all the amazing features and the 30-day Money Back Guarantee ensures that there is absolutely no risk involved.
 |
 |
 |
Related Articles
Multi-Hooping Large Designs with Hatch Embroidery
If your embroidery is too large or contains a number of designs spaced around an article, you can use... more »

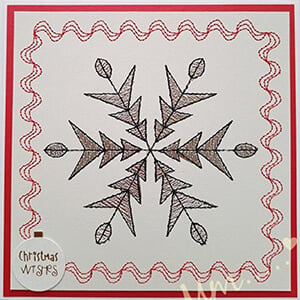
Hatch Embroidery Christmas Collection
December has finally arrived, so we collated our favorite Winter themed machine embroidery projects. These... more »
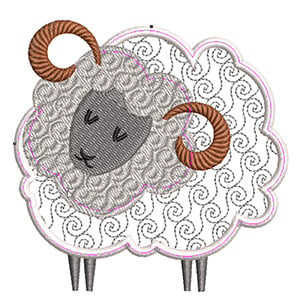
Christmas Presents from the Hatch Family
If you are stuck for decoration, cards or handy last-minute gifts, these beautiful Christmas machine... more »
Exporting Your Designs to SVG Files
Do you love appliqué? The new ‘Export Cutting’ tool lets you export appliqué... more »