


Categories
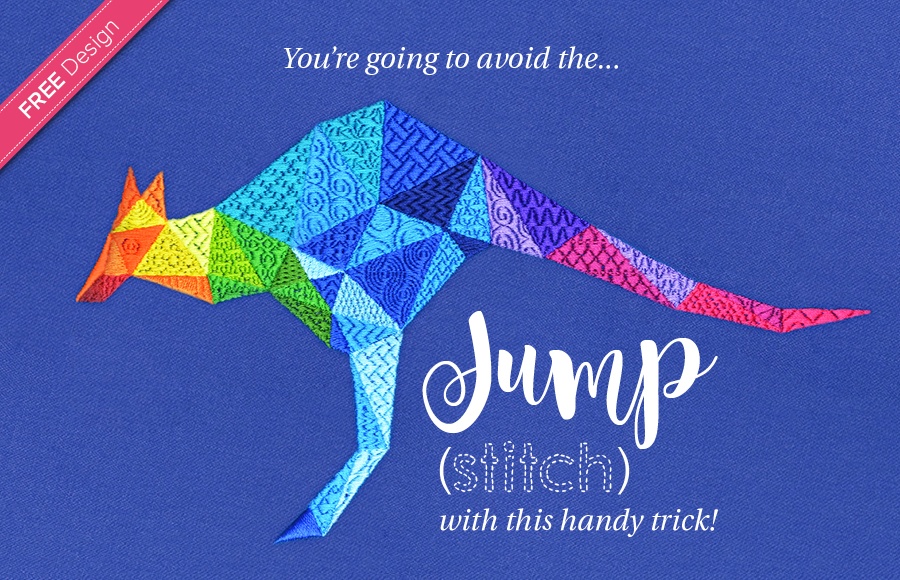
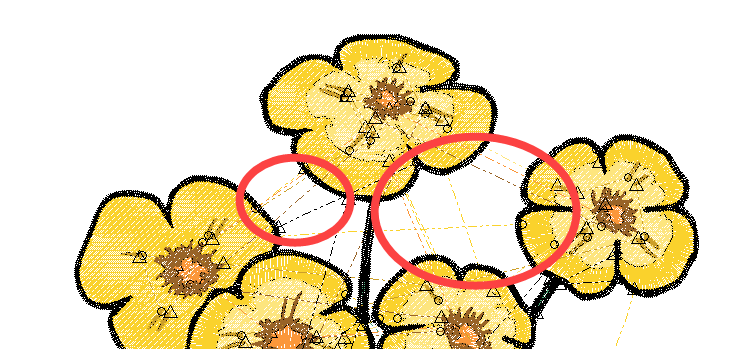
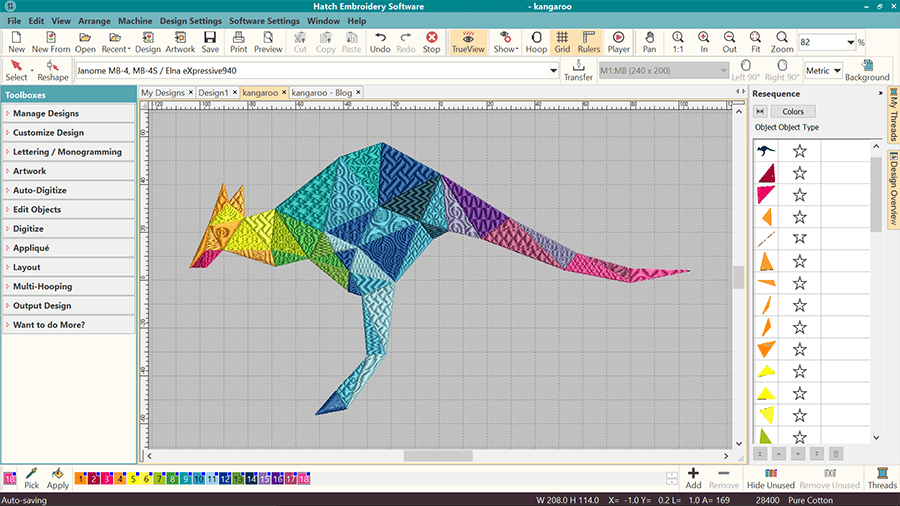
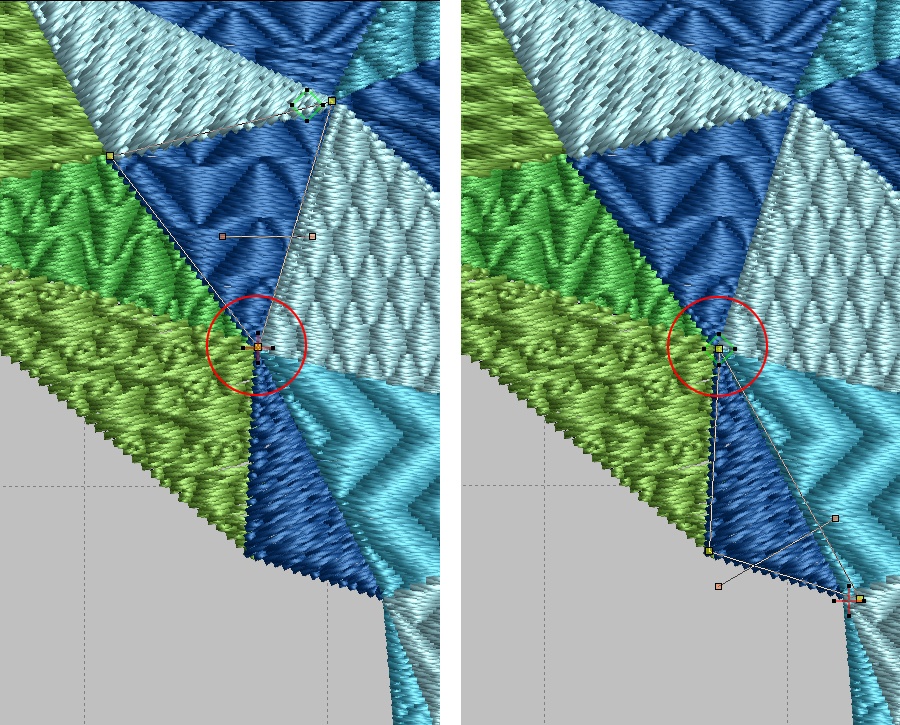
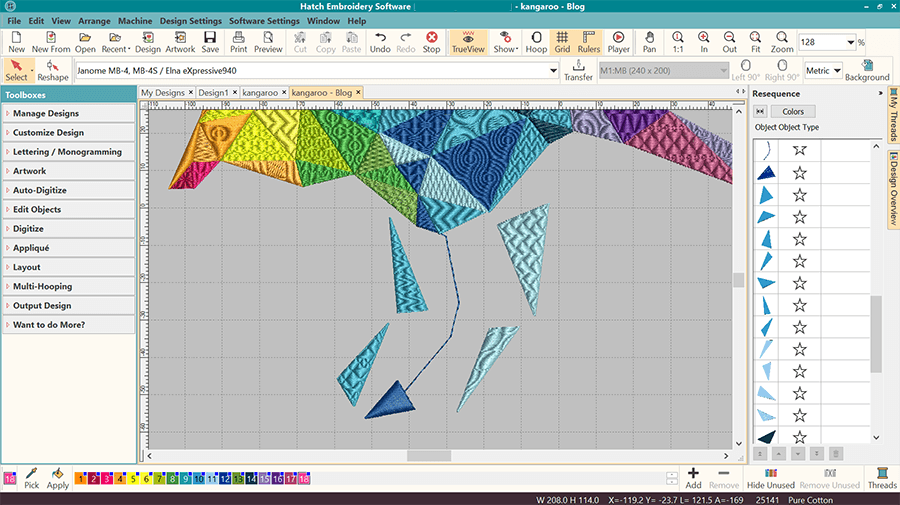
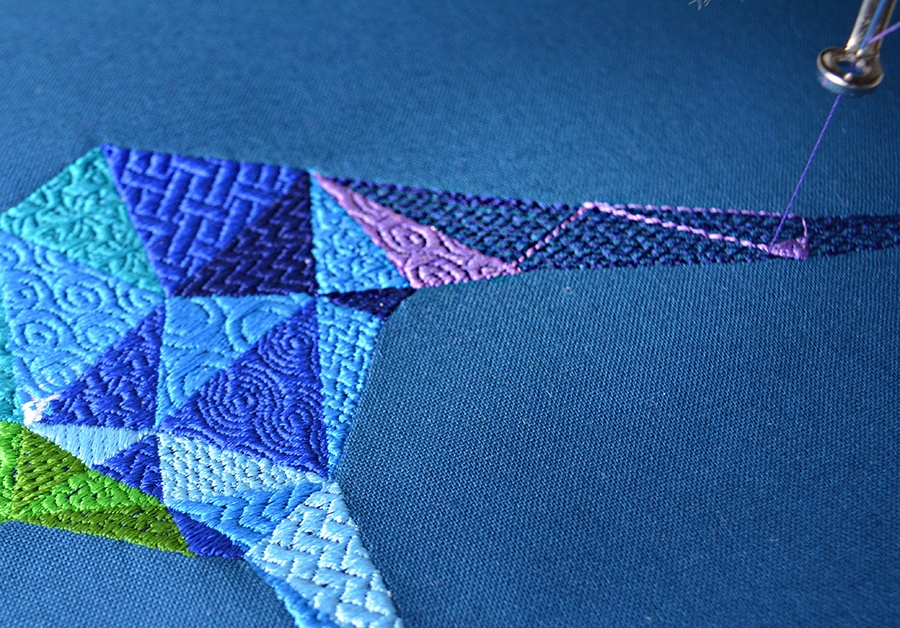
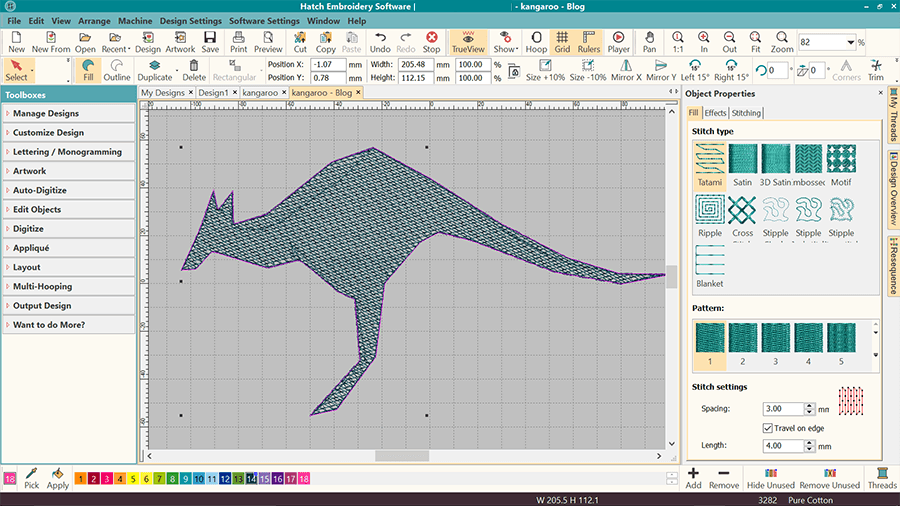
Avoid the JUMP! Kangaroo Free Design
![]()

Happy Embroidering!
Bernadett & The Hatch Team
The 30-Day Free Trial gives you unlimited use of all the amazing features and the 30-Day Money-Back Guarantee ensures that there is absolutely no risk involved.
Hatch Embroidery 30-Day Money-Back Guarantee:
At Hatch Embroidery, we understand the importance of confidence and satisfaction when investing in embroidery software. That's why we offer a 30-day money-back guarantee on all our software products. This guarantee allows customers to explore the features and capabilities of Hatch Embroidery software risk-free for a full month. If for any reason you're not completely satisfied with your purchase, you can request a refund within 30 days of the original purchase date.
Benefits for you:
Risk-Free Trial: The 30-day money-back guarantee provides you with a risk-free opportunity to try out Hatch Embroidery software. You can explore its features, experiment with designs, and evaluate its suitability for your needs without any financial risk.
Peace of Mind: Knowing that you have the option to request a refund within the specified timeframe provides you with peace of mind. You can make your purchase with confidence, knowing that if the software doesn't meet your expectations, you're covered by the money-back guarantee.
Flexibility: The money-back guarantee offers flexibility in your decision-making process. It removes any barriers or hesitations you may have about trying out the software, as you can easily request a refund if it doesn't meet your requirements.
Customer Satisfaction: By offering a generous return policy, we prioritize your satisfaction and aim to ensure that you and every customer have a positive experience with Hatch Embroidery software. Our commitment to customer satisfaction extends beyond the initial purchase, reinforcing our dedication to providing high-quality products and excellent service.
Overall, the Hatch Embroidery 30-Day Money-Back Guarantee is designed to empower you to make informed decisions and confidently invest in our software, knowing that your satisfaction is our top priority.
 |
 |
 |
Related Articles
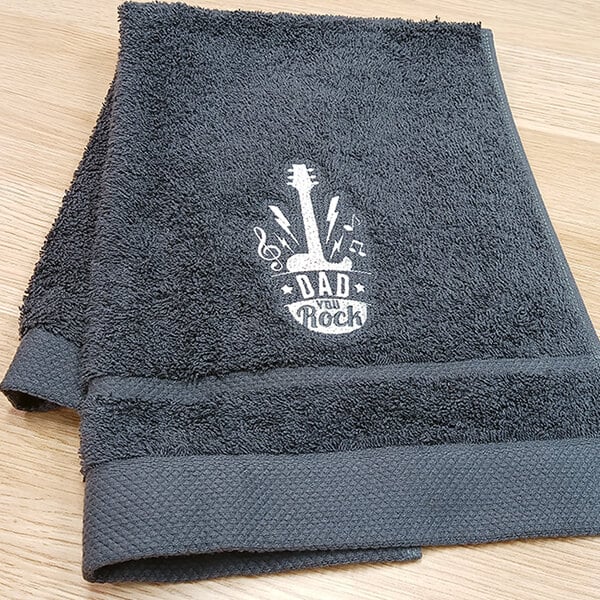
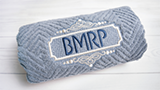
Top 10 Expert Tips for Successfully Embroidering on Towels
Terry toweling is a favorite among embroiderers because it’s easy to find, can be used in many... more »
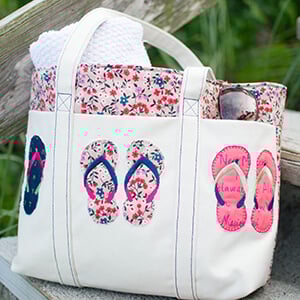
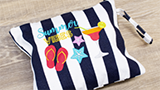
Summer Tote with Flip-Flops Appliqué – Instructions & FREE Design
Queen of craft Caroline Critchfield, is back as a guest blogger with a super cute tote bag design... more »
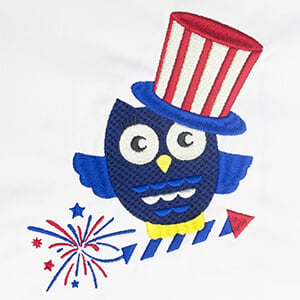
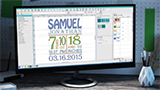
4th of July Patriotic Owl with Tutorial Videos & FREE Designs
In this week’s blog article we show you how to take an existing design and customize it with a... more »

Using Felt for Machine Embroidery
Felt is a fantastic versatile material with many uses. It is a very popular material among machine... more »