Categories
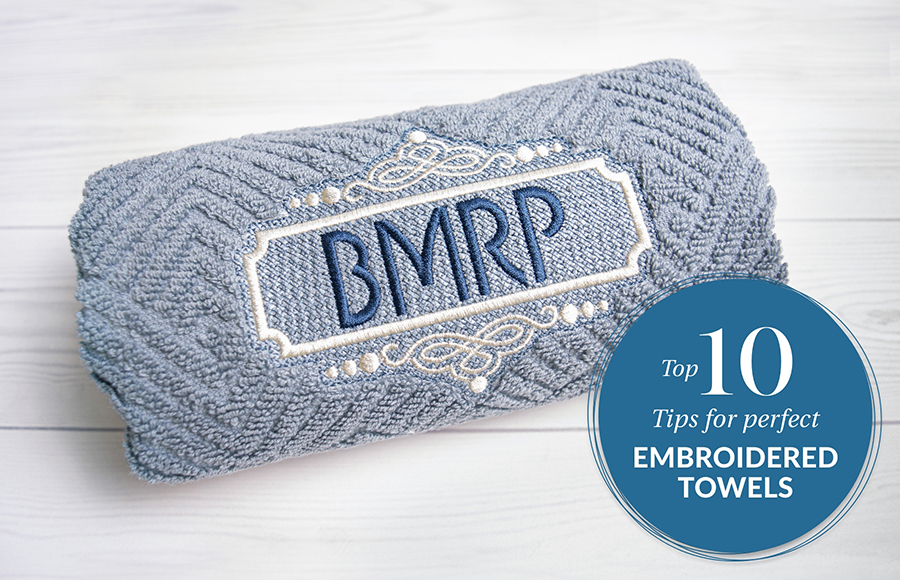
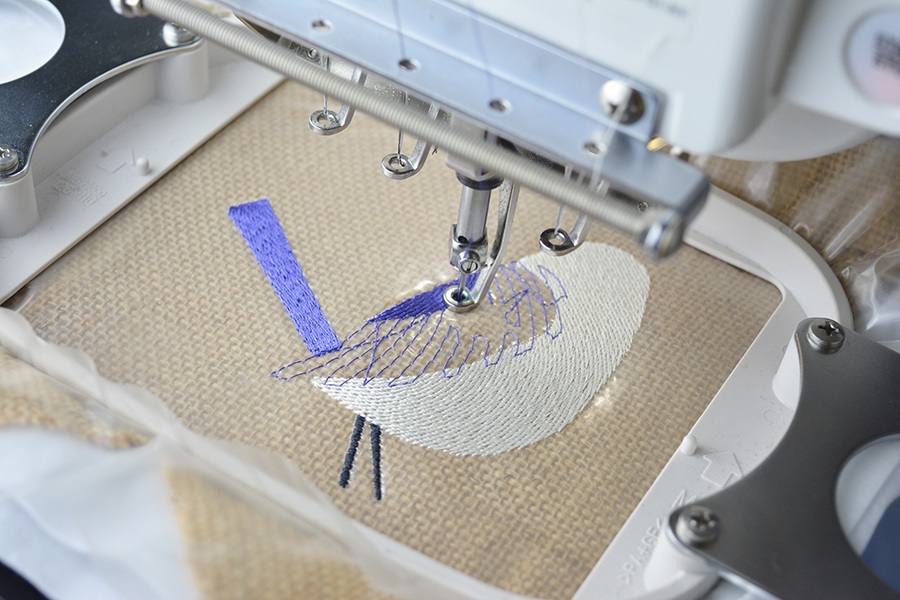
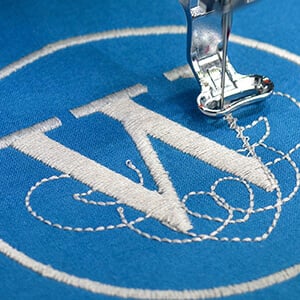
Top 10 Expert Tips for Successfully Embroidering on Towels
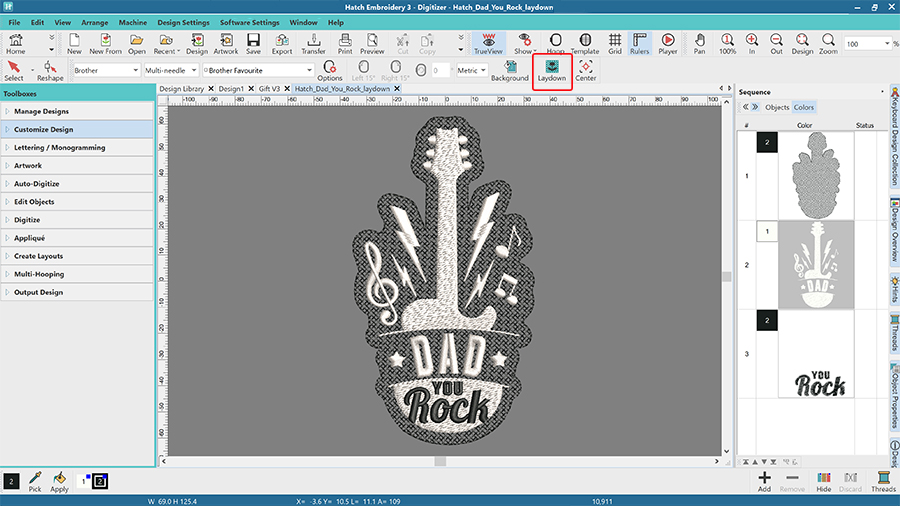
![]()

 |  |  |  |
| Hatch Academy over 500 FREE lessons for software owners | 30-Day FREE Trial all the tools & features | Money-Back Guarantee ease of mind | FlexPay monthly installments |
Related Articles

Avoid the JUMP! Kangaroo Free Design
Read how to reduce the number of jump stitches or eliminate them altogether! We all know how annoying it... more »
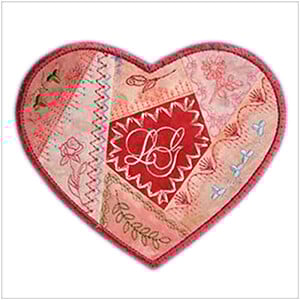
Crazy About Motifs – Video Tutorials & FREE Downloadables by Lindee Goodall
Learn about how to create an ITH Crazy Patch and new Motifs and then how to apply them The first time I... more »
Taking the Guesswork out of Monogram Placement
General rules and downloadable guide Monogram History If you look around, you will always find monograms... more »
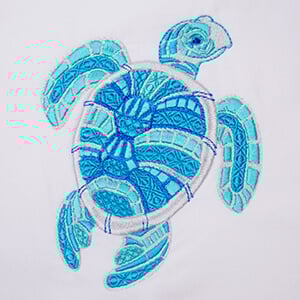
Elastic Embossed Fills & Color Variations on a Theme
Splash the Turtle is Making Waves - FREE Designs Elastic Embossed Fills Hatch Embroidery Digitizer comes... more »