


Categories
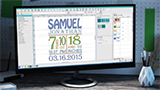
Digitizing Without Artwork is Easy With Hatch Embroidery
![]()


Hatch Embroidery software is the fastest-growing embroidery software used in over 100 countries. It is time to join this global trend and give Hatch Embroidery a try! The 30-Day Free Trial gives you unlimited use of all the amazing features, and the 30-Day Money Back Guarantee ensures that there is absolutely no risk involved.
 |
 |
 |
 |
Hatch Academy over 200 FREE Lessons |
30-Day FREE Trial all the tools & features |
Money-Back Guarantee ease of mind |
FlexPay monthly installments |
Related Articles

Ribbon Project with FREE Instructions and Embroidery Design
Nothing says team spirit like customized team clothing and accessories. Cheerleaders, students, and fans of... more »
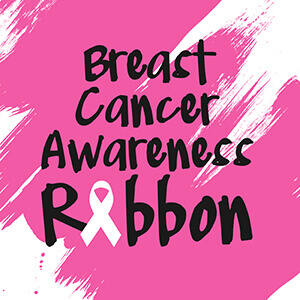
FREE Breast Cancer Awareness Ribbon Designs with Hatch
Did you know that breast cancer is the most common cancer and the second leading cause of cancer death... more »
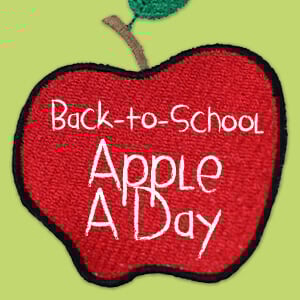
Apple-A-Day Video Series and FREE Designs
Everyone is back to school by now. The most often used back-to-school icon is the apple. So we created a... more »
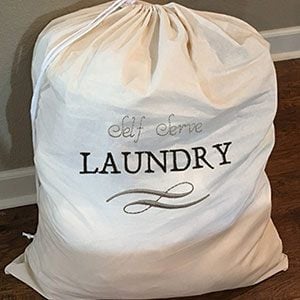
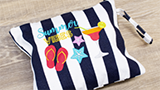
FREE Back-To-School Laundry Bag Project and Designs
It’s back-to-school time not only for the kids but for that special college student too. Help them keep... more »