


Categories
Creating Simple Monograms in Hatch Embroidery Software – FREE Monogram Design
![]()

FAQs
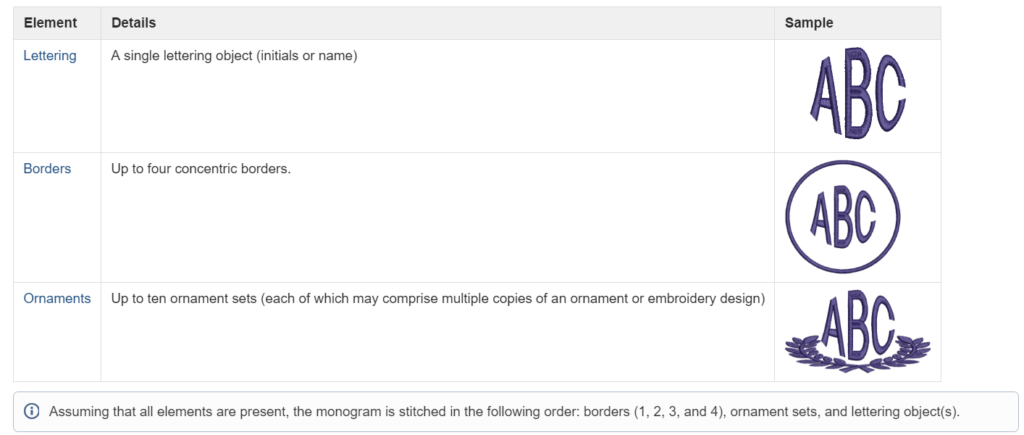
What’s the difference between using Lettering and the Monogramming tool in Hatch Embroidery?
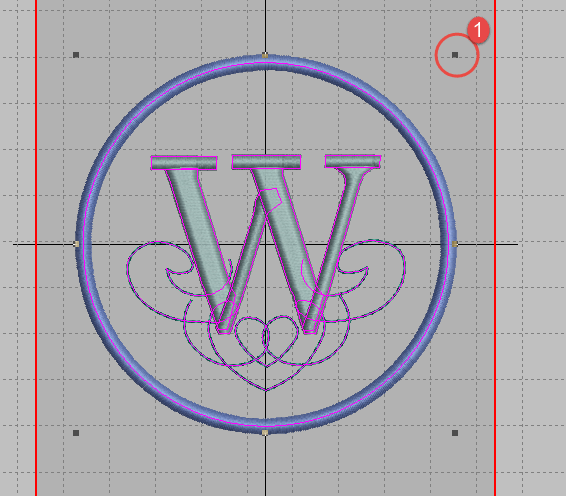
While both tools allow you to create text-based designs, the Monogramming tool is specially designed for creating professional, decorative monograms quickly. It provides ready-to-use templates with artistic layouts, flourishes, and borders, while the Lettering tool is more freeform and ideal for standard text or custom layouts.
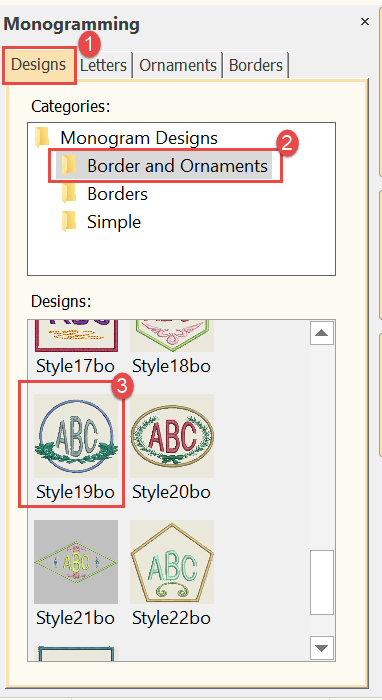
Can I customize the style and layout of my monogram?
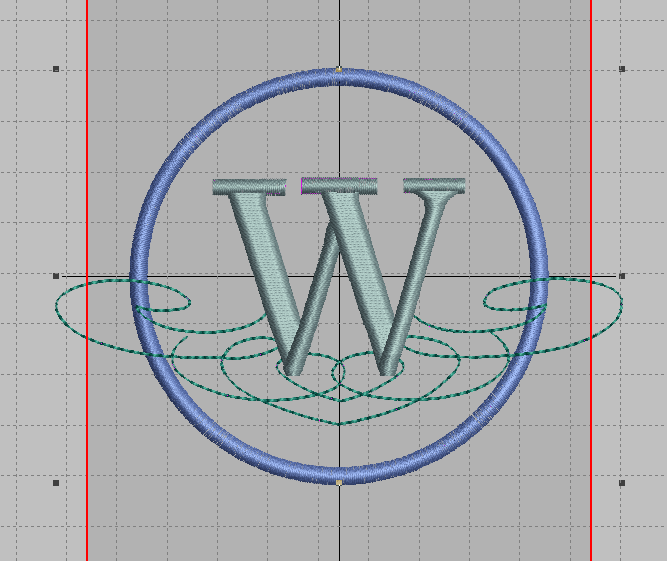
Absolutely! Hatch Embroidery offers multiple monogram templates with stylized arrangements like circular, diamond, and stacked formats. You can edit the font, size, letter spacing, and choose from built-in borders and flourishes to match your design style.
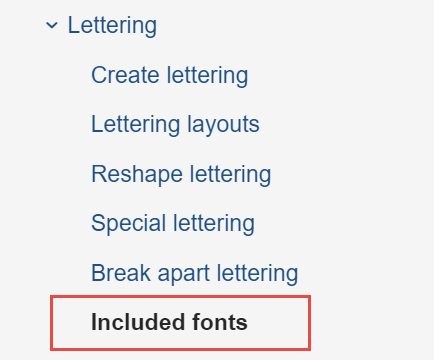
What types of fonts work best for monogramming in Hatch?
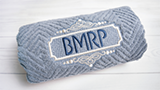
Monograms typically look best with decorative or serif fonts. Hatch includes a library of embroidery-optimized fonts, many of which are ideal for monogramming. Some users prefer classic styles like Roman, Script, or Victorian fonts for elegance and readability.
How do I add a monogram to a quilt block or applique design?
You can combine the Monogramming tool with Ambience Quilting or Appliqué tools to create beautiful quilt blocks or in-the-hoop decorations. This is a great way to personalize quilts, towels, and gifts. The Hatch Academy project Hatching a Quilt – Monogram Block is a great tutorial for learning this process step-by-step.
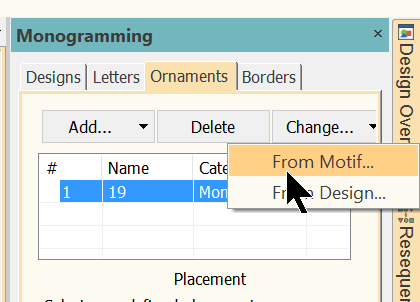
Can I break apart monogram components to edit individual letters?
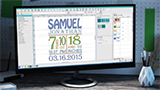
Yes! Once you've created a monogram using the template, you can use the Break Apart feature to separate the design into editable objects. This allows you to fine-tune each letter or element individually, perfect for advanced customizations.
Related Articles

Monogramming - A Profitable Path for Home Businesses
Monogramming has long been a staple of the embroidery world, offering a timeless way to personalize everyday... more »
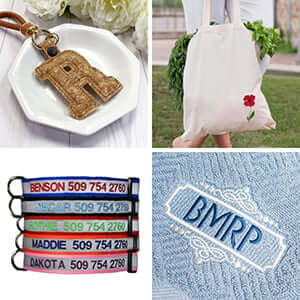
The Top 6 Best-Selling Embroidered Items for Home Businesses
Starting an embroidery business from home can feel overwhelming at first. What products should you focus on?... more »
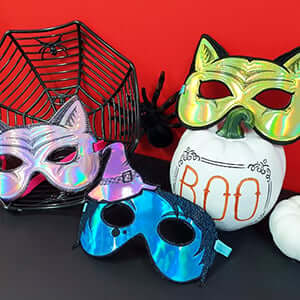
ITH Halloween Masks Project: Spooky Vinyl Masks with Hatch Embroidery
Halloween is the perfect excuse to get creative with your embroidery machine! This year, why not make your... more »
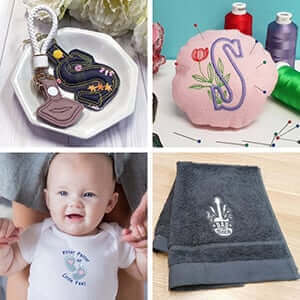
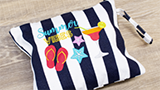
4x4 Hoop: Top 10 Profitable Embroidery Design Ideas
Starting a home embroidery business doesn’t have to mean investing thousands of dollars in large,... more »