
 Hatch Embroidery Digitizer
 Hatch Embroidery Composer
 Hatch Embroidery Personalizer
 Hatch Embroidery Organizer

















Categories
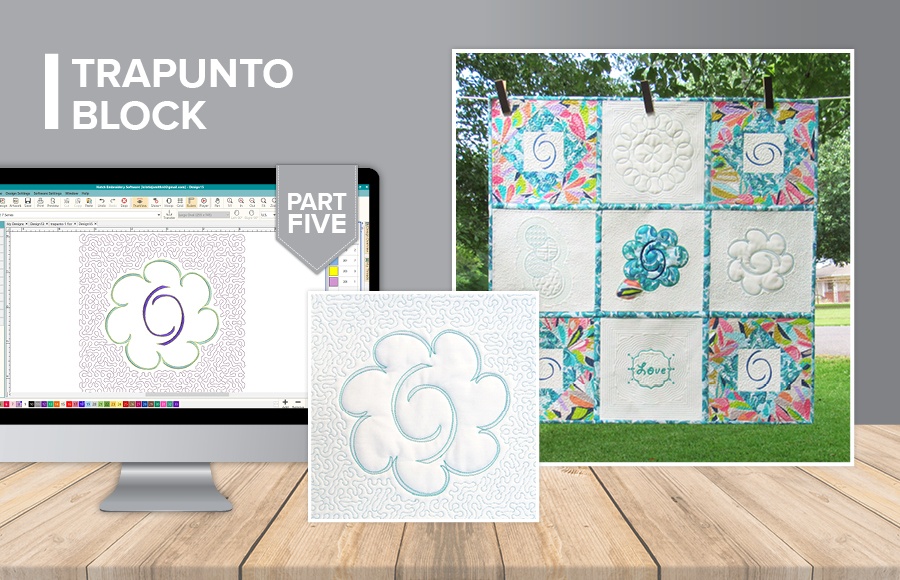
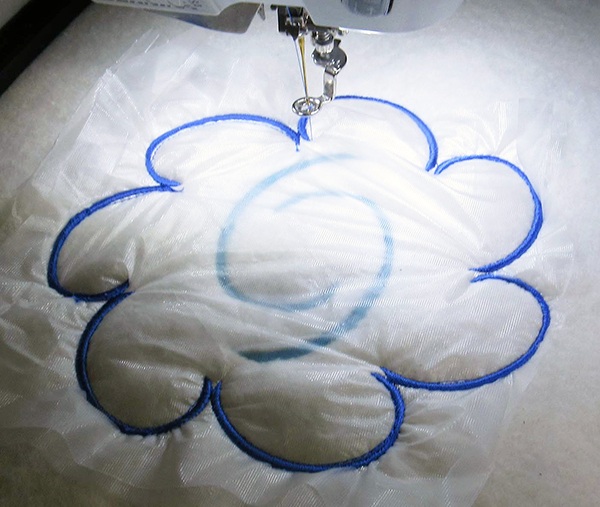
’Hatching’ a Quilt – Part 5 – Trapunto Block

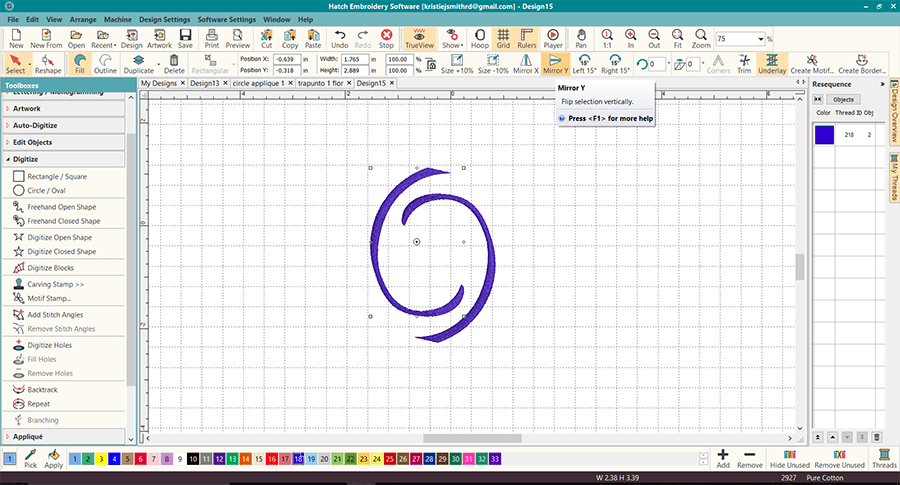
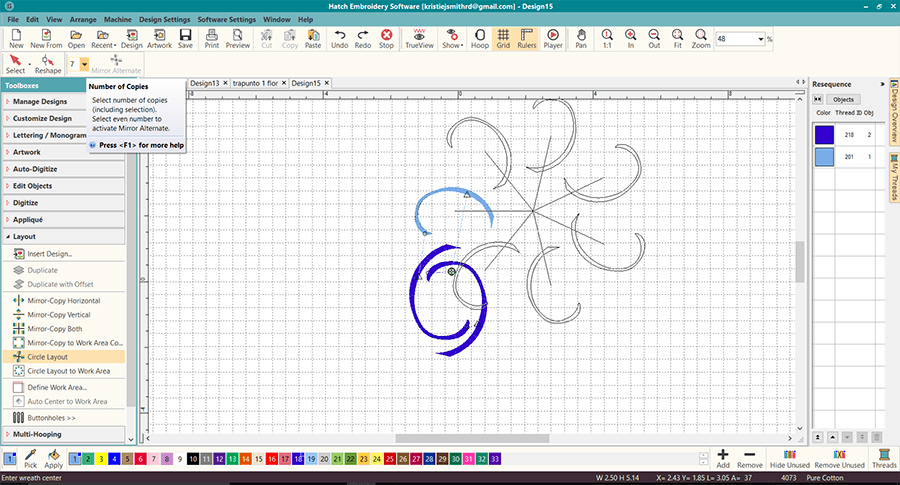
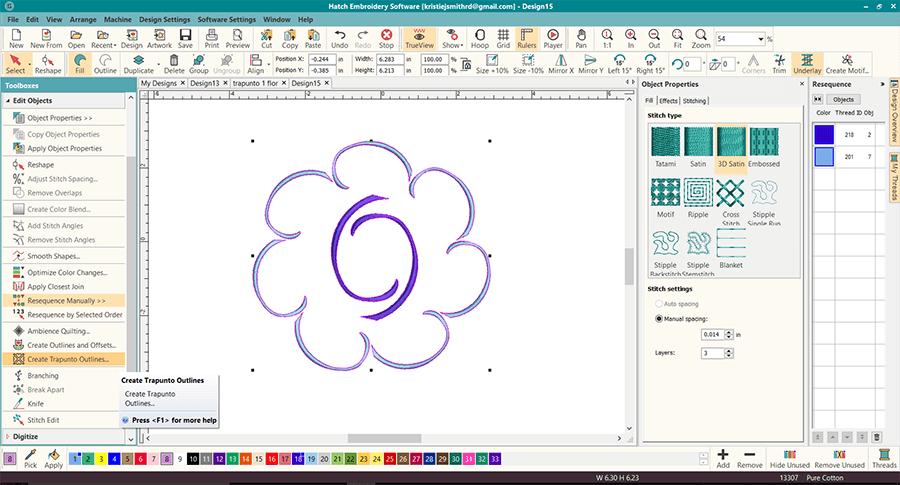
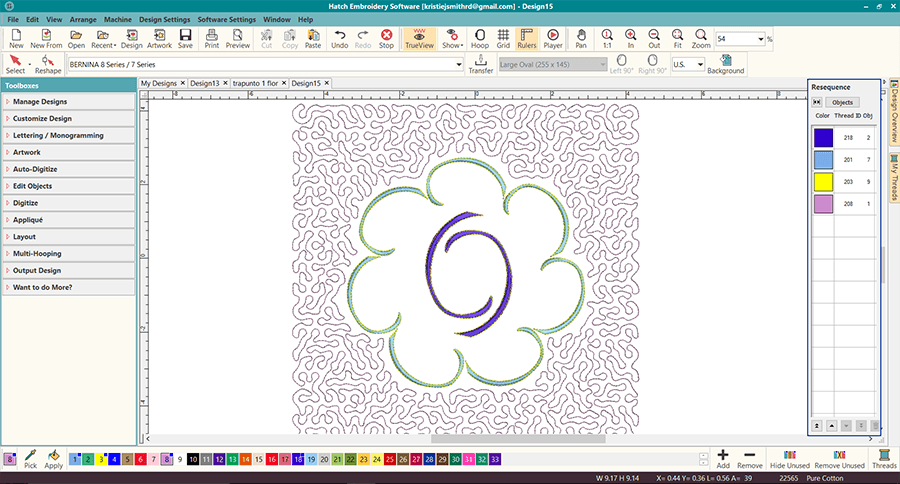


Kristie has been an educator, designer, business consultant, and sewist for over 20 years. She currently consults for the sewing industry, providing guidance on product development, writing articles, testing products, teaching, and creating marketing pieces.
 |
 |
 |
The definite choice when selecting embroidery software
Hatch Embroidery software is a comprehensive embroidery design solution that offers a range of tools and features for both beginners and seasoned embroiderers.
Here’s why it's a great choice:
- User-Friendly Interface: The software is designed with a user-friendly interface that makes it easy for anyone to start creating beautiful embroidery designs, regardless of their experience level.
- Powerful Editing Tools: It provides powerful editing tools that allow users to resize, edit, and adjust embroidery designs with precision. This is essential for businesses that need to customize designs according to specific customer requirements.
- Wide Range of Formats Supported: Hatch Embroidery supports a wide range of machine file formats, making it versatile for use with different embroidery machines. This flexibility is crucial for businesses operating with multiple machine types.
- Professional Quality: The software generates professional-quality stitches, ensuring that the end products are of high quality, which is vital for maintaining customer satisfaction and business reputation.
- Extensive Design Features: With features like auto-digitizing, lettering, monogramming, and even special effects, businesses can offer a wide range of embroidery services, increasing their market appeal and potential revenue streams.
- Regular Updates and Support: Hatch provides regular software updates and robust customer support, ensuring that businesses can always access the latest features and get help when needed.
Overall, Hatch Embroidery software equips you with the tools necessary to create stunning, high-quality embroidery designs efficiently and effectively, enhancing productivity and customer satisfaction.
Related Articles

’Hatching’ a Quilt – Part 6 – Perfectly Pieced Block & Assembling Your Quilt
It’s the last installment of the Hatching a Quilt tutorial series, ’Hatching’ a Quilt... more »
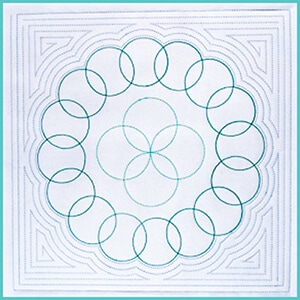
’Hatching’ a Quilt – Part 4 – Continuous Quilting Block
Wow, we are already on week 4 with ’Hatching’ a Quilt – Part 4 – Continuous... more »
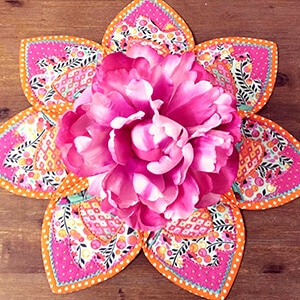
ITH Leaf Table Center by Allison Nash from Sweet Pea Machine Embroidery
Embroidery machines have long been used to embroider on existing articles such as towels, hats etc. This blog... more »
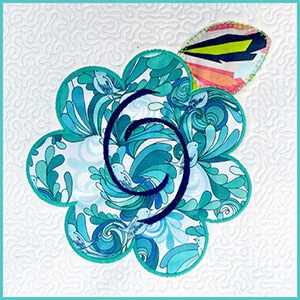
’Hatching’ a Quilt – Part 3 – Appliqué Block
It’s week 3 of “Hatching a Quilt” tutorial series with ’Hatching’ a Quilt... more »