


Categories
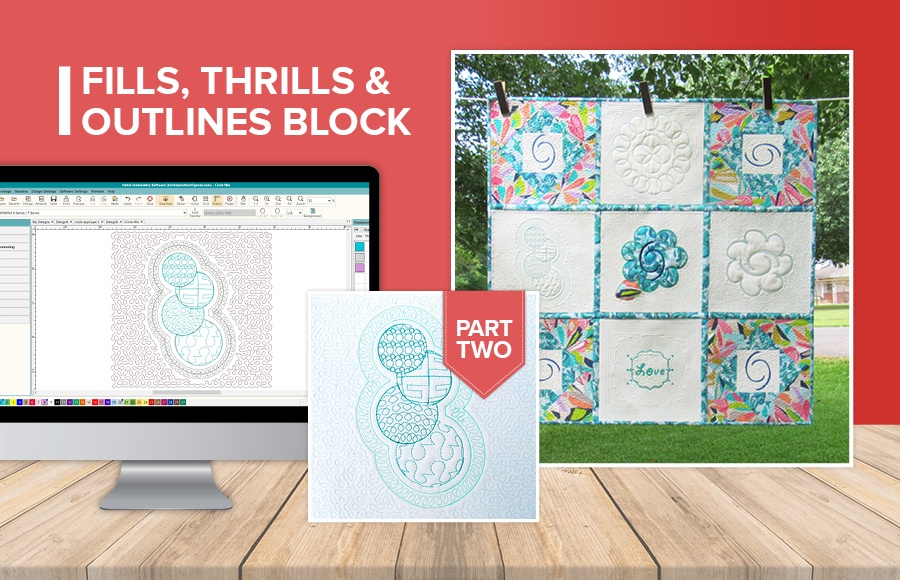
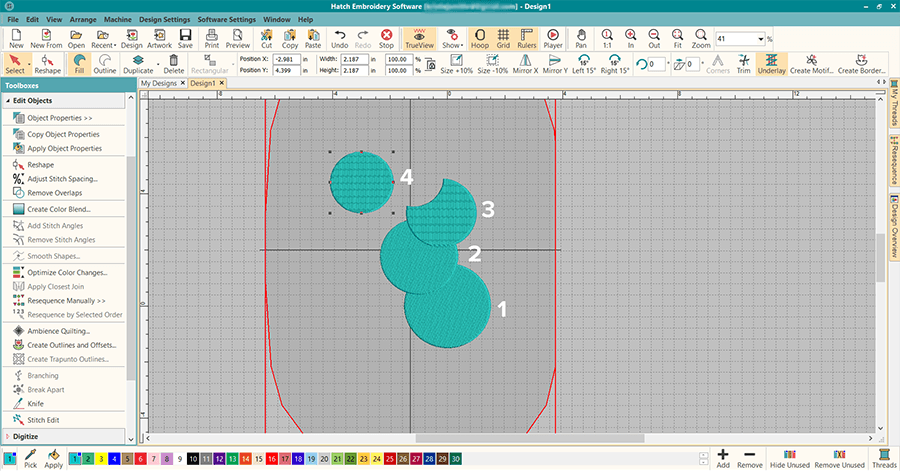
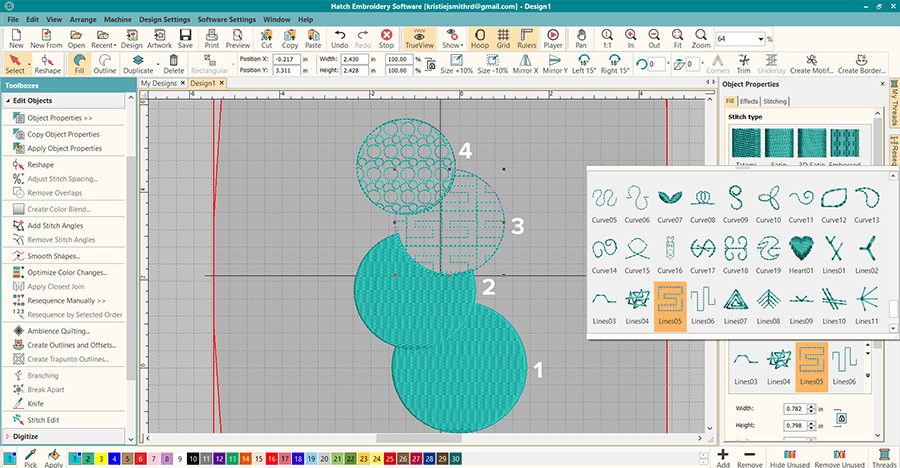
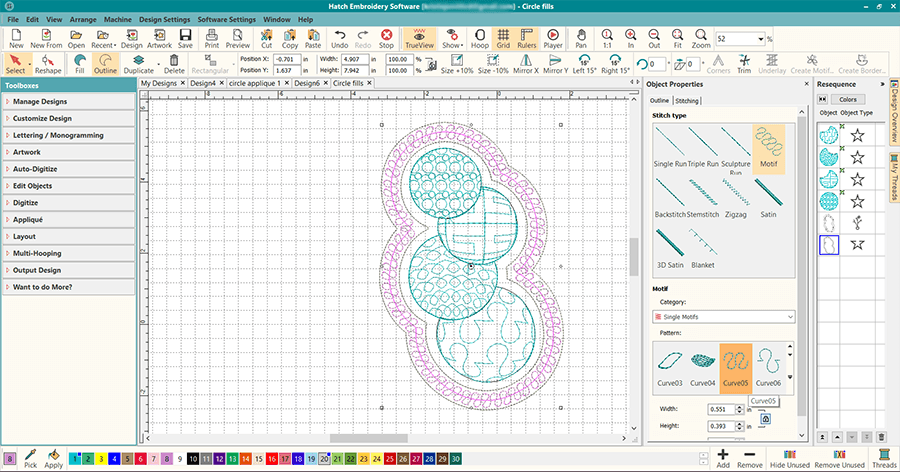
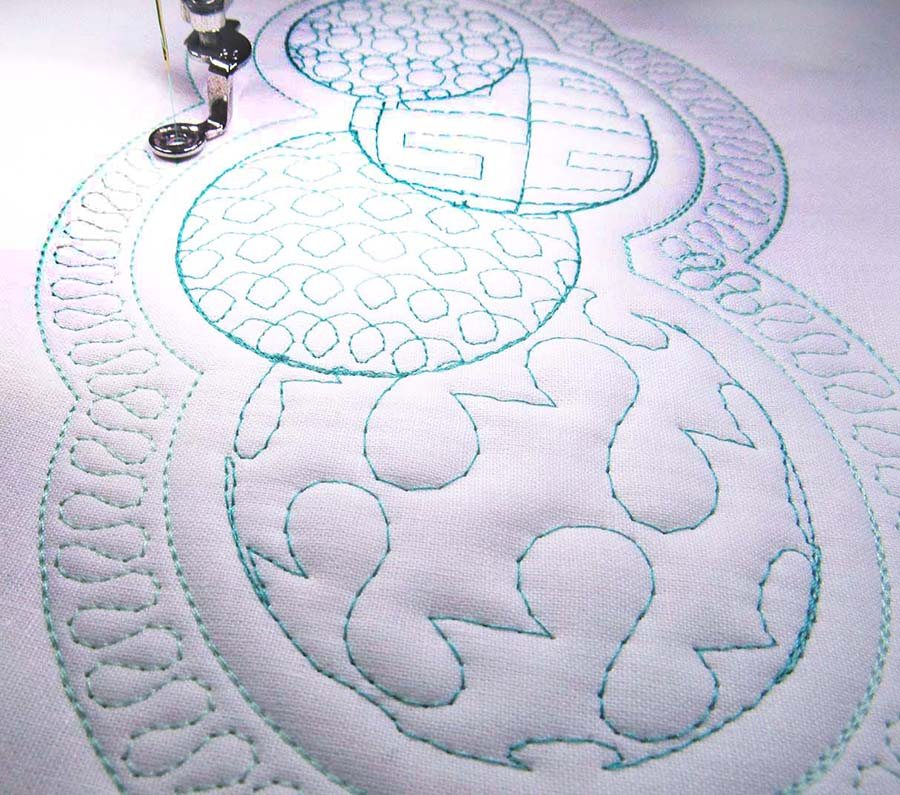
’Hatching’ a Quilt – Part 2 – Fills, Thrills & Outlines Block
![]()


Enjoy over 200 FREE lessons presented by our own embroidery experts in Hatch Academy. Grow your confidence and embroidery skills fast to start creating your own beautiful designs in no time!
 |
 |
 |
 |
| Hatch Academy over 200 FREE Lessons |
30-Day |
Money-Back Guarantee ease of mind |
Hatch FlexPay monthly instalments |
Related Articles

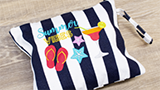
Best Back-to-School Projects – Tutorials and FREE Designs
Just in case you missed them, we decided to put together a compilation of our best Back-to-School... more »
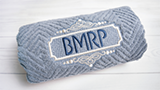
’Hatching’ a Quilt – Part 1 – Monogram Block
Have you always wanted to learn how to quilt but did not know where to start? Creating amazing-looking... more »
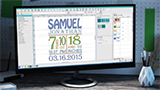
Take Your Monogramming to the Next Level!
First things first. To create stunning monograms with Hatch Embroidery, it is important to learn how to... more »
’Hatching’ a Quilt – Part 3 – Appliqué Block
It’s week 3 of “Hatching a Quilt” tutorial series with ’Hatching’ a Quilt... more »