


Categories
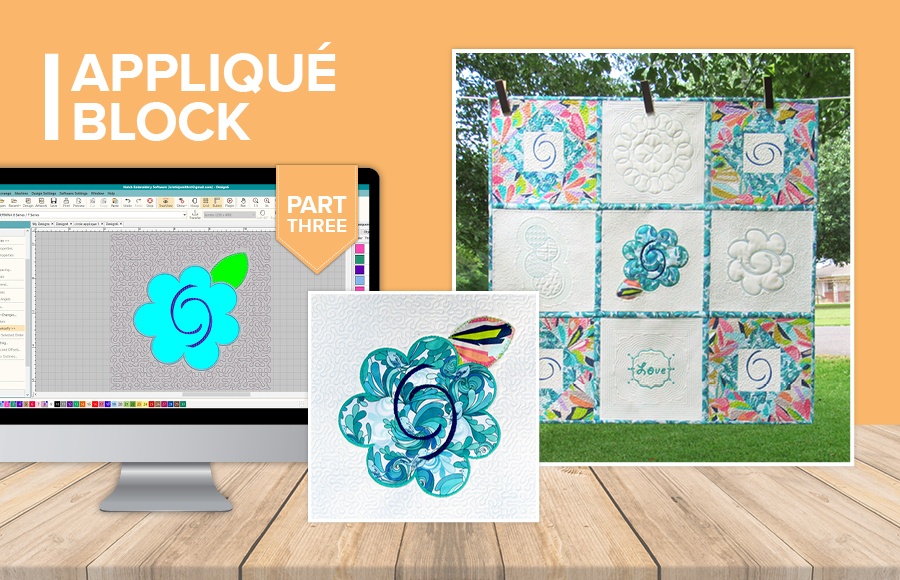
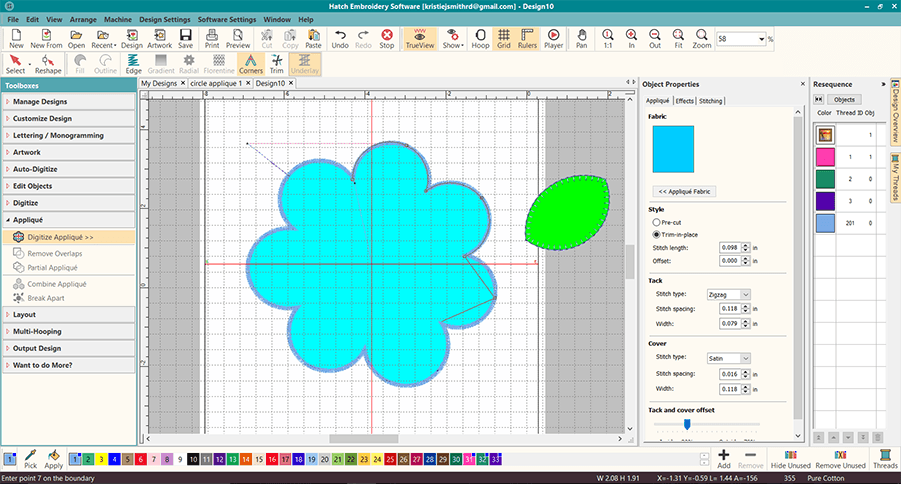
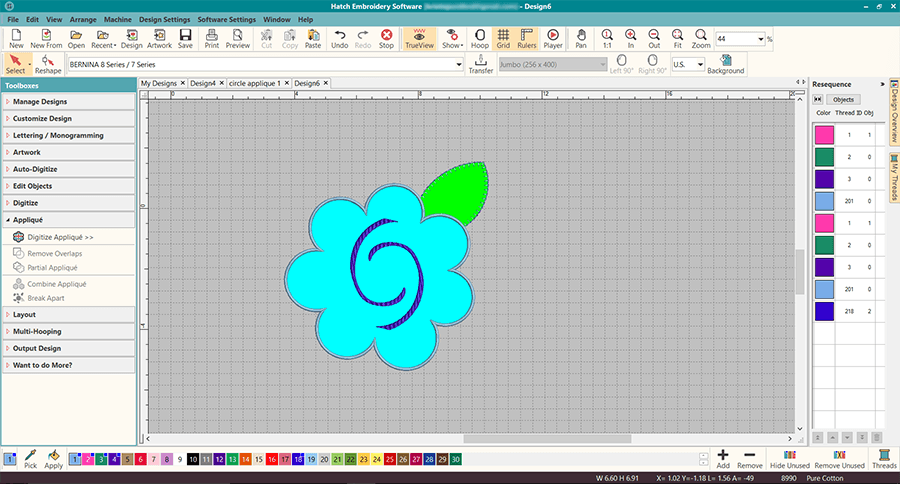
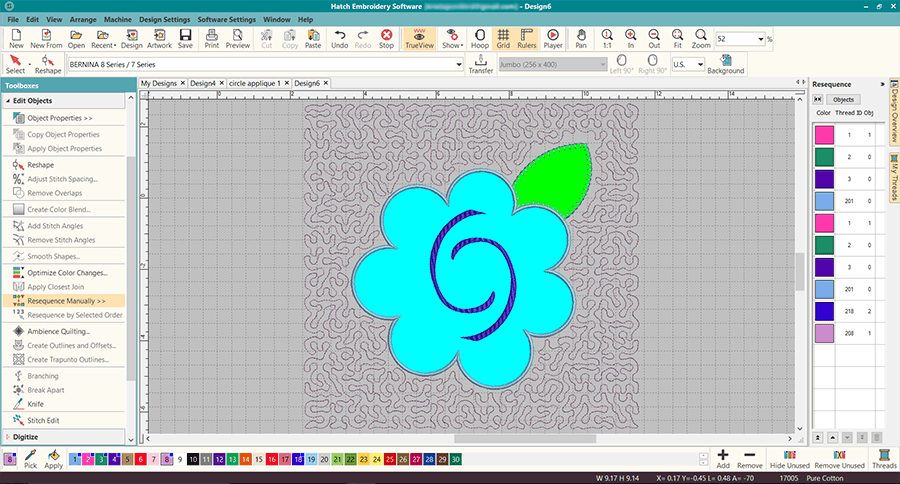
’Hatching’ a Quilt – Part 3 – Appliqué Block
![]()


Hatch Embroidery software products are in popular use in over 120 countries. It is time to join the global trend and give Hatch a try! The 30-Day Free Trial grants you unlimited use of all the amazing features and the 30-Day Money-Back Guarantee ensures that there is absolutely no risk involved.
Enjoy over 200 FREE lessons presented by our own embroidery experts in Hatch Academy. Grow your confidence and embroidery skills fast to start creating your own beautiful designs in no time!
 |
 |
 |
 |
| Hatch Academy over 200 FREE Lessons |
30-Day |
Money-Back Guarantee ease of mind |
Hatch FlexPay monthly instalments |
Related Articles
ITH Leaf Table Center by Allison Nash from Sweet Pea Machine Embroidery
Embroidery machines have long been used to embroider on existing articles such as towels, hats etc. This blog... more »
’Hatching’ a Quilt – Part 4 – Continuous Quilting Block
Wow, we are already on week 4 with ’Hatching’ a Quilt – Part 4 – Continuous... more »
’Hatching’ a Quilt – Part 2 – Fills, Thrills & Outlines Block
Welcome to block 2 of the ‘Hatching’ a Quilt tutorial series, ’Hatching’ a... more »

Best Back-to-School Projects – Tutorials and FREE Designs
Just in case you missed them, we decided to put together a compilation of our best Back-to-School... more »