


Categories
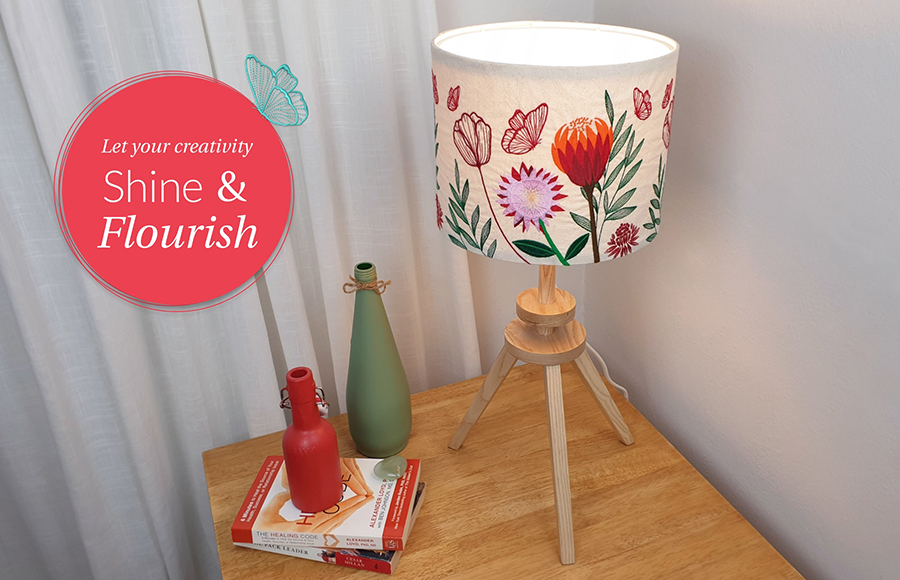
Illuminate Your Space with Machine Embroidery: A Lamp Shade Makeover
![]()


 |  |  |  |
| Hatch Academy over 500 FREE lessons for software owners | 30-Day FREE Trial all the tools & features | Money-Back Guarantee ease of mind | FlexPay monthly installments |
Related Articles
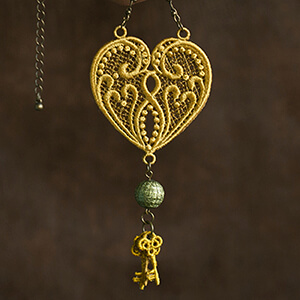
Embroidering Free Standing Lace, plus FREE Dramatic Heart FSL Design
Learn from two amazing embroiderers Decorative and versatile Free Standing Lace is very popular among... more »
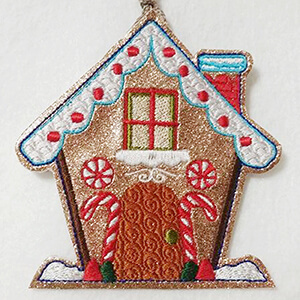
Sweet Gingerbread Houses by Sandra Fuller
FREE Christmas Ornament Designs I have not met Sandy in person yet, but hopefully one day I will get the... more »

Using Lettering for Quotes and Sayings with Hatch Embroidery, Plus Bonus FREE Designs
How to create interesting typography embroidery designs Embroidering inspirational or funny quotes and... more »
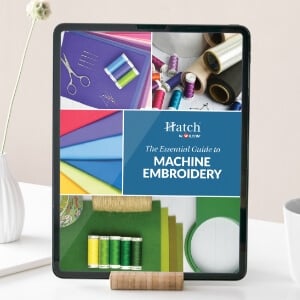
The Essential Guide to Machine Embroidery
When you start on your machine embroidery journey, there are so many different supplies and technical... more »