

 Hatch Embroidery Digitizer
 Hatch Embroidery Composer
 Hatch Embroidery Personalizer
 Hatch Embroidery Organizer














How to Auto-Digitize in Hatch Embroidery
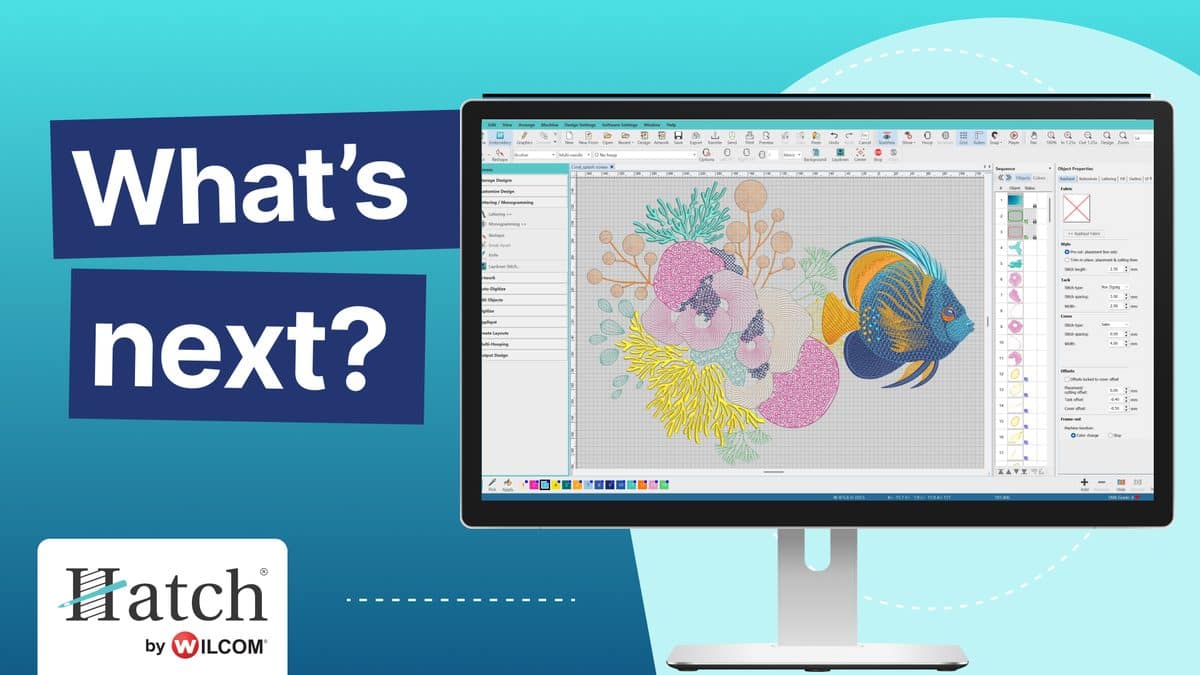
Want to turn artwork into embroidery without digitizing every stitch yourself? This video shows you how to auto-digitize an EPS file in Hatch Embroidery, then tidy the result for a cleaner stitch-out.
Good artwork in, great embroidery out
Hatch Embroidery 4 has 10 auto-digitizing tools, but none of them are magic buttons. The quality of your starting artwork makes the biggest difference. Choose images with clear edges, simple shapes and a limited color palette, and you'll spend far less time fixing things afterwards.
Refine your design
Every auto-digitized object is fully editable, so a few quick tweaks can turn a good result into a great one. The video shows you how to:
- Remove outlines you don't need
- Adjust stitch angles so fills follow each shape
- Add embossed effects for extra texture
Which levels include auto-digitizing?
The core auto-digitizing tools are included in Hatch Composer. Hatch Digitizer adds three photo-to-embroidery tools: Color PhotoStitch, Reef PhotoStitch and PhotoFlash. See all 10 auto-digitizing tools.
Keep learning in Hatch Academy
- Digitizing Basics (Getting Started with Hatch 4, Part 3)
- Analyzing Artwork & Existing Designs with the Daisy
- 12 Steps to Check an EMB File
Ready to buy?
Compare the four levels to find the right fit, then choose your Hatch Embroidery software.
Where to get help
For technical questions about installation, licenses, or error messages, start with the FAQs or the Help Center. If you want to learn how to do something in the software, Hatch Academy is the place to go.
Related Articles

Categories
- Popular Posts
- Recent Posts