


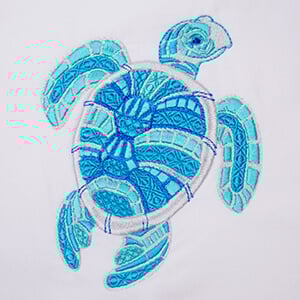
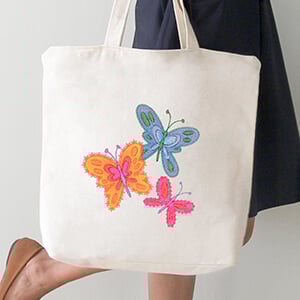
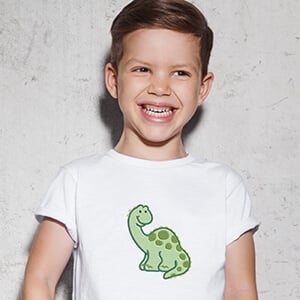
Categories
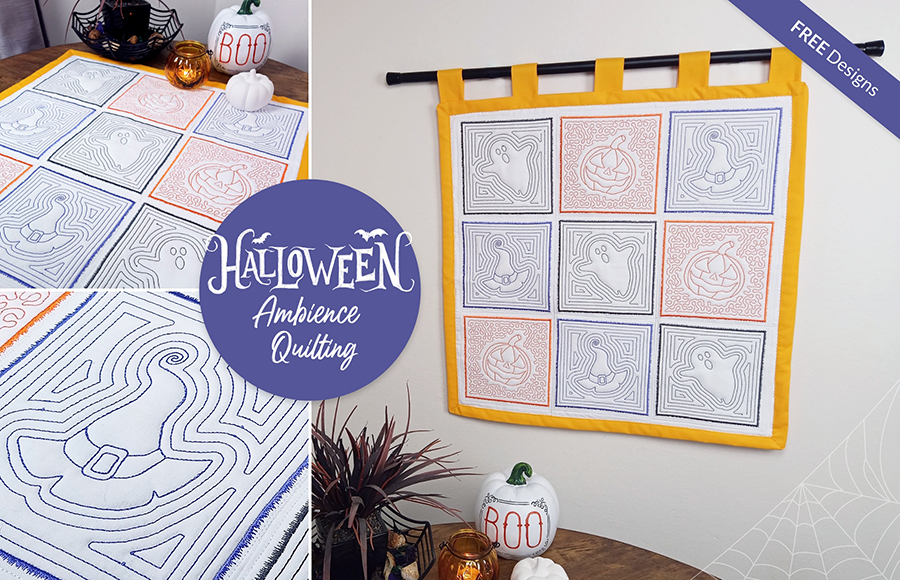
Spooky Halloween Quilt Project using Ambience Quilting
![]()

Feeling Inspired? Try It Yourself!
Whether you're inspired by the seasons or dreaming up your own theme, Hatch Embroidery Digitizer gives you all the tools to turn your vision into a stitched work of art. From motif fills to personalized lettering and quilting tools, the possibilities are as endless as your creativity.
We’d love to see what you make. Share your embroidered quilts with us in our Facebook group. We’re always thrilled to celebrate the creativity of the Hatch community.
FAQs
Do I need advanced quilting skills to make this Halloween quilt?
No! This project is perfect for beginners with basic sewing skills and Hatch Embroidery Digitizer. Even seasoned quilters will enjoy the creative twist using the Ambience Quilting tool.
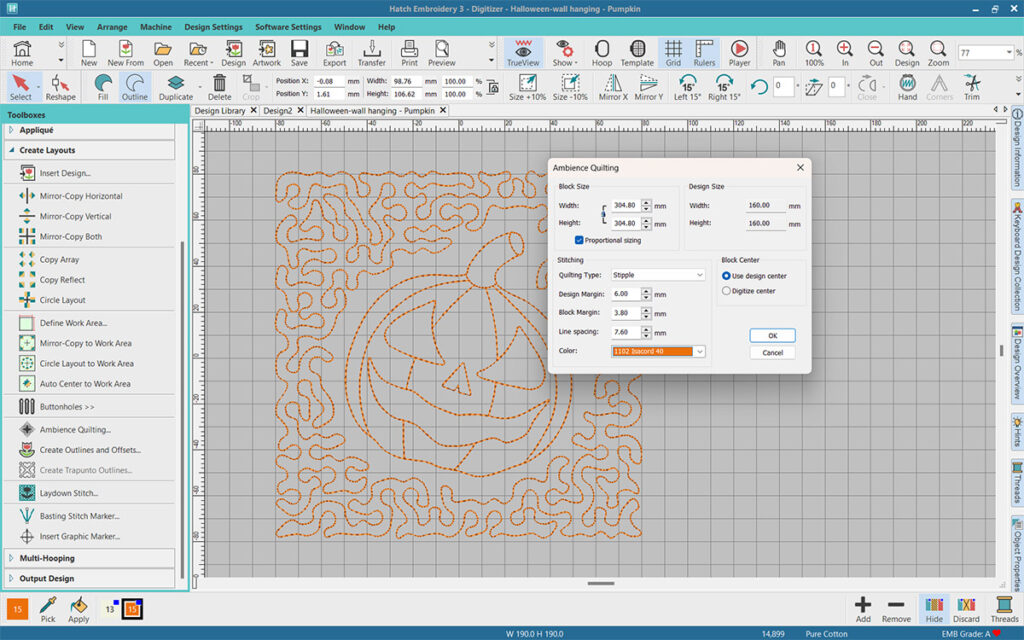
What is the Ambience Quilting tool and how is it used in this project?
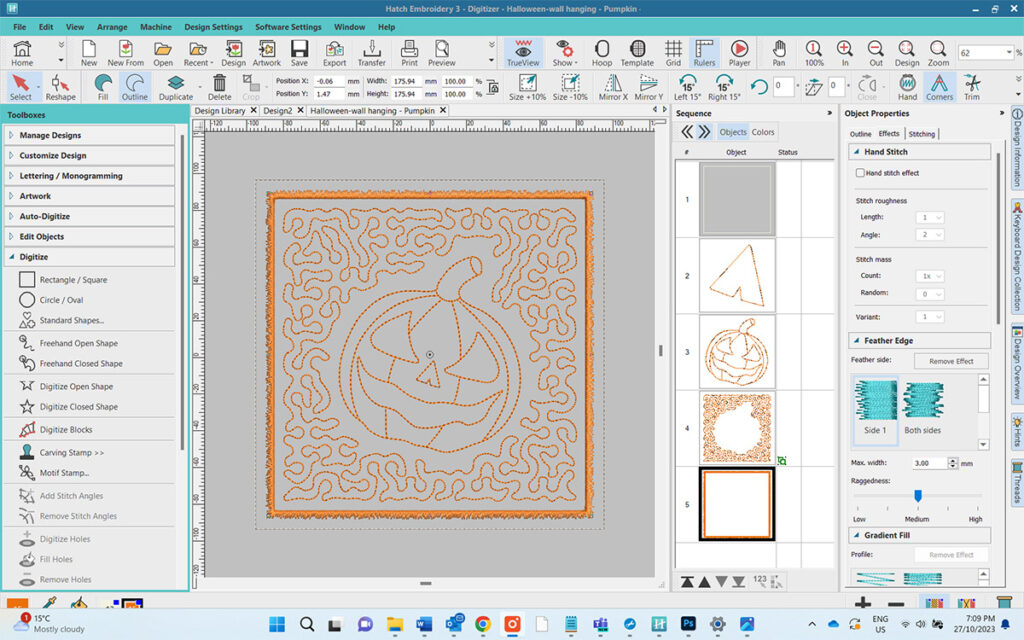
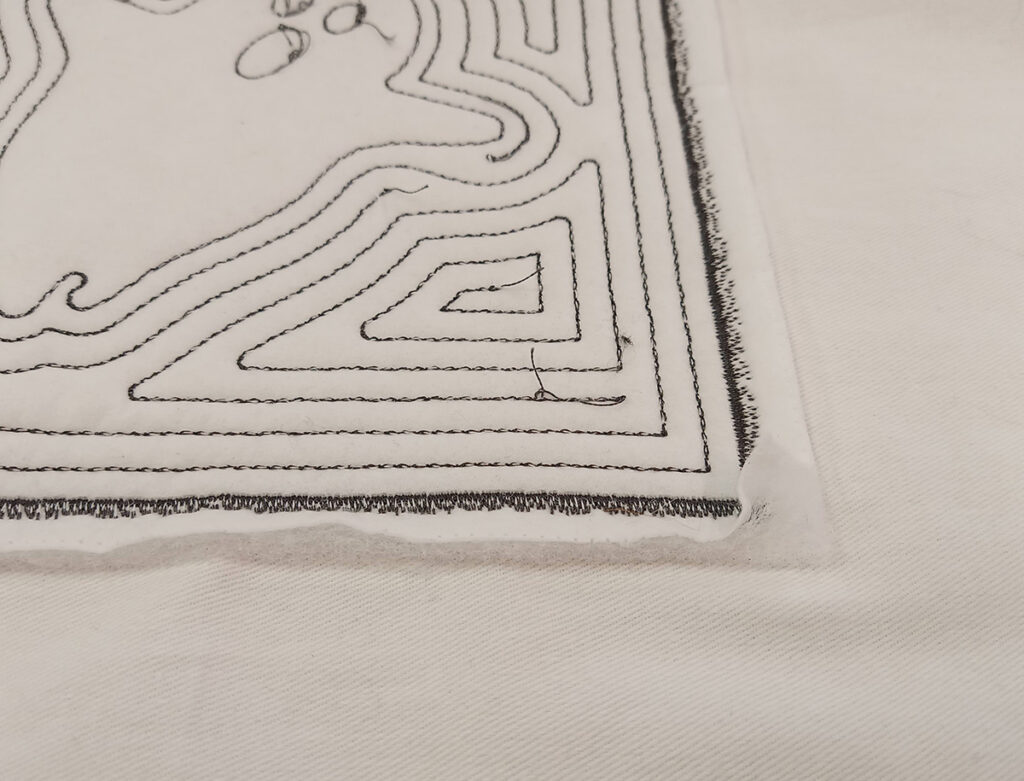
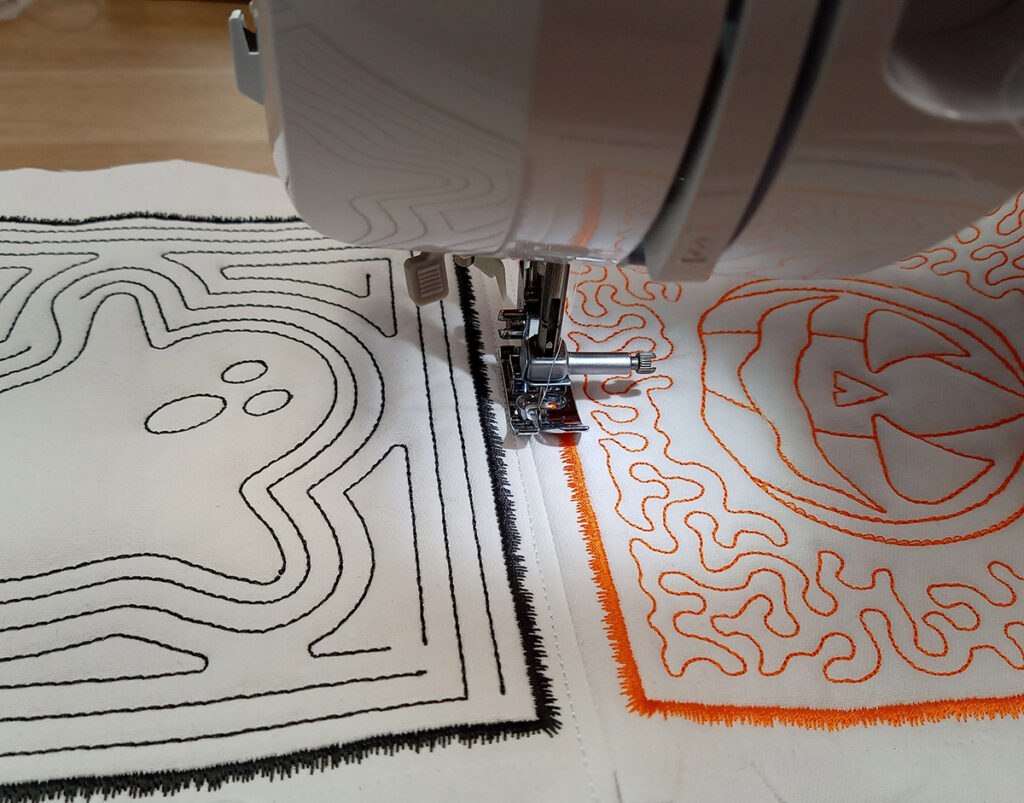
The Ambience Quilting tool helps you quickly fill the space around your center design with patterned quilting stitches. You simply choose your block size and select a pattern for a polished, professional look.
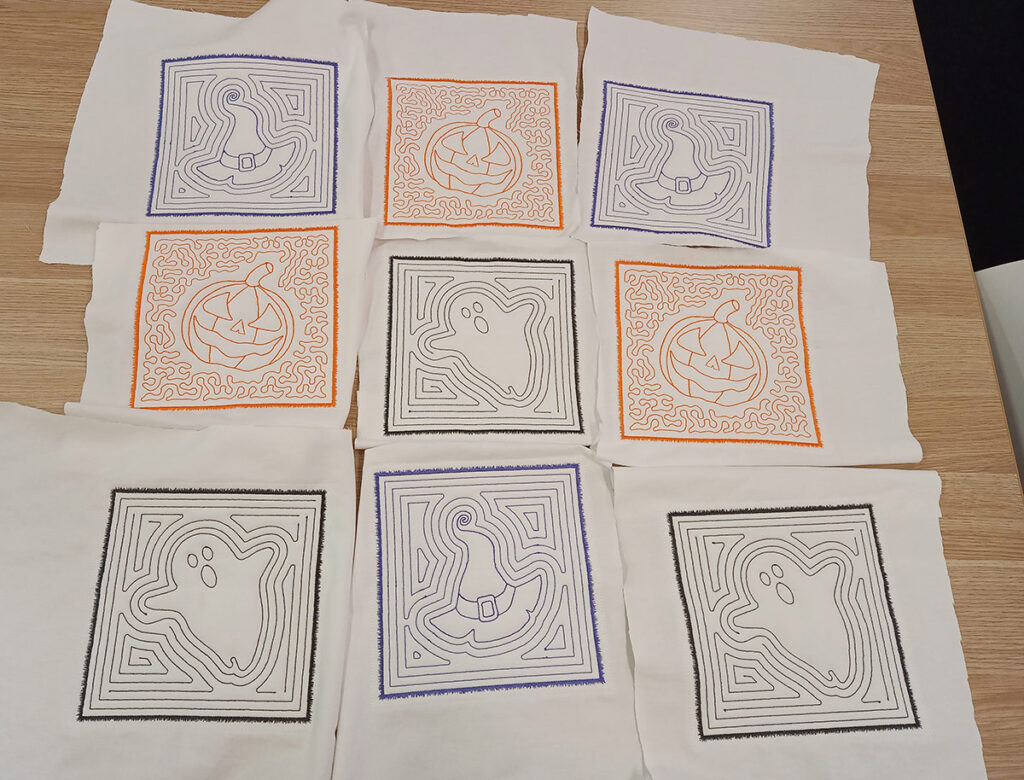
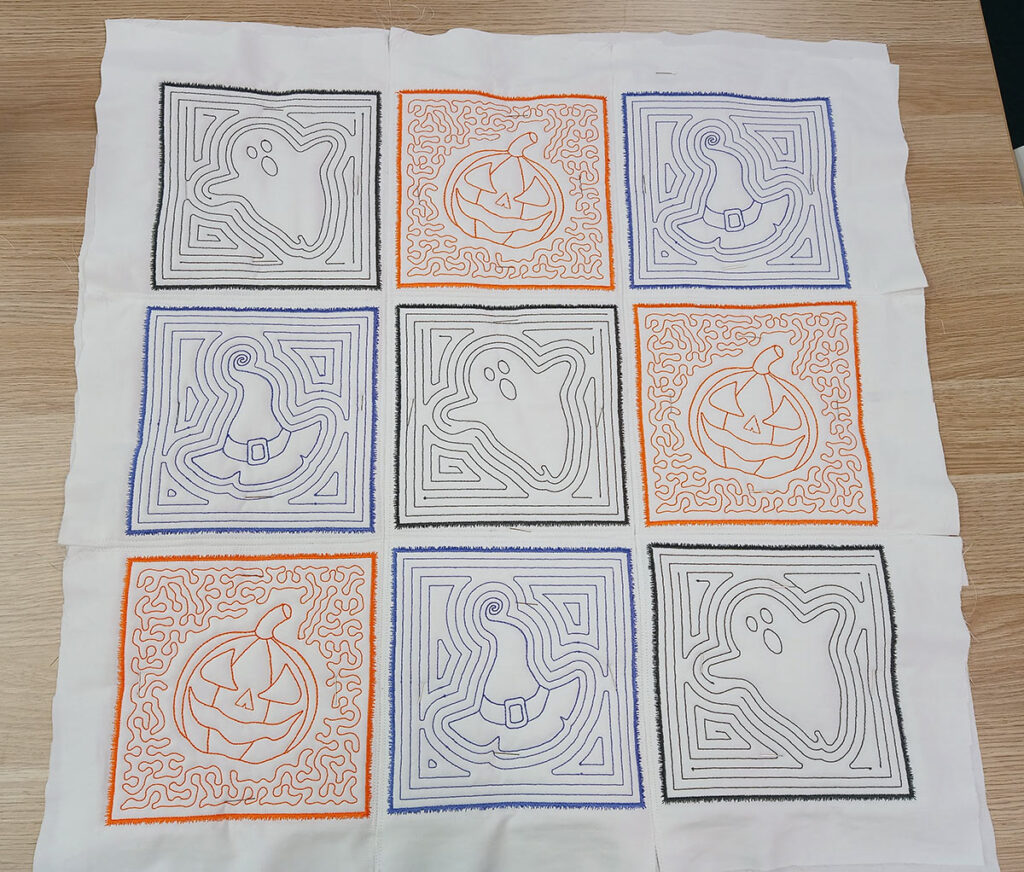
What size is the quilt in the tutorial, and can I change the number of panels?
The featured quilt is made of 3 x 3 panels, but you can easily adjust the number of panels to create anything from a mug rug to a table runner or full throw.
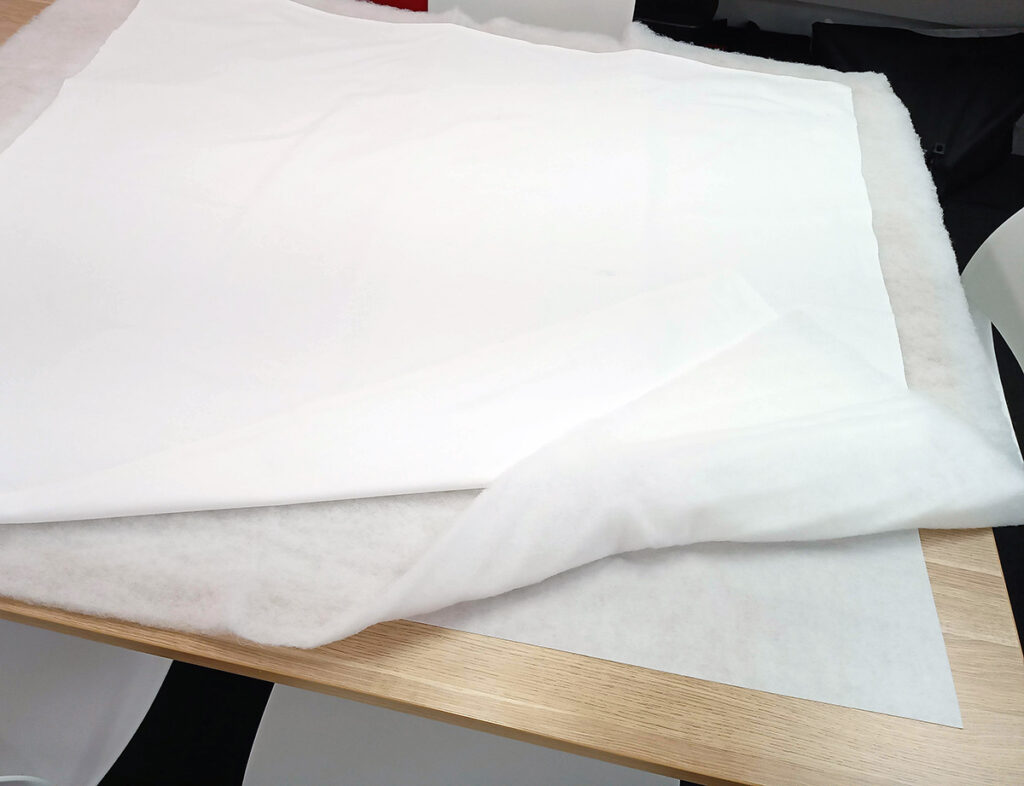
What materials do I need to create the quilt sandwich?
You’ll need fabric, batting, and a piece of cutaway stabilizer. Be sure to leave at least 4 cm of extra fabric around each stitched block.
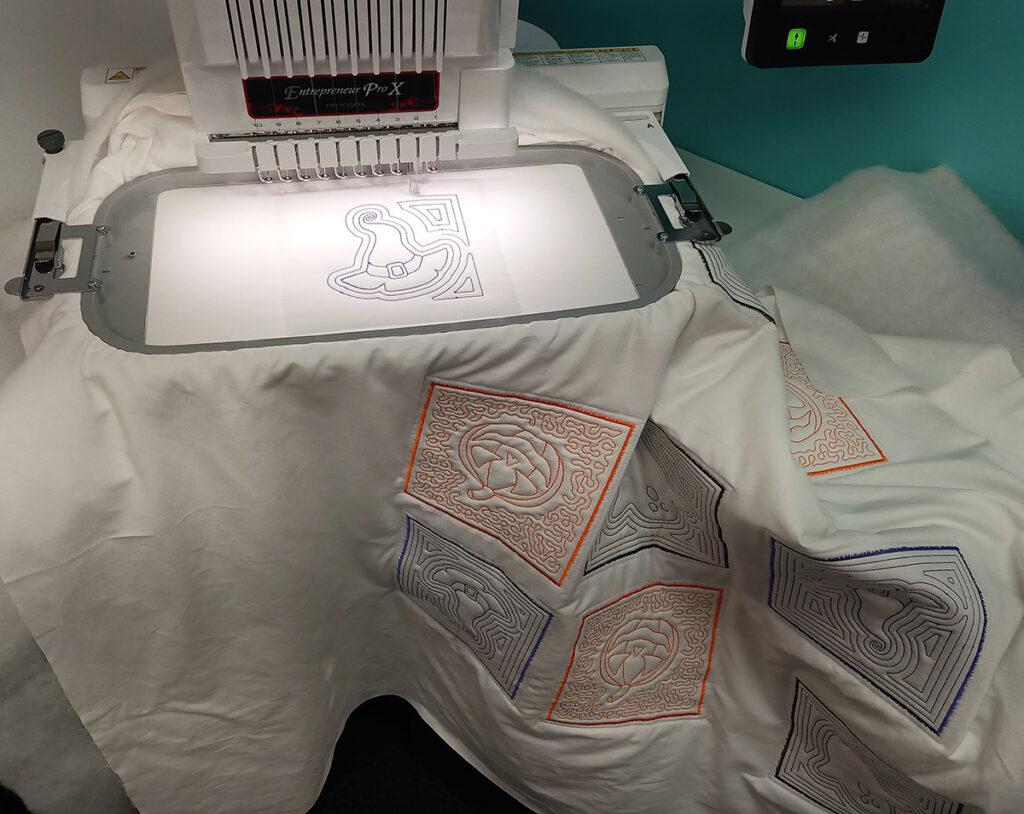
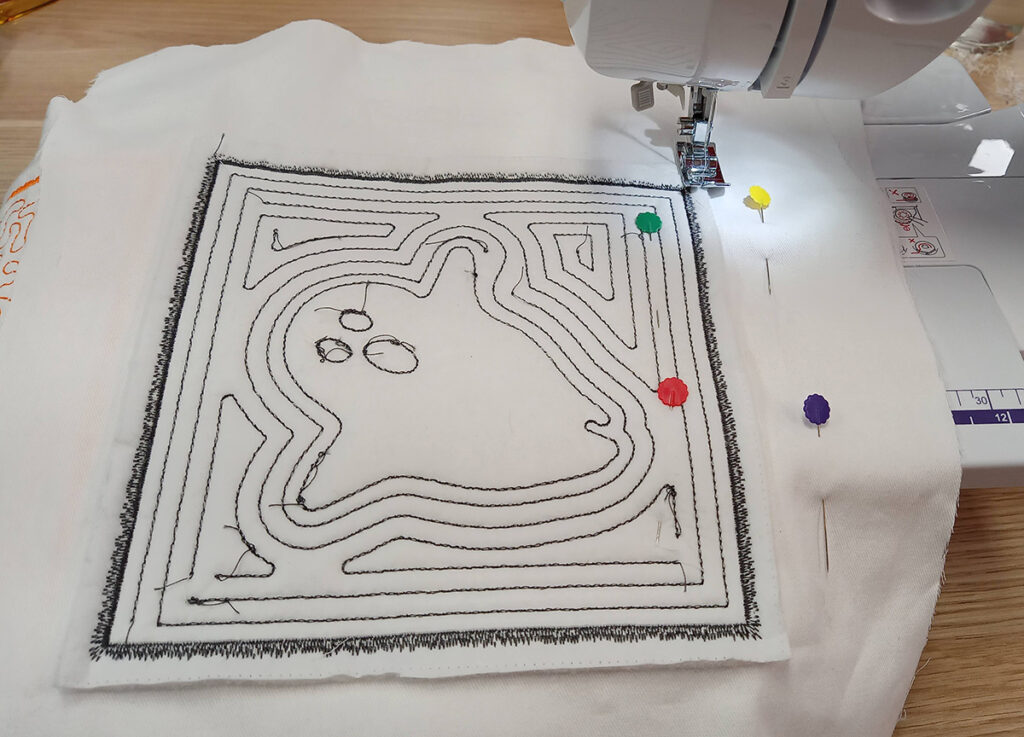
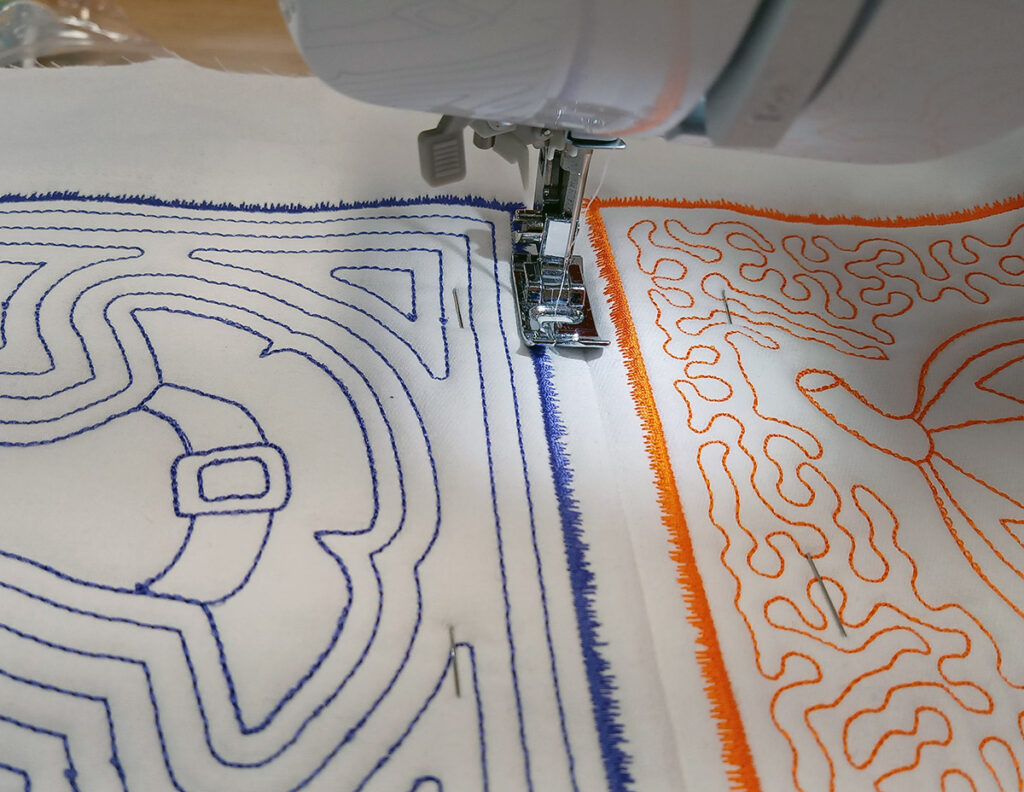
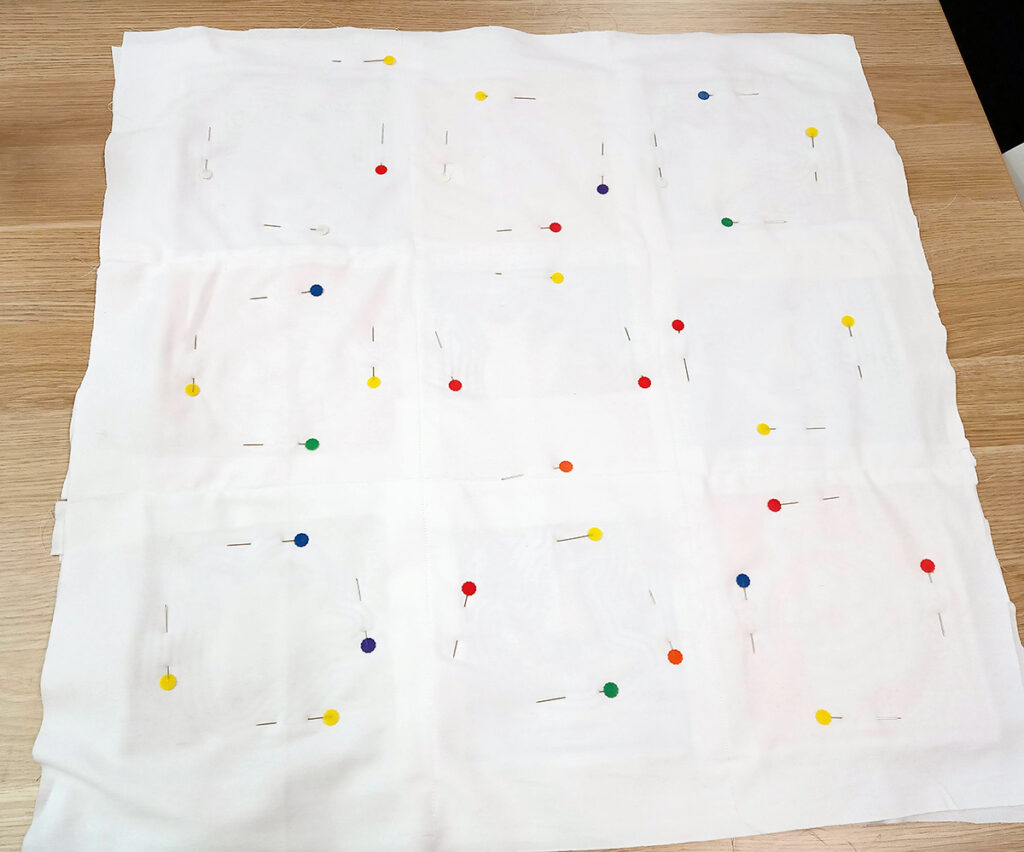
How do I assemble the quilt blocks after stitching?
First, stitch blocks into columns, then connect the columns. Sew horizontal and vertical lines along the seams to secure the layers and add structure.
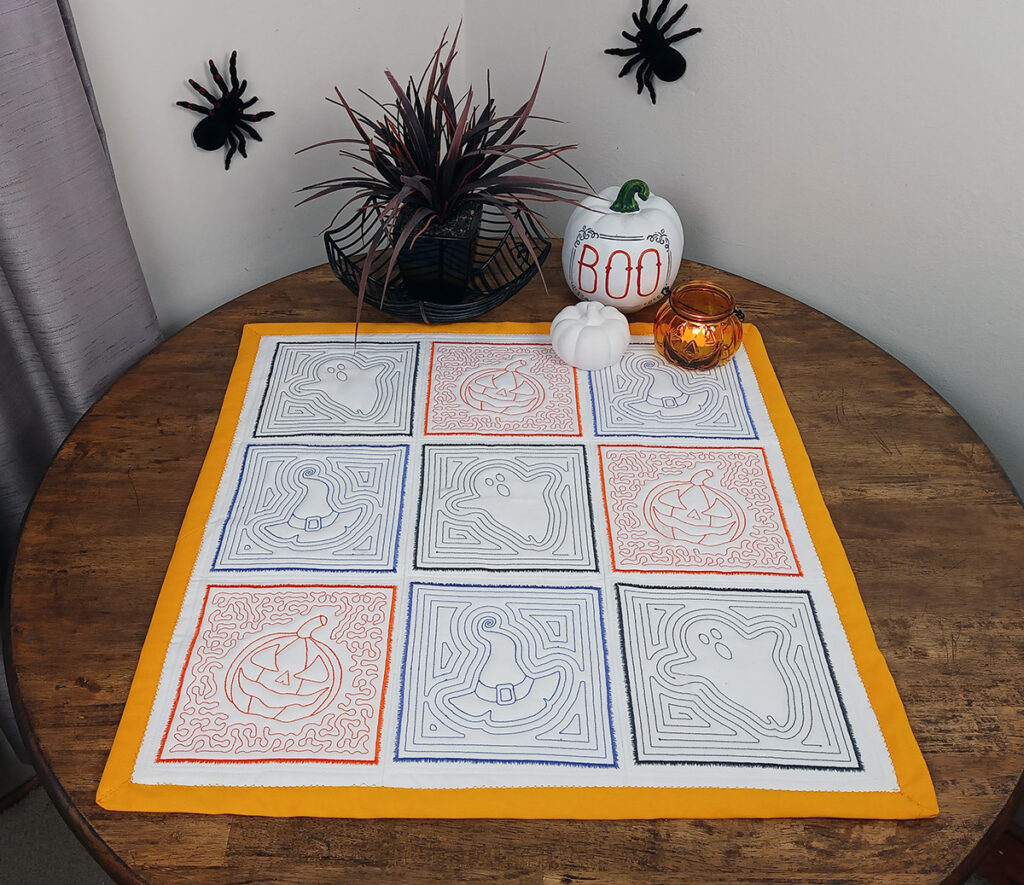
How do I finish and bind the quilt?
After adding backing fabric and securing it with stitching, you’ll sew finishing lines around the quilt. For binding, follow the recommended back-to-front method guided in the video tutorial linked in Step 13.
⭐⭐⭐⭐⭐
The definite choice when selecting embroidery software
Hatch Embroidery software is a comprehensive embroidery design solution that offers a range of tools and features for both beginners and seasoned embroiderers.
Here’s why it's a great choice:
- User-Friendly Interface: The software is designed with a user-friendly interface that makes it easy for anyone to start creating beautiful embroidery designs, regardless of their experience level.
- Powerful Editing Tools: It provides powerful editing tools that allow users to resize, edit, and adjust embroidery designs with precision. This is essential for businesses that need to customize designs according to specific customer requirements.
- Wide Range of Formats Supported: Hatch Embroidery supports a wide range of machine file formats, making it versatile for use with different embroidery machines. This flexibility is crucial for businesses operating with multiple machine types.
- Professional Quality: The software generates professional-quality stitches, ensuring that the end products are of high quality, which is vital for maintaining customer satisfaction and business reputation.
- Extensive Design Features: With features like auto-digitizing, lettering, monogramming, and even special effects, businesses can offer a wide range of embroidery services, increasing their market appeal and potential revenue streams.
- Regular Updates and Support: Hatch provides regular software updates and robust customer support, ensuring that businesses can always access the latest features and get help when needed.
Overall, Hatch Embroidery software equips you with the tools necessary to create stunning, high-quality embroidery designs efficiently and effectively, enhancing productivity and customer satisfaction.
Hatch Embroidery software products are in popular use in over 120 countries. It is time to join the global trend and give Hatch a try! The 30-Day Free Trial grants you unlimited use of all the amazing features and the 30-Day Money-Back Guarantee ensures that there is absolutely no risk involved. In fact, choosing Hatch Embroidery software is one of the smartest things you can do when selecting suppliers and supplies for your home embroidery business.
Enjoy over 80 FREE lessons presented by our own embroidery experts in Hatch Academy. Grow your confidence and embroidery skills fast to start creating your own beautiful designs in no time!
 |  |  |  |
| Hatch Academy over 80 FREE Lessons | 30-Day | Money-Back Guarantee ease of mind | Hatch FlexPay monthly instalments |
Related Articles
Elastic Embossed Fills & Color Variations on a Theme
Hatch Embroidery Digitizer comes with 105 different Embossed fills and they can be used to create Elastic... more »
Manual Digitizing with Hatch Embroidery
Before you can learn to master manual Digitizing with Hatch Embroidery, you need to learn what embroidery... more »
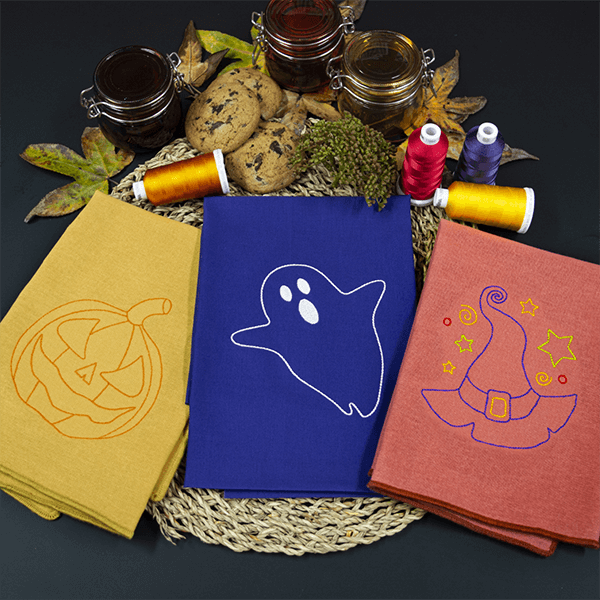
Halloween Linework Napkins
There are several ways you can achieve Linework including the ever-so-popular Redwork with Hatch... more »
Learn About Hatch Embroidery Auto-Digitizing
One of the key features of Hatch Embroidery Software is Auto-Digitizing which enables you to turn... more »