Categories
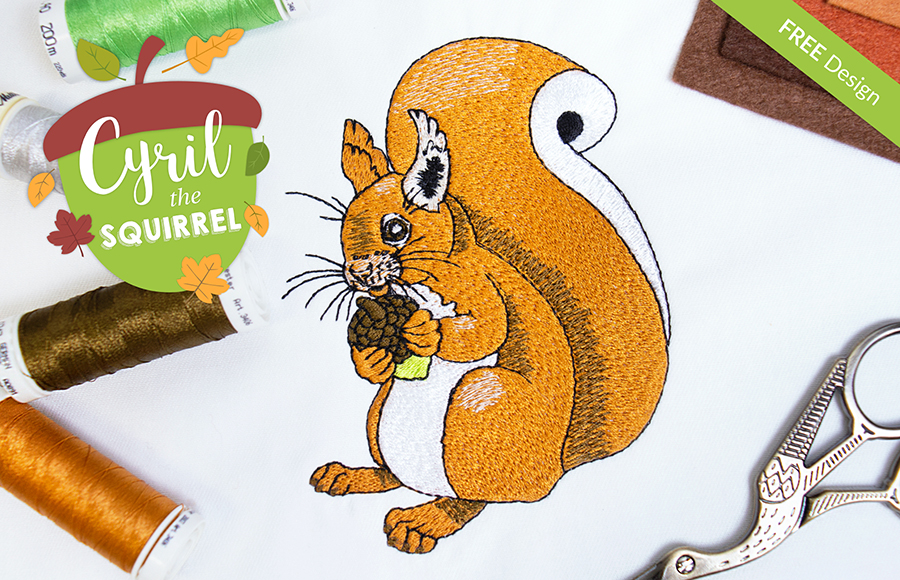
Cyril the Squirrel
![]()

 |
 |
 |
 |
| Hatch Academy over 200 FREE Lessons |
30-Day FREE Trial all the tools & features |
Money-Back Guarantee ease of mind |
FlexPay monthly instalments |
The definite choice when selecting embroidery software
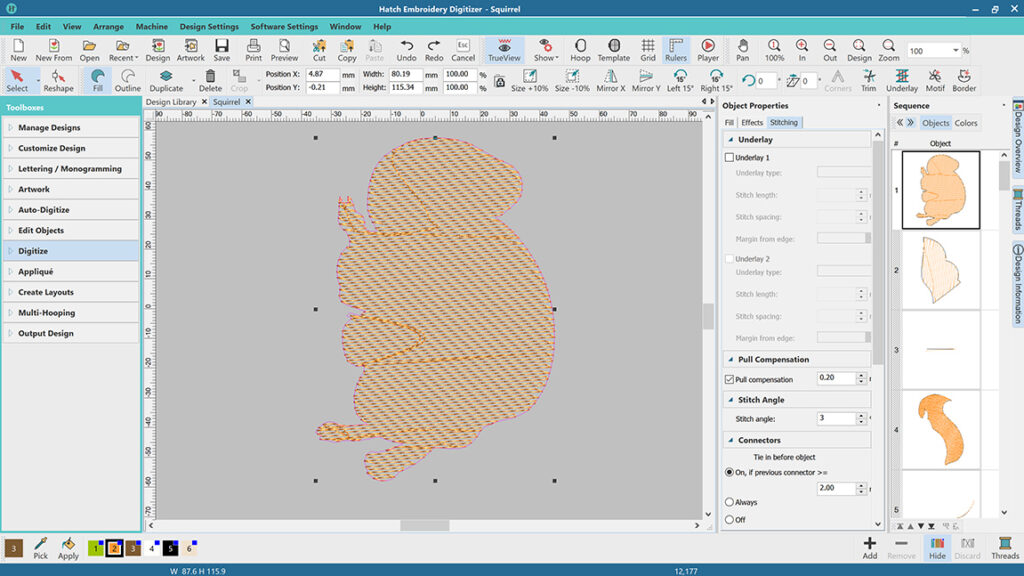
Hatch Embroidery software is a comprehensive embroidery design solution that offers a range of tools and features for both beginners and seasoned embroiderers.
Here’s why it's a great choice:
- User-Friendly Interface: The software is designed with a user-friendly interface that makes it easy for anyone to start creating beautiful embroidery designs, regardless of their experience level.
- Powerful Editing Tools: It provides powerful editing tools that allow users to resize, edit, and adjust embroidery designs with precision. This is essential for businesses that need to customize designs according to specific customer requirements.
- Wide Range of Formats Supported: Hatch Embroidery supports a wide range of machine file formats, making it versatile for use with different embroidery machines. This flexibility is crucial for businesses operating with multiple machine types.
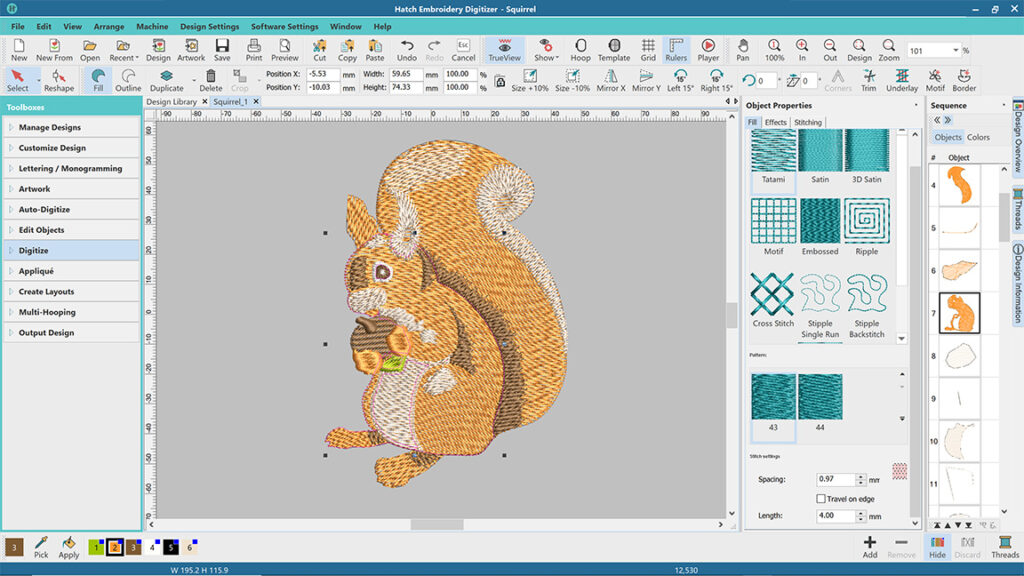
- Professional Quality: The software generates professional-quality stitches, ensuring that the end products are of high quality, which is vital for maintaining customer satisfaction and business reputation.
- Extensive Design Features: With features like auto-digitizing, lettering, monogramming, and even special effects, businesses can offer a wide range of embroidery services, increasing their market appeal and potential revenue streams.
- Regular Updates and Support: Hatch provides regular software updates and robust customer support, ensuring that businesses can always access the latest features and get help when needed.
Overall, Hatch Embroidery software equips you with the tools necessary to create stunning, high-quality embroidery designs efficiently and effectively, enhancing productivity and customer satisfaction.
Related Articles
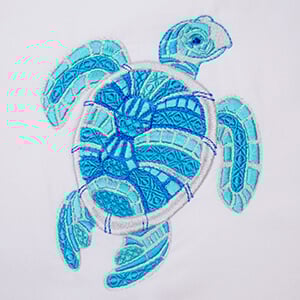
Elastic Embossed Fills & Color Variations on a Theme
Splash the Turtle is Making Waves - FREE Designs Elastic Embossed Fills Hatch Embroidery Digitizer comes... more »
Manual Digitizing with Hatch Embroidery
We have plenty of information for you to startWhat is Embroidery Digitizing?Before you can learn to... more »
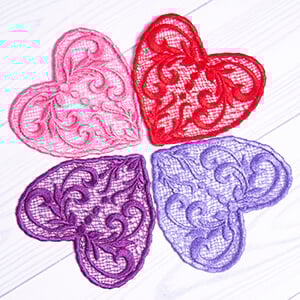
LOVE Free Standing Lace
Free Standing Lace or FSL is a type of machine embroidery design. However, it is not embroidered on... more »

Learn About Hatch Embroidery Auto-Digitizing
Save time and get professional results with Hatch Embroidery Auto-Digitizing One of the key features of... more »