


Categories
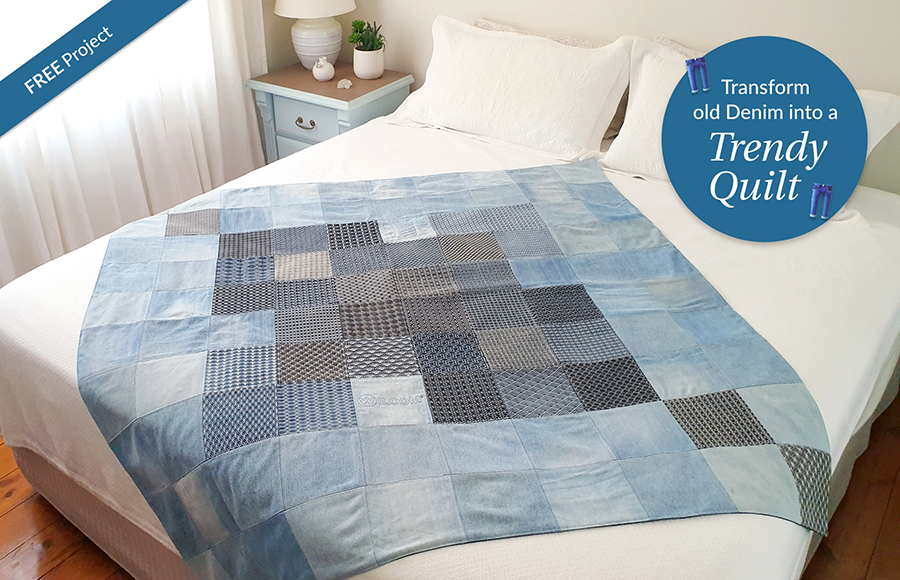
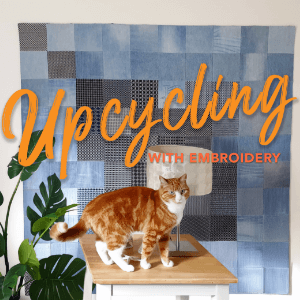
Enhance Your Home with an Eco-Friendly Upcycled Denim Quilt Featuring Sashiko Motifs
![]()

 |  |  |  |
| Hatch Academy over 200 FREE Lessons | 30-Day FREE Trial all the tools & features | Money-Back Guarantee ease of mind | FlexPay monthly instalments |
FAQs
What skill level is required to make this upcycled denim Sashiko quilt?
This project is suitable for confident beginners through to intermediate embroiderers. Basic machine embroidery knowledge, simple sewing skills, and familiarity with hooping fabric will help you achieve the best results.
Can I use fabrics other than recycled denim?
Yes. While mid-weight recycled denim is recommended for its durability and upcycled appeal, you can also use other sturdy fabrics with similar weight. Just ensure the backing fabric matches the quilt top’s weight for a balanced, professional finish.
What is Sashiko embroidery and why is it used in this quilt?
Sashiko is a traditional Japanese embroidery technique known for its geometric patterns and reinforcing stitches. In this quilt, Sashiko motifs add both decorative detail and functional strength, making it ideal for reinforcing denim patches while enhancing warmth and visual texture.
Do I need a specific quilt size or hoop size for this project?
No specific size is required. The quilt can be customized to suit a bed, throw, or wall hanging. The sample project uses a 10 × 10 square layout measuring 150 cm × 150 cm, but you can easily scale the design up or down based on your preference and hoop size.
How should I prepare recycled jeans before embroidery?
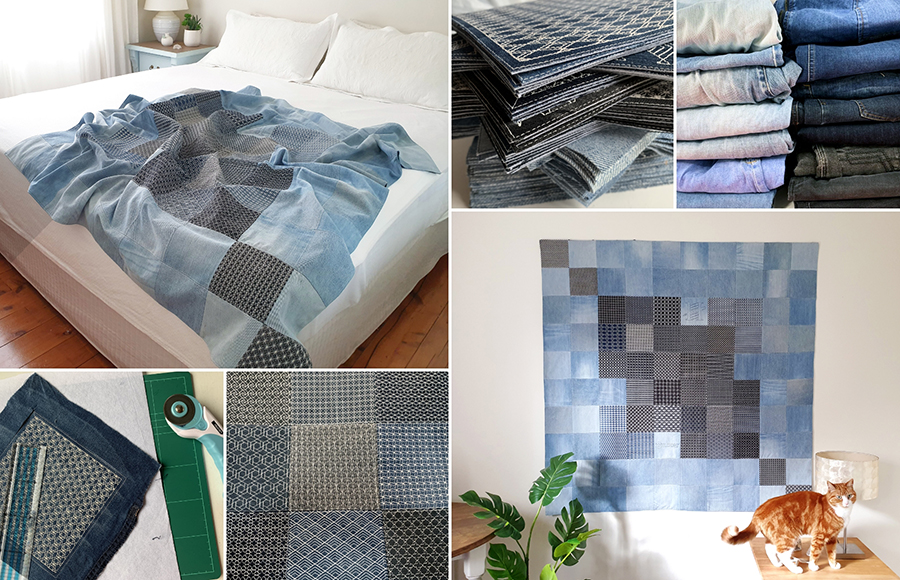
All denim should be washed, dried, and pressed before cutting. Remove zippers, pockets, and seams to maximize usable fabric. Each pair of jeans typically yields around four usable squares, depending on size and cut.
Will the instructions guide me through the entire quilt-making process?
Yes. The downloadable instructions cover every step, including fabric preparation, layout planning, motif selection, digitizing square patterns, stitching, trimming, assembling rows, adding backing, and finishing with top stitching for a clean, professional look.
Related Articles
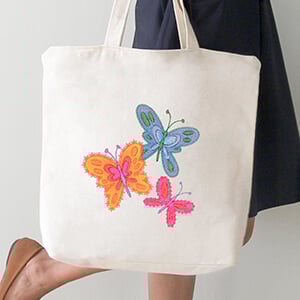
Upcycling and Thrift Flipping with Machine Embroidery: Turn Second-Hand Finds into Statement Pieces
Upcycling and thrift flipping have become more than just trends, they’re a creative movement. Makers... more »
Elastic Embossed Fills & Color Variations on a Theme
Hatch Embroidery Digitizer comes with 105 different Embossed fills and they can be used to create Elastic... more »
Manual Digitizing with Hatch Embroidery
Before you can learn to master manual Digitizing with Hatch Embroidery, you need to learn what embroidery... more »
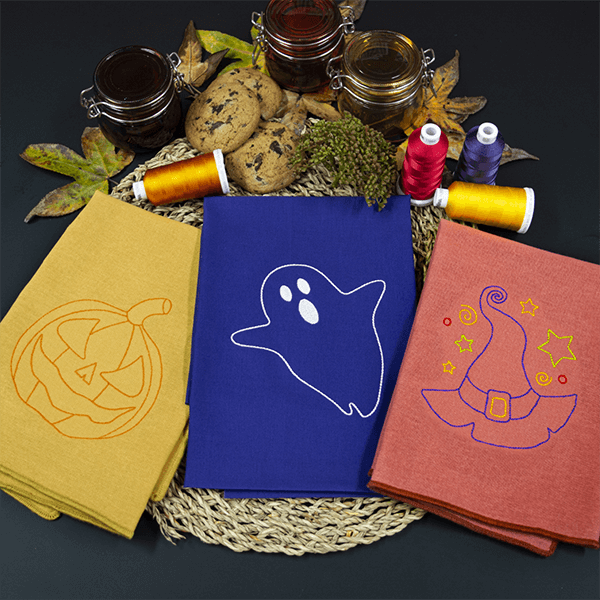
Halloween Linework Napkins
There are several ways you can achieve Linework including the ever-so-popular Redwork with Hatch... more »