


Categories
- Popular Posts
- Recent Posts
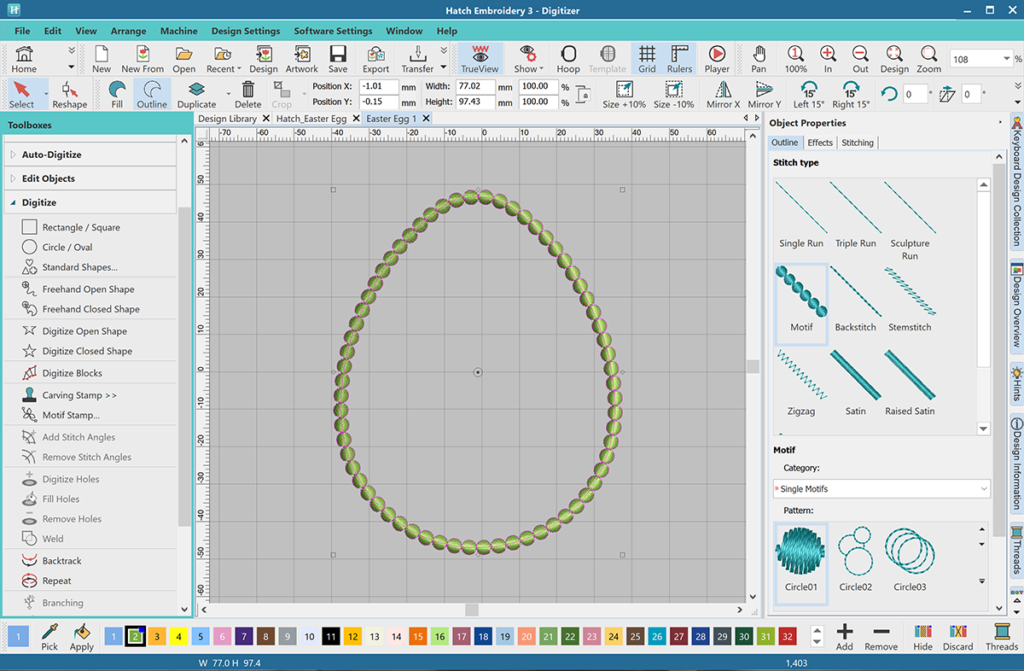
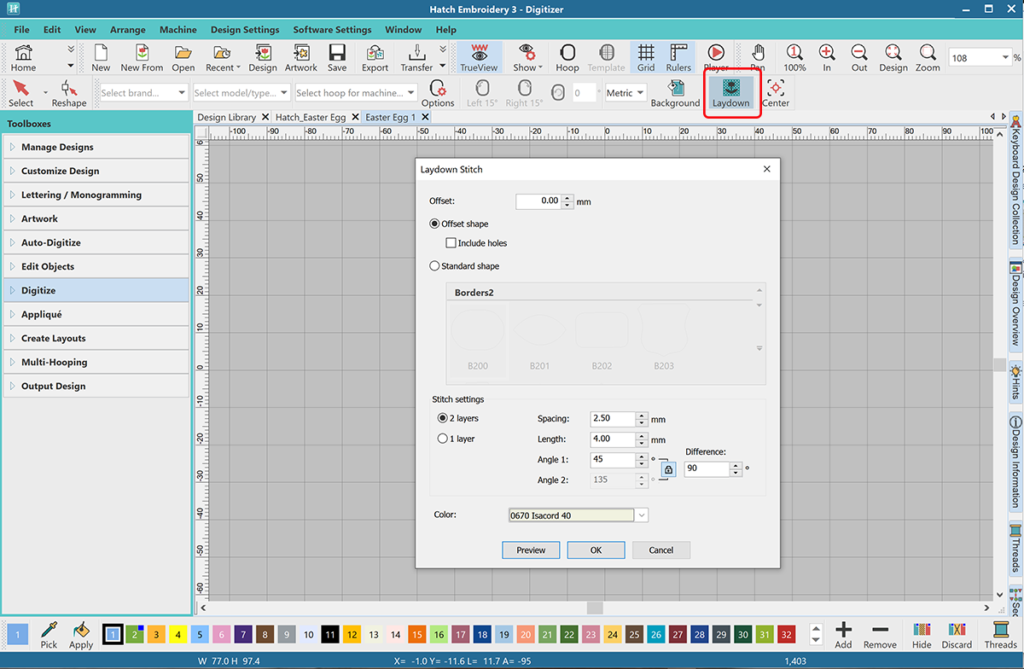
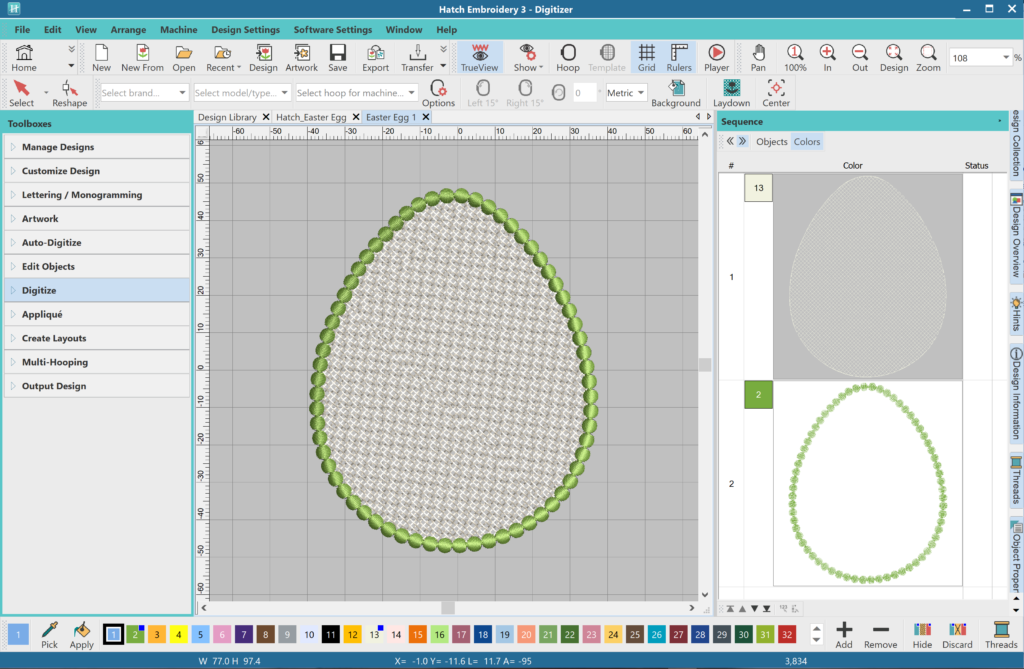
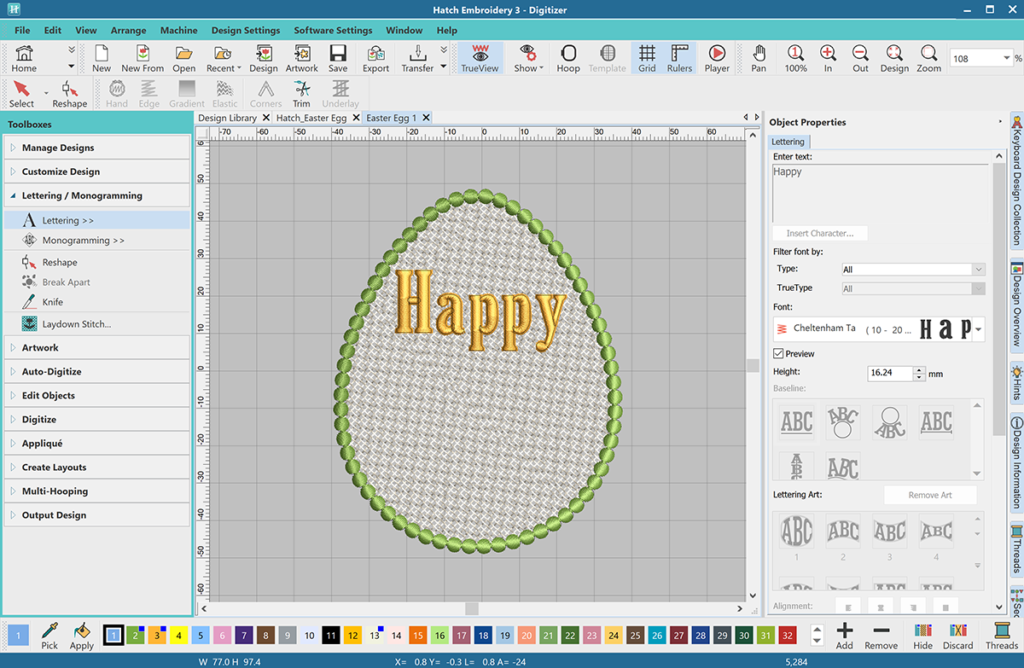
How to Create Your Own Embroidery Designs?
![]()
Looking to learn how to create your own embroidery designs? It is easy to create your embroidery designs with Hatch Embroidery Digitizer Even if you are a beginner, you can learn how to create your own embroidery designs relatively quickly and easily. What... more »
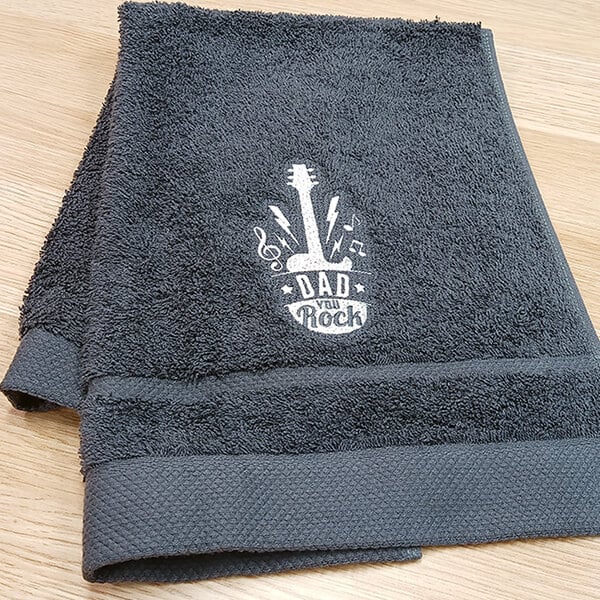
Top 10 Expert Tips for Successfully Embroidering on Towels
![]()
For best results with your next towel embroidery projectDiscover the joy of embroidering on towels with our "Top 10 Expert Tips for Successfully Embroidering on Towels". Whether you’re a novice or an experienced digitizer, these... more »
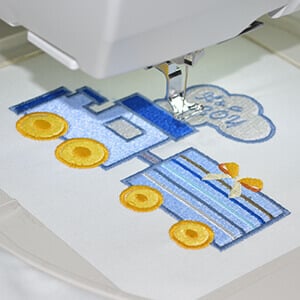
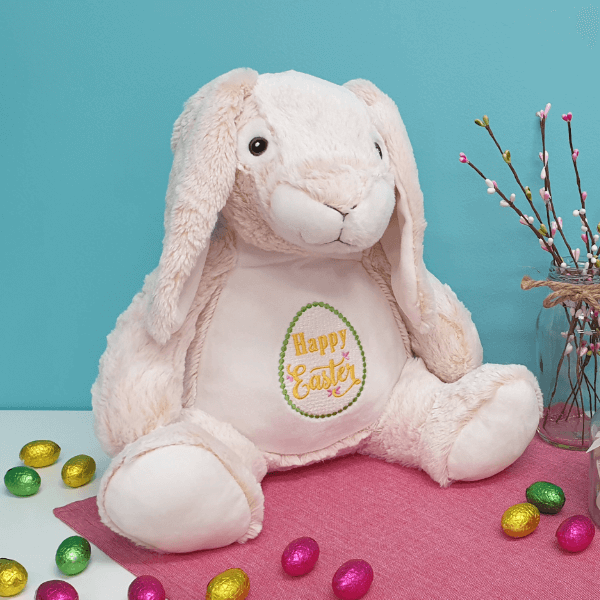
Machine Embroidery on Stuffed Animals
![]()
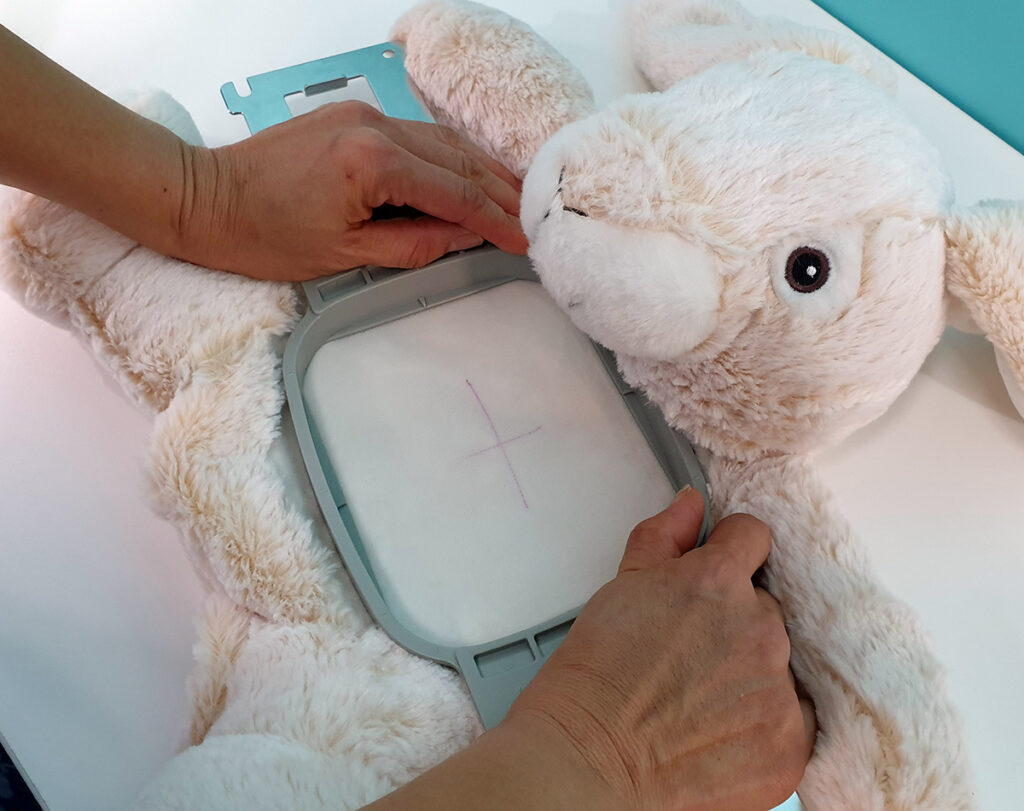
Firstly, it is important to know that you need a special kind of stuffed animal toy if you want to do machine embroidery on it, because you will need to remove the stuffing to hoop it. A simple internet search for “embroiderable stuffed animals”... more »
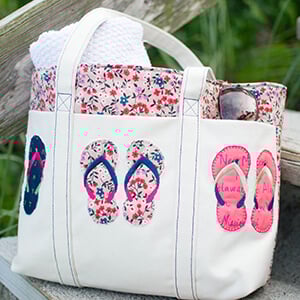
Summer Tote with Flip-Flops Appliqué – Instructions & FREE Design
![]()
Caroline Critchfield makes summer even more fun with this gorgeous bag Queen of craft Caroline Critchfield, is back as a guest blogger with a super cute tote bag design decorated with embroidered flip-flops, the ultimate symbol of summer. An absolute... more »
9 Ways to Get Help When Using Hatch Embroidery

![]()
There are many ways to find the information and help that you are looking for... There are two types of people when it comes to starting out with brand-new software. Some treat it as a new exciting adventure, throw themselves at it, and click around... more »
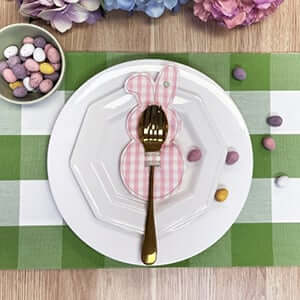
Easter Bunny Cutlery Holder with the Buttonholes Tool
![]()
If you're looking for a way to bring some charm to your Easter table setting, why not try an adorable, handmade project? In this blog post, we will guide you through a fun and creative Easter Bunny cutlery holder project, which we designed using... more »
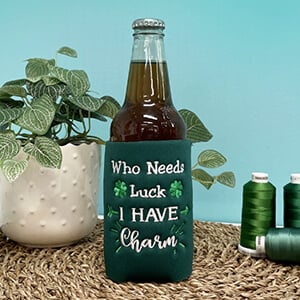
St. Patrick's Day Embroidered Beer Cozy: ITH Project
![]()
St. Patrick's Day is the perfect occasion to add a personal, crafty touch to your celebrations, and what better way than with a custom embroidered beer cozy? This project uses Hatch Embroidery’s powerful features to design and stitch an... more »
Categories
Machine Embroidery on Stuffed Animals
![]()

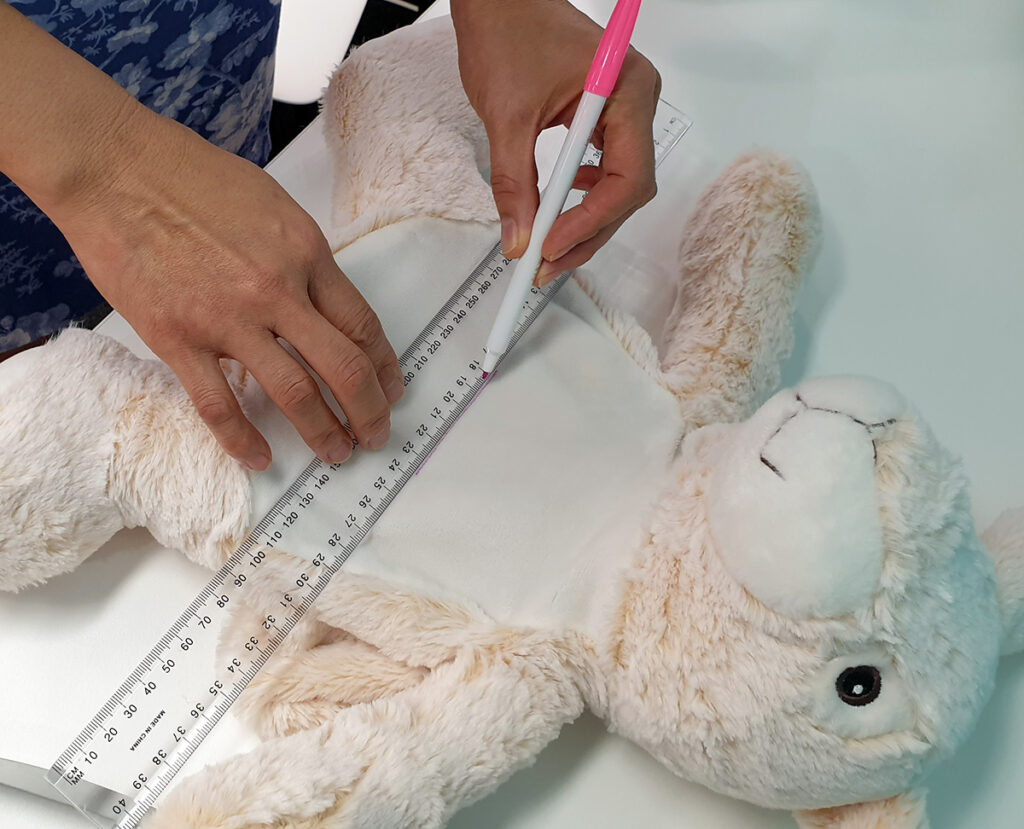
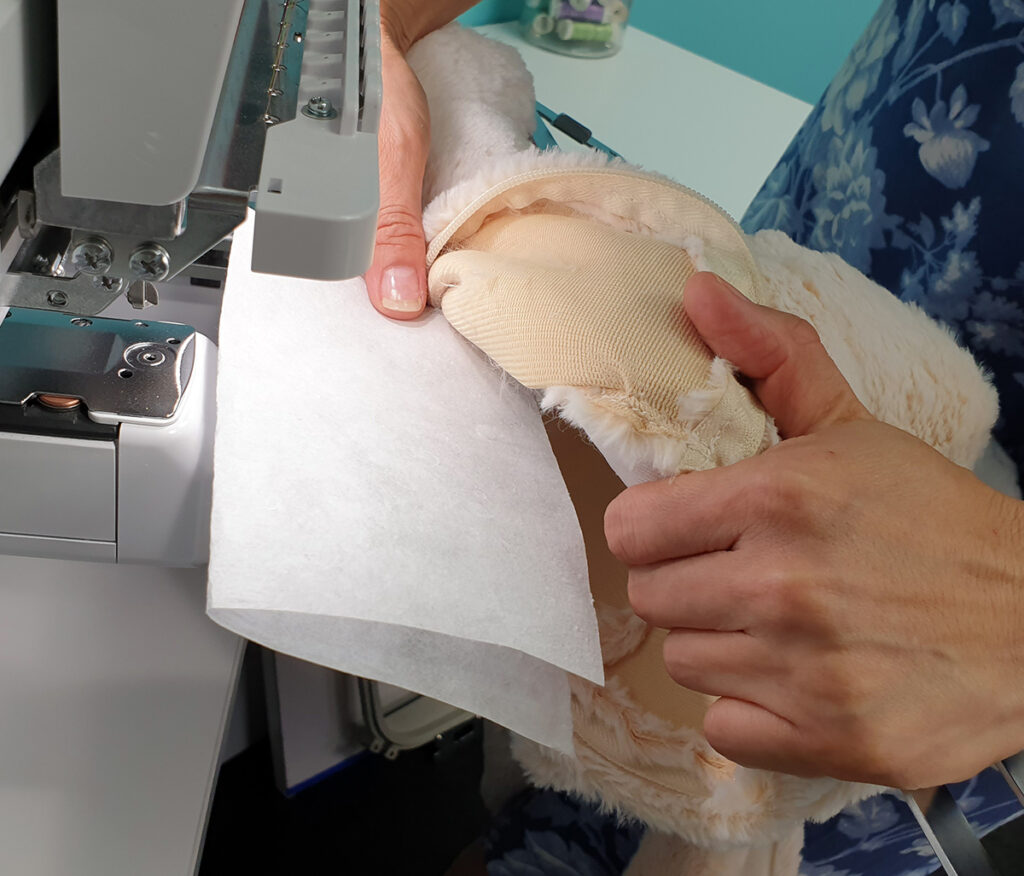
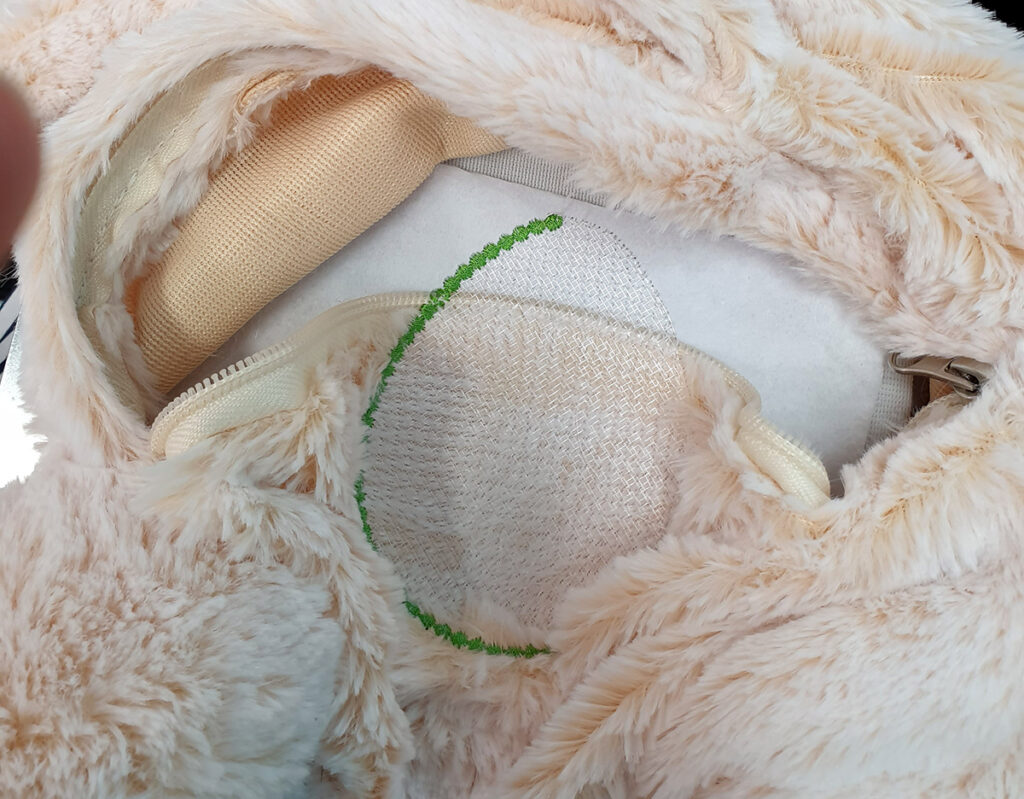
Make sure the back fabric of the toy is not caught under the front fabric that you will embroider on. It is an utter nightmare unpicking the embroidery if that happens. Trust me, I’m talking out of experience.


 |  |  |  |
| Hatch Academy over 200 FREE Lessons | 30-Day FREE Trial all the tools & features | Money-Back Guarantee ease of mind | FlexPay monthly instalments |
Related Articles

10 Best Ways to Use Scraps for more Sustainable Embroidery
Great project ideas to use up your scrap materials You don’t have to buy a bunch of new materials... more »
9 Ways to Get Help When Using Hatch Embroidery
There are many ways to find the information and help that you are looking for... There are two types of... more »
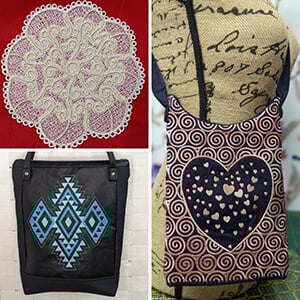
Barbara’s Embroidered Bags
I came across Barbara Baugh’s Embroidered Bags in the Hatch Facebook Group. Their uniqueness,... more »

Celebrating St Patrick’s Day with Great FREE Embroidery Designs
St Patrick’s Day is fast approaching and I wanted to create a nice new design to celebrate it.... more »