


Categories
- Popular Posts
- Recent Posts
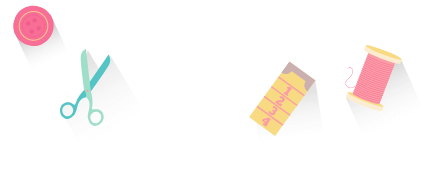
How to Create Your Own Embroidery Designs?
![]()
Looking to learn how to create your own embroidery designs? It is easy to create your embroidery designs with Hatch Embroidery Digitizer Even if you are a beginner, you can learn how to create your own embroidery designs relatively quickly and easily. What... more »
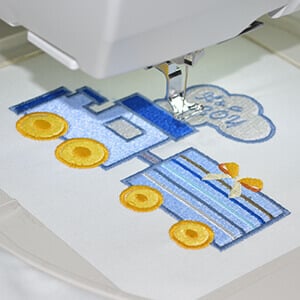
Top 10 Expert Tips for Successfully Embroidering on Towels
![]()
For best results with your next towel embroidery projectDiscover the joy of embroidering on towels with our "Top 10 Expert Tips for Successfully Embroidering on Towels". Whether you’re a novice or an experienced digitizer, these... more »
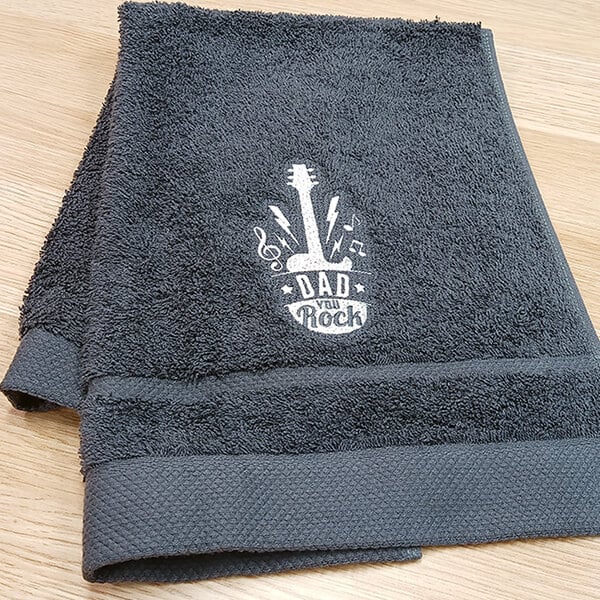
Machine Embroidery on Stuffed Animals
![]()
Firstly, it is important to know that you need a special kind of stuffed animal toy if you want to do machine embroidery on it, because you will need to remove the stuffing to hoop it. A simple internet search for “embroiderable stuffed animals”... more »
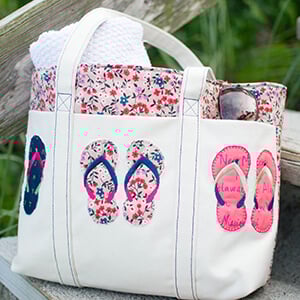
Summer Tote with Flip-Flops Appliqué – Instructions & FREE Design
![]()
Caroline Critchfield makes summer even more fun with this gorgeous bag Queen of craft Caroline Critchfield, is back as a guest blogger with a super cute tote bag design decorated with embroidered flip-flops, the ultimate symbol of summer. An absolute... more »
9 Ways to Get Help When Using Hatch Embroidery

![]()
There are many ways to find the information and help that you are looking for... There are two types of people when it comes to starting out with brand-new software. Some treat it as a new exciting adventure, throw themselves at it, and click around... more »
Linework Embroidery for Mother's Day

![]()
Creating line art portraits with Hatch Embroidery software is a rewarding way to transform cherished photographs into timeless embroidered keepsakes. Whether you're crafting a heartfelt Mother's Day gift or preserving a special memory, Hatch... more »
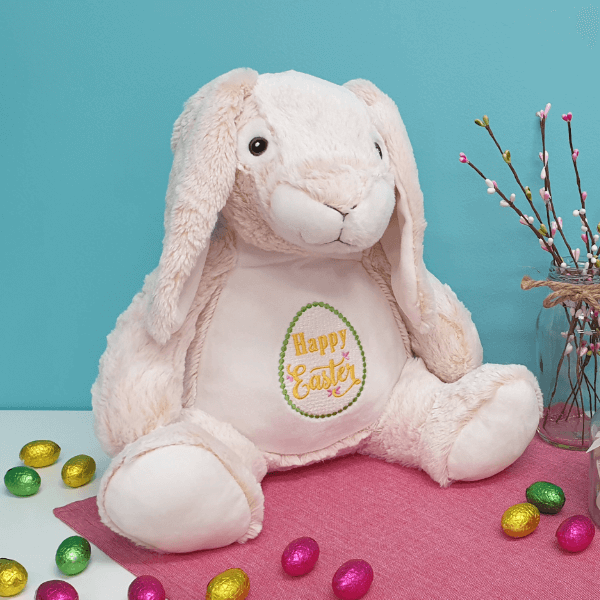
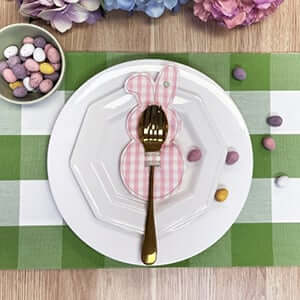
Easter Bunny Cutlery Holder with the Buttonholes Tool
![]()
If you're looking for a way to bring some charm to your Easter table setting, why not try an adorable, handmade project? In this blog post, we will guide you through a fun and creative Easter Bunny cutlery holder project, which we designed using... more »
Categories
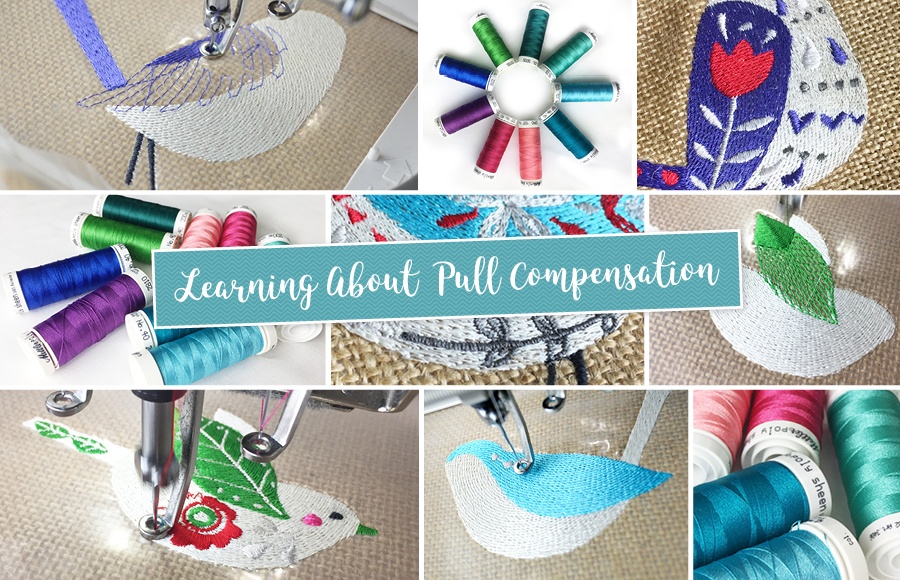
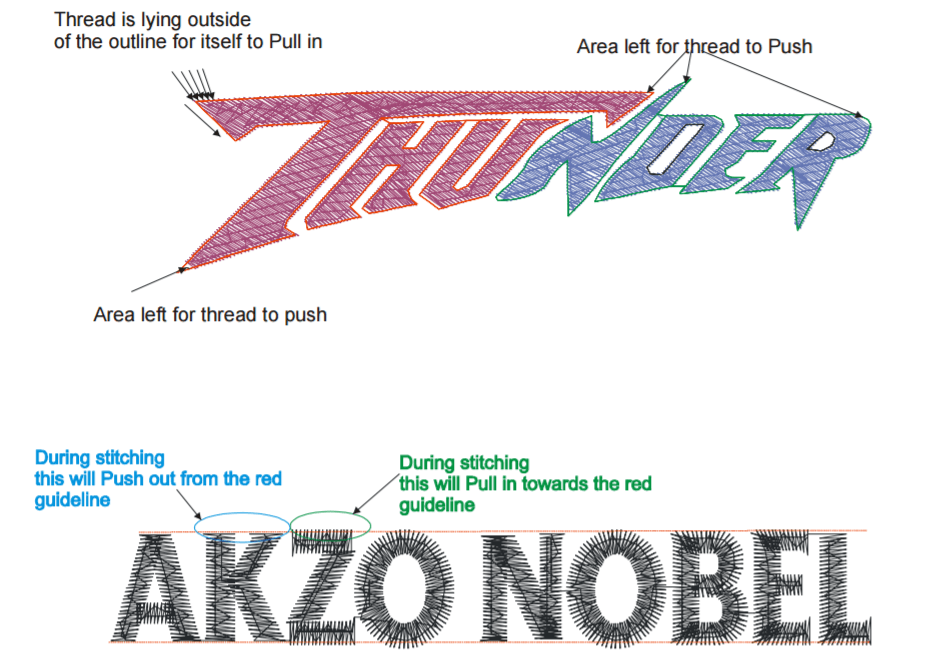
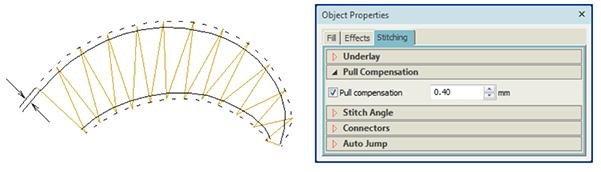
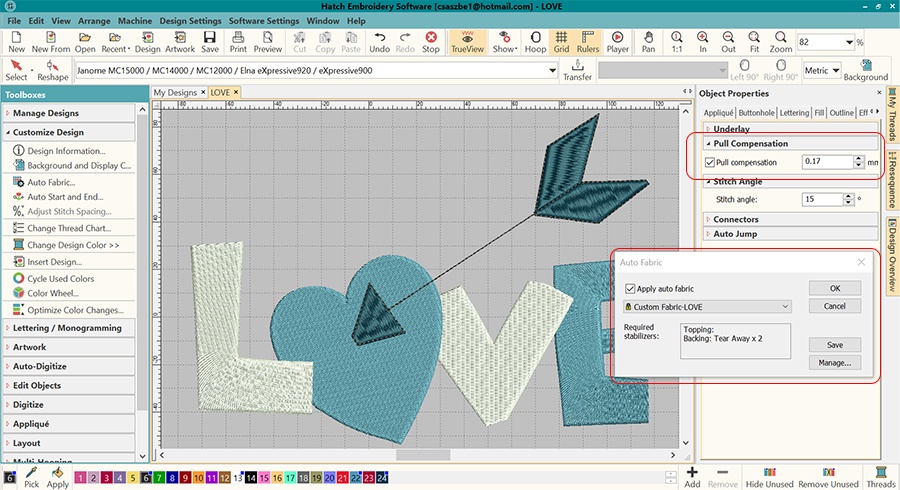
What You Need to Know About Pull Compensation
![]()
Hatch Embroidery software products are in popular use in over 100 countries. It is time to join the global trend and give Hatch a try! The 30-day Free Trial grants you unlimited use of all the amazing features and the 30-day Money Back Guarantee ensures that there is absolutely no risk involved.
 |
 |
 |
Related Articles
Summer Tote with Flip-Flops Appliqué – Instructions & FREE Design
Caroline Critchfield makes summer even more fun with this gorgeous bag Queen of craft Caroline Critchfield,... more »
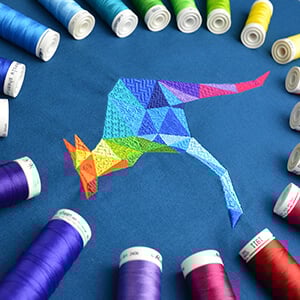
Avoid the JUMP! Kangaroo Free Design
Read how to reduce the number of jump stitches or eliminate them altogether! We all know how annoying it... more »
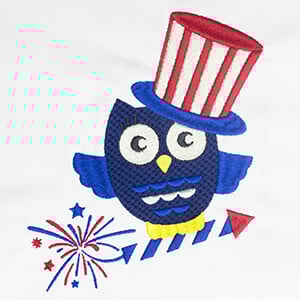
4th of July Patriotic Owl with Tutorial Videos & FREE Designs
Turn your owl design from scary to patriotic! In this week’s blog article we show you how to take... more »
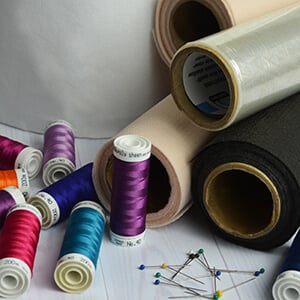
Taking the Headache out of Embroidery Stabilizers
The perfect guide to choosing the right stabilizer for your embroidery projects Taking the headache out... more »