
 Hatch Embroidery Digitizer
 Hatch Embroidery Composer
 Hatch Embroidery Personalizer
 Hatch Embroidery Organizer










Categories
Create Knockout Designs with Hatch Embroidery

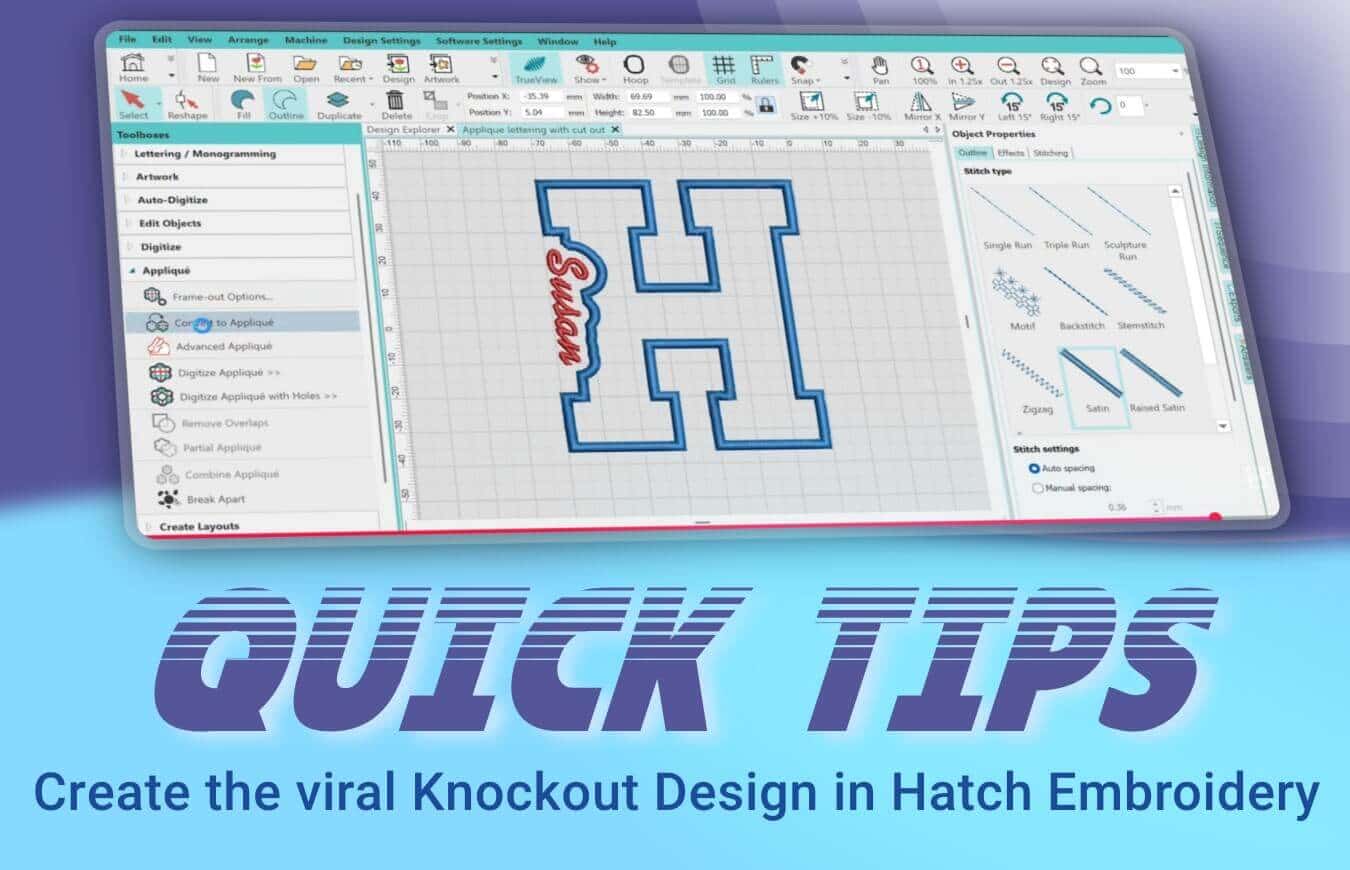
Table of Contents
Want to create embroidery designs where lettering and other elements fit together seamlessly? Knockout designs are great to add to your Hatch Embroidery toolkit.
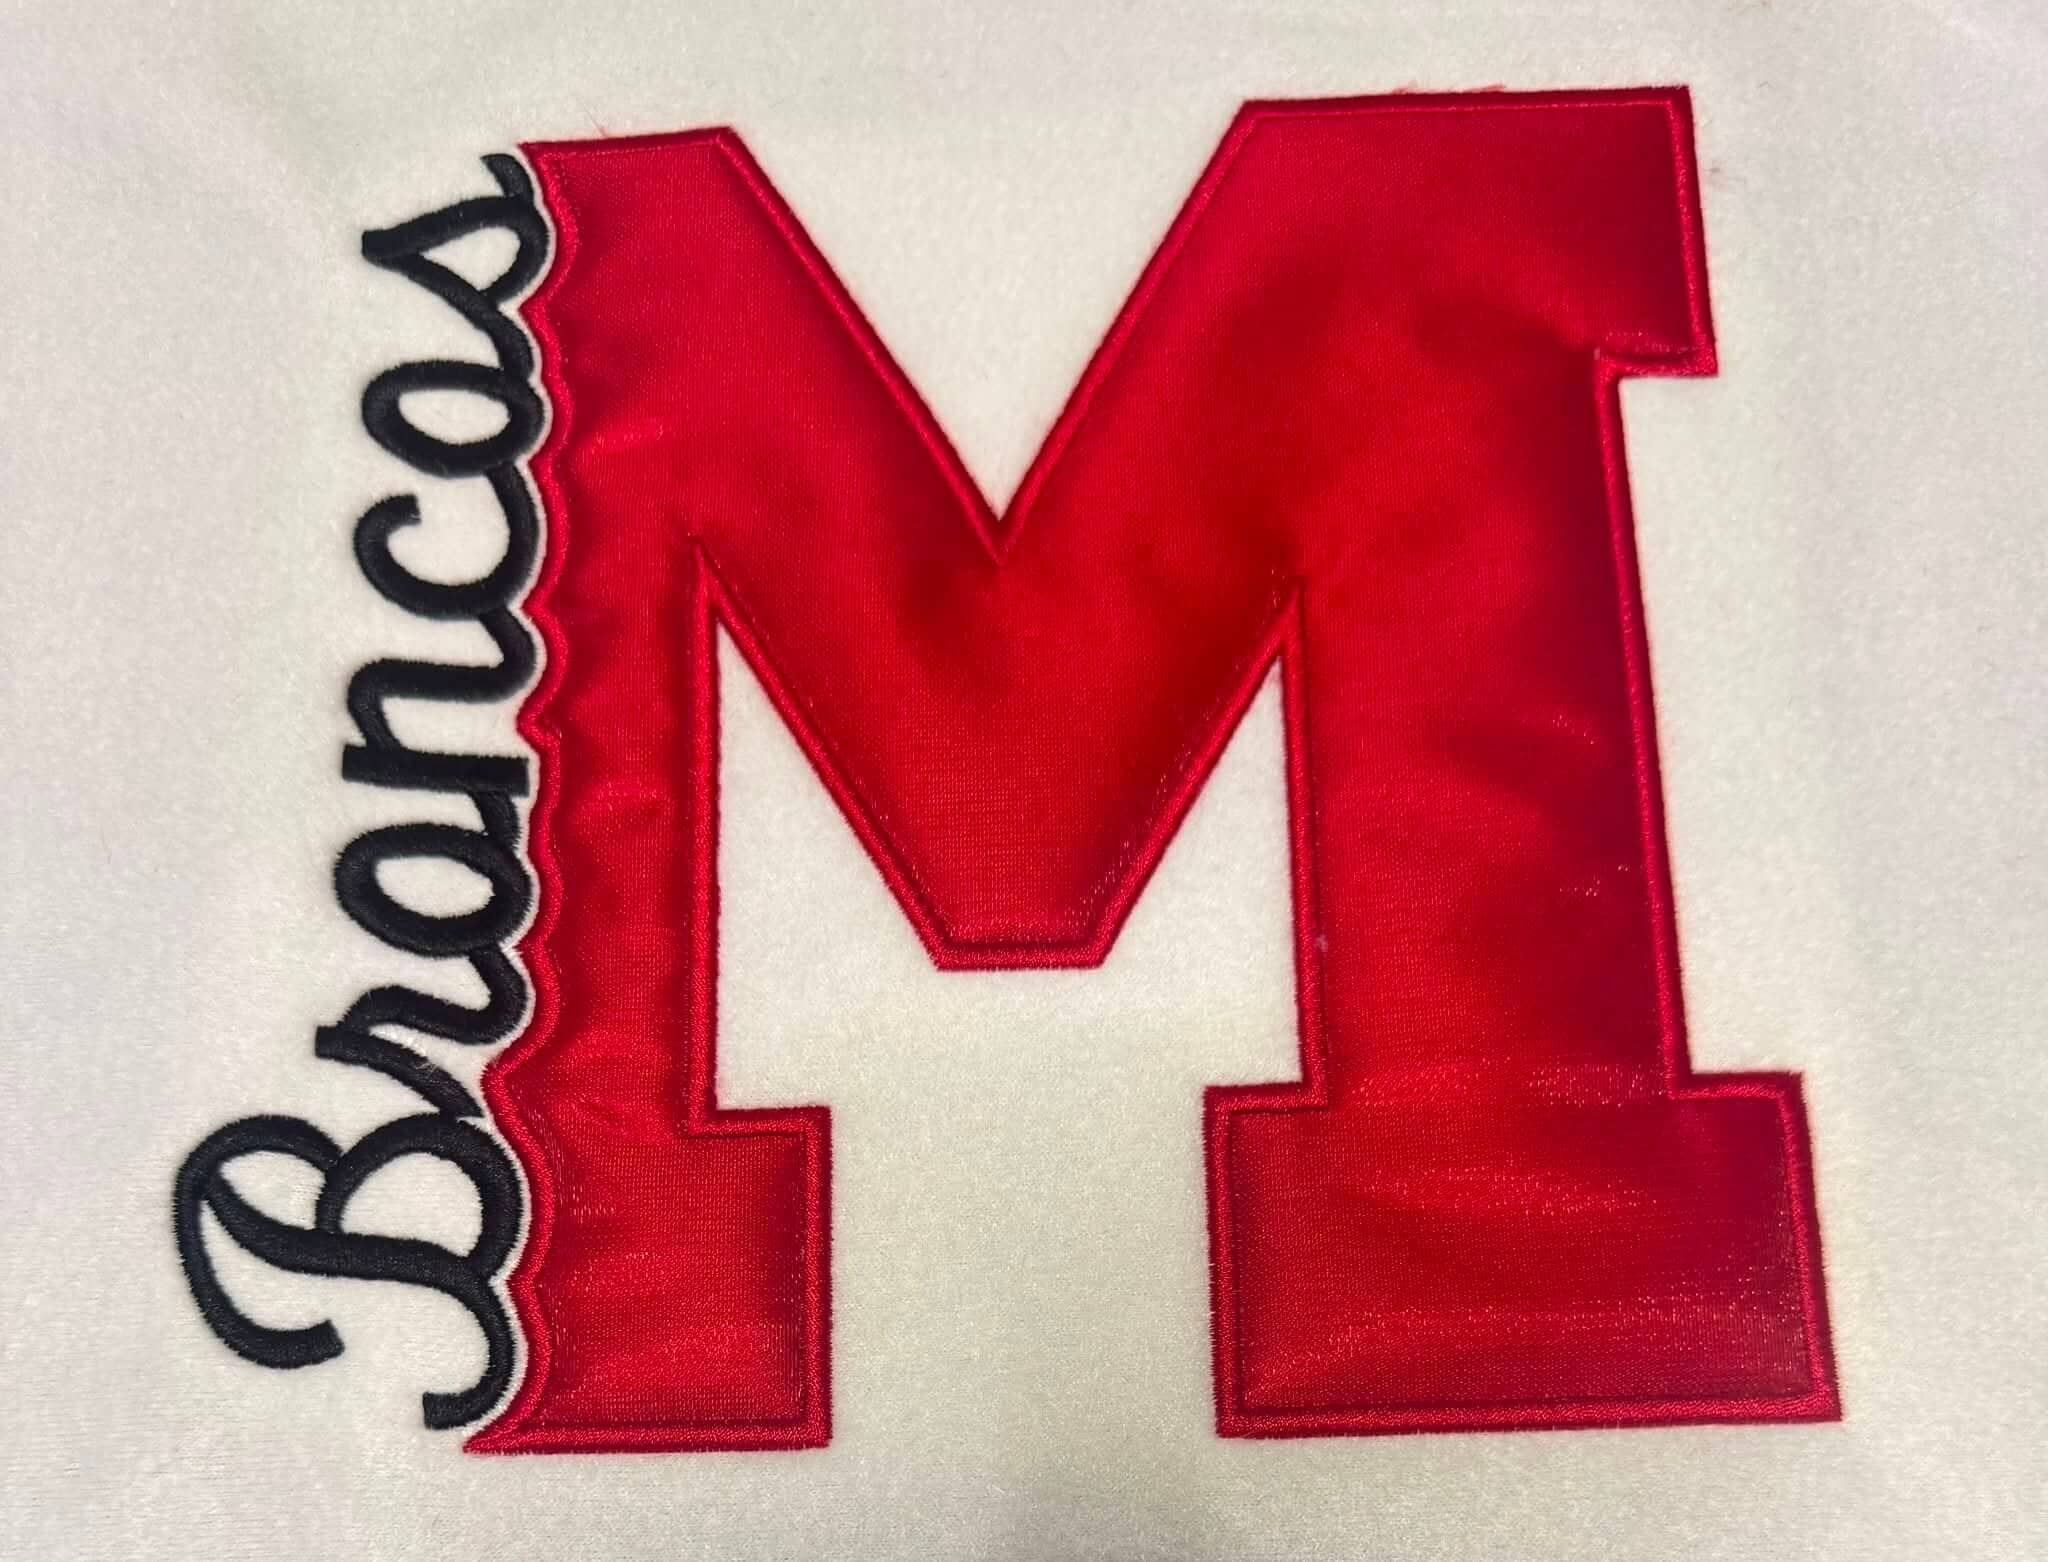
Knockout embroidery allows you to remove or reshape part of an existing design to make room for another element. This can be particularly useful when combining large lettering with decorative shapes, monograms, logos, or other embroidery objects.
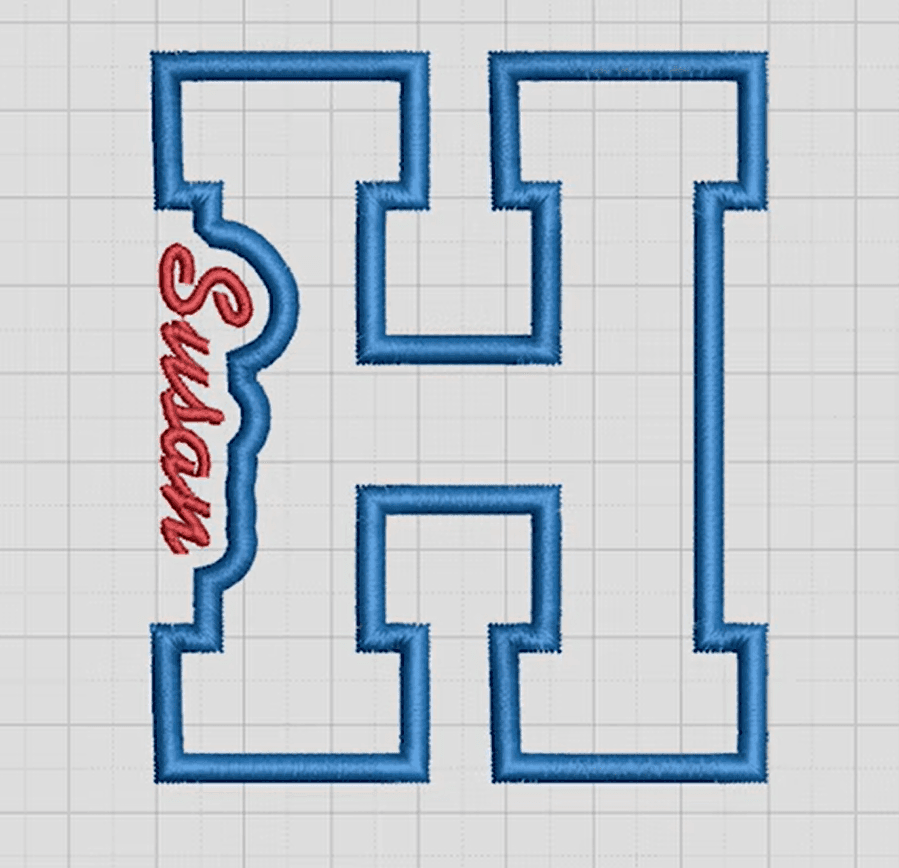
In our latest tutorial, we use this technique to create a clever knockout effect in a large letter H, making space for the word "Susan" to sit neatly alongside it.
What Is a Knockout Embroidery Design?
Knockout designs are created by removing stitches from one embroidery object where another object needs to sit.
Rather than simply placing one element on top of another, the underlying design is edited to create space for the new element. This can reduce unnecessary stitch overlap and, more importantly, allow different parts of your design to work together visually.
In our example, the large blue H is initially a solid outline shape. We want to add the word "Susan" vertically along the left side of the H. Rather than allowing the lettering to sit directly over the existing shape, we create a dent or cut-out in the side of the H.
This creates a dedicated space for the lettering while keeping the overall design balanced and easy to stitch.
Why Use a Knockout Technique?
There are several reasons why knockout designs are useful when creating embroidery.
Create Space for Lettering
One of the most useful applications is creating a custom space for lettering. Instead of squeezing text into an existing design or having it overlap awkwardly, you can modify the surrounding shape to accommodate it.
This is exactly what happens in our H example. The side of the letter is shaped around the placement of "Susan", creating a much more integrated design.
Reduce Stitch Overlap
When embroidery objects overlap, you can end up with unnecessary stitches underneath the top element. A knockout removes those hidden areas, helping to reduce excess stitch density and bulk.
Improve the Finished Result
A knockout can make the relationship between different design elements much clearer. Rather than looking like separate objects placed on top of one another, the elements can appear to have been designed specifically to work together.
Create More Custom Designs
Knockout techniques are particularly useful when you're personalizing designs. You can adapt existing shapes to accommodate names, initials, monograms, or other elements without having to completely redesign the original artwork.
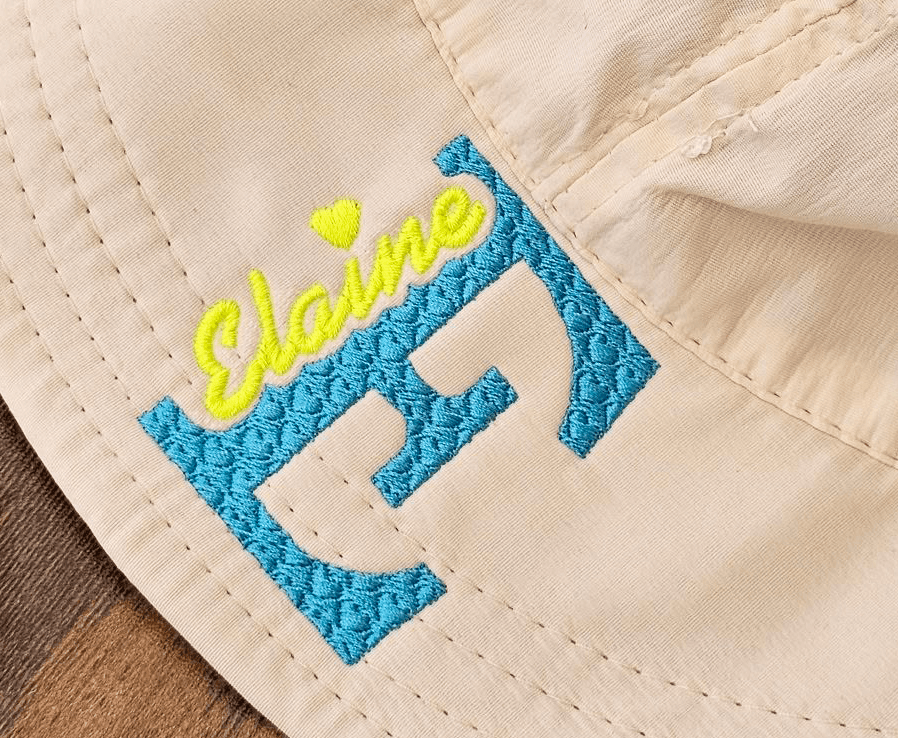 Image: Elaine Rogers
Creating the Knockout Effect in Hatch Embroidery
Hatch Embroidery gives you the editing tools you need to modify embroidery objects and create knockout designs.
In our tutorial, we start with the large H shape and add the lettering alongside it. The side of the H is then adjusted to create a notch or dent that follows the placement of the lettering.
This means the lettering has its own space within the overall design, while the H retains its recognizable shape.
The result is a design where the lettering and the H feel like they belong together, rather than the lettering simply being placed over the top.
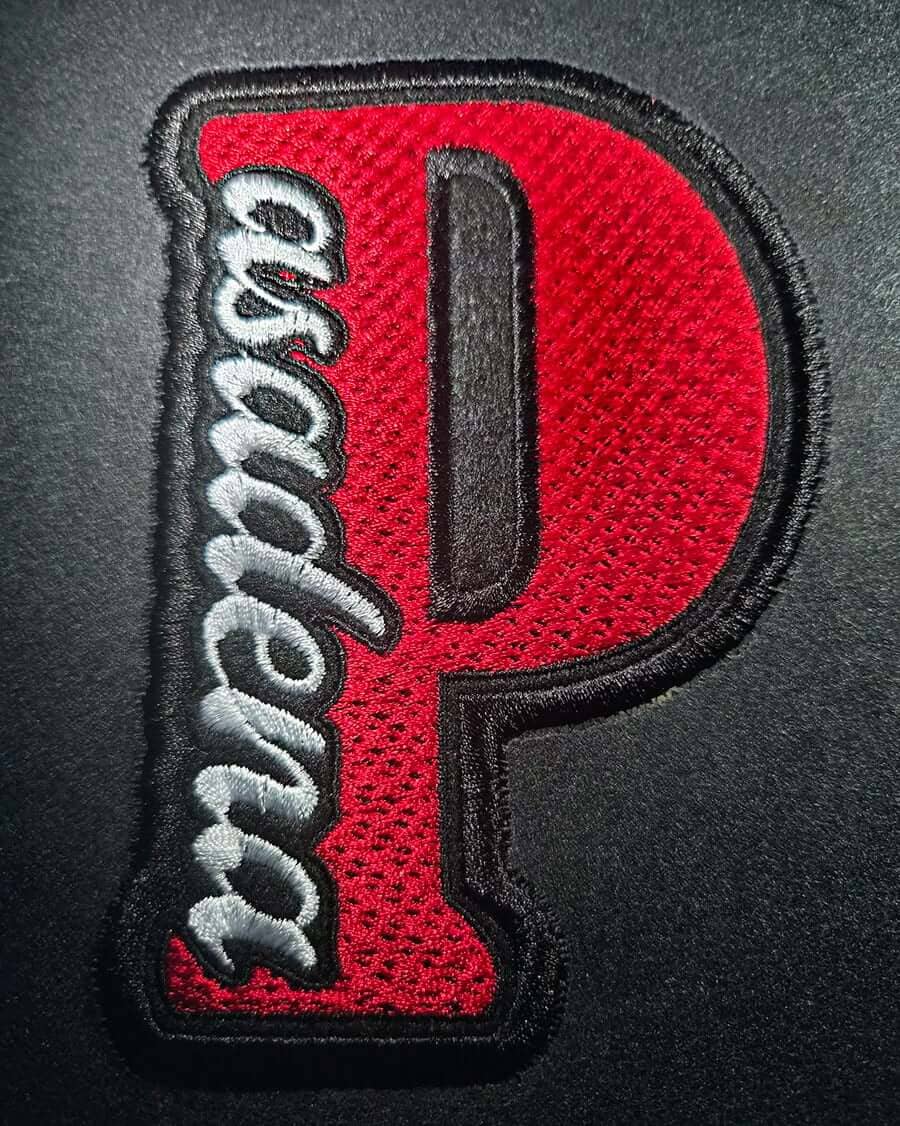 Image: Wes Gates
Watch the Knockout Designs Tutorial
The easiest way to understand this technique is to see it in action.
We've created a short tutorial showing how to create the knockout effect step by step in Hatch Embroidery. You'll see how the H is modified to create space for the lettering and how the different elements come together to form the finished design.
Watch the tutorial:
It's a quick tutorial, so you can follow along in Hatch Embroidery. Follow these steps to recreate the knockout design demonstrated in the tutorial:
- Open Hatch Embroidery and go to Lettering.
- Type “H” for Hatch.
- Choose the College font.
- Set the H to 80 mm high. You can use any size depending on your project.
- With the H selected, go to Create Layouts - Create Outlines and Offsets.
- Turn Offsets off and make sure Outline is turned on.
- Change the outline color if needed so it is easier to see.
- Delete the original H, leaving the outline.
- Select the outline and change it to a Fill Stitch.
- Return to Lettering and type your name. In the tutorial, the name is “Susan.”
- Choose a script-style font for the name.
- Rotate the lettering -90° so it is oriented vertically.
- Move the name into position alongside the H, allowing the S to overlap the H slightly.
- With the name selected, go to Create Layouts, Outlines & Offsets.
- Turn Outline off and Offset on.
- Set the Offset to 5 mm.
- Change the offset color if needed to make it easier to see.
- Cut the word “Susan” out and change the resulting shape to a Fill Stitch.
- Go to Edit Objects and select Remove Overlaps.
- Once the overlaps have been removed, delete the offset shape.
- Paste “Susan” back into position.
- Select the H and change it to an Outline.
- Select a Satin Stitch for the outline.
- Go to Appliqué and select Convert to Appliqué.
- Your knockout design is complete!
The result: the H has a custom-shaped “dent” where the lettering sits, creating a clean space for the name rather than simply stitching the lettering over the H. This gives the finished design a more integrated and professional look.
Try the Technique on Your Own Knockout Designs
Once you understand the concept, there are plenty of ways to experiment with knockout designs.
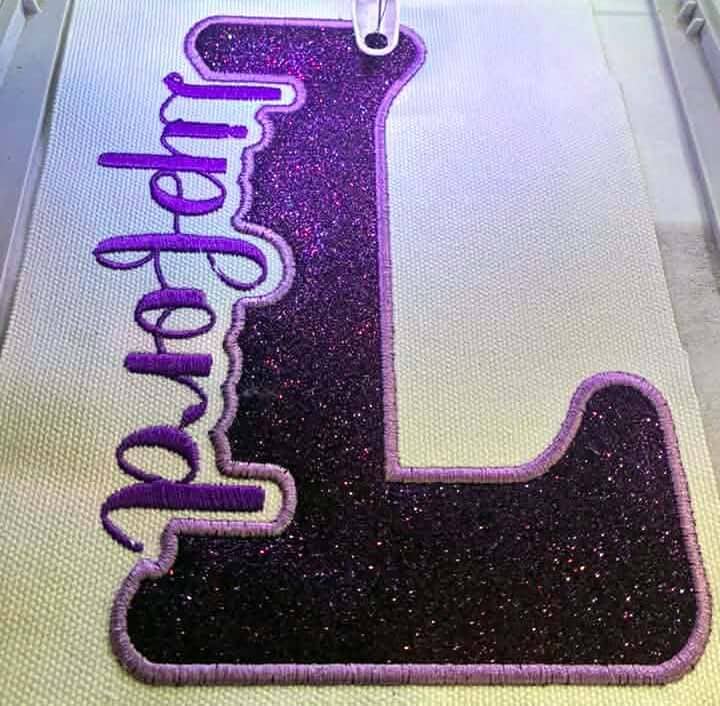
Try creating a space for a name within a large initial, modifying a decorative shape to accommodate a monogram, or creating a custom area for lettering within a logo.
The key is to think beyond simply placing one object on top of another. With a knockout technique, you can reshape the surrounding embroidery to make room for the element you want to add.
It's a simple approach, but it can open up lots of creative possibilities for personalized embroidery.
FAQs
What is a knockout embroidery design
A knockout embroidery design removes or reshapes part of an existing embroidery object to create space for another element, such as lettering. This helps the elements work together as a single, integrated design.
What can I use the knockout technique for?
Knockout designs are particularly useful for adding names, monograms, initials or other lettering to existing shapes. You can also use the technique when combining decorative elements or creating custom logos.
Can I create a knockout design in Hatch Embroidery?
Yes. Hatch Embroidery includes editing and layout tools that allow you to create outlines and offsets, remove overlaps, and modify objects to create a knockout effect.
Does a knockout design reduce stitch overlap?
Yes. Removing the underlying stitches where another element will sit can help reduce unnecessary stitch overlap, stitch density and bulk.
Can I create a knockout effect around lettering?
Absolutely. In the tutorial, the side of a large H is reshaped to create a space for script lettering. This creates a distinctive “dent” in the H so the name sits neatly alongside it.
Is the knockout technique difficult to learn?
Once you understand the process, it's a straightforward technique to add to your Hatch Embroidery workflow. Our short tutorial walks through each step so you can follow along and create your own design.
⭐⭐⭐⭐⭐
The definitive choice when selecting embroidery software for your home embroidery business.
Hatch Embroidery software is a comprehensive embroidery design solution that offers a range of tools and features for both beginners and seasoned embroiderers.
Here’s why it's a great choice for your business:
- User-Friendly Interface: The software is designed with a user-friendly interface that makes it easy for anyone to start creating beautiful embroidery designs, regardless of their experience level.
- Powerful Editing Tools: It provides powerful editing tools that allow users to resize, edit, and adjust embroidery designs with precision. This is essential for businesses that need to customize designs according to specific customer requirements.
- Wide Range of Formats Supported: Hatch Embroidery supports a wide range of machine file formats, making it versatile for use with different embroidery machines. This flexibility is crucial for businesses operating with multiple machine types.
- Professional Quality: The software generates professional-quality stitches, ensuring that the end products are of high quality, which is vital for maintaining customer satisfaction and business reputation.
- Extensive Design Features: With features like auto-digitizing, lettering, monogramming, and even special effects, businesses can offer a wide range of embroidery services, increasing their market appeal and potential revenue streams.
- Regular Updates and Support: Hatch provides regular software updates and robust customer support, ensuring that businesses can always access the latest features and get help when needed.
Overall, Hatch Embroidery software equips your business with the tools necessary to create stunning, high-quality embroidery designs efficiently and effectively, enhancing productivity and customer satisfaction, making it pivotal when selecting suppliers and supplies for your home embroidery business.
Hatch Embroidery software products are in popular use in over 120 countries. It is time to join the global trend and give Hatch a try! The 30-Day Free Trial grants you unlimited use of all the amazing features and the 30-Day Money-Back Guarantee ensures that there is absolutely no risk involved. In fact, choosing Hatch Embroidery software is one of the smartest things you can do when selecting suppliers and supplies for your home embroidery business.
Enjoy over 200 FREE lessons presented by our own embroidery experts at Hatch Academy. Grow your confidence and embroidery skills fast to start creating your own beautiful designs in no time!
 |  |  |  |
| Hatch Academy over 500 FREE lessons for software owners | 30-Day | Money-Back Guarantee ease of mind | Hatch FlexPay monthly installments |
Related Articles
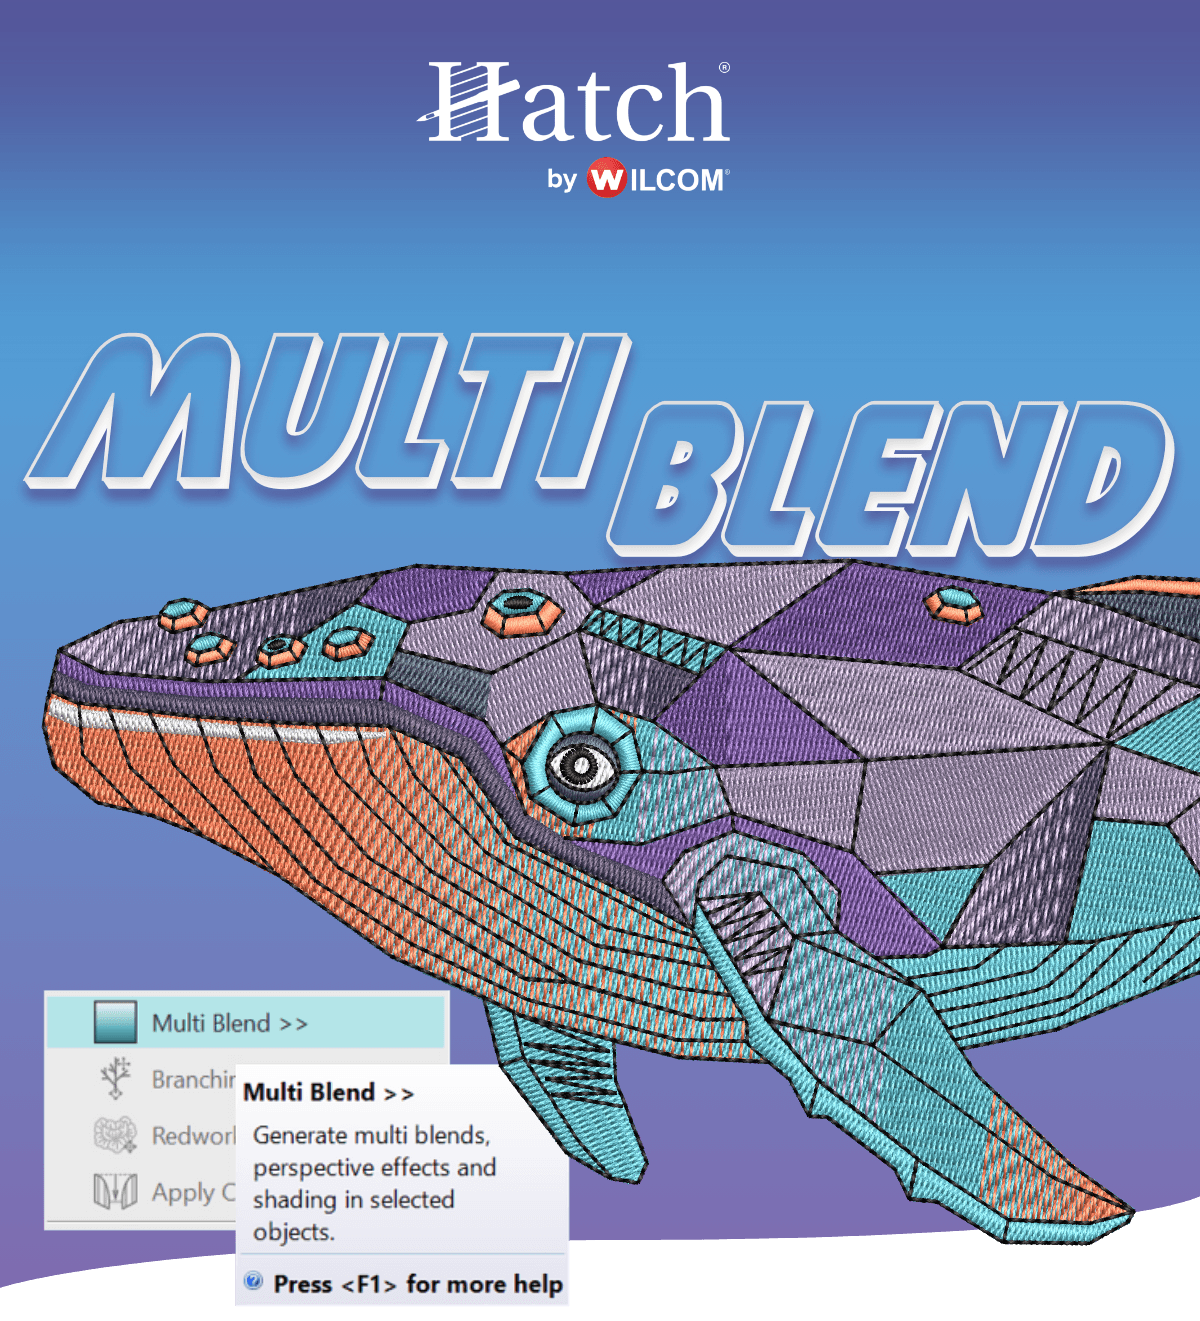
Multi Blend in Hatch Embroidery: Create Smooth Color Blends
The new Multi Blend tool in Hatch Embroidery 4 makes creating realistic embroidery with depth, shading,... more »
Keyboard Design Collections: Turn Alphabet Designs into Profitable Custom Lettering
In the booming world of custom embroidery, lettering is everything. Personalized products - whether... more »
Unlock Creative Lettering with Hatch Embroidery
Imagine a world where your embroidery projects are not just stitched but tell a story with every letter.... more »
Digitizing Animals with Hatch - Two Creative Ways to Bring Pets to Life
Digitizing animals in Hatch Embroidery Digitizer is one of the most rewarding ways to personalise your... more »