


Categories
Top 10 Expert Tips for Successfully Embroidering on Towels
![]()
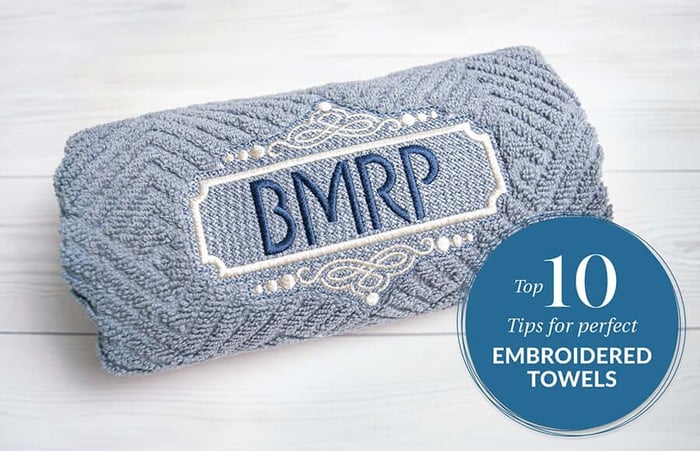
Table of Contents
- 1. Wash and dry your towel beforehand
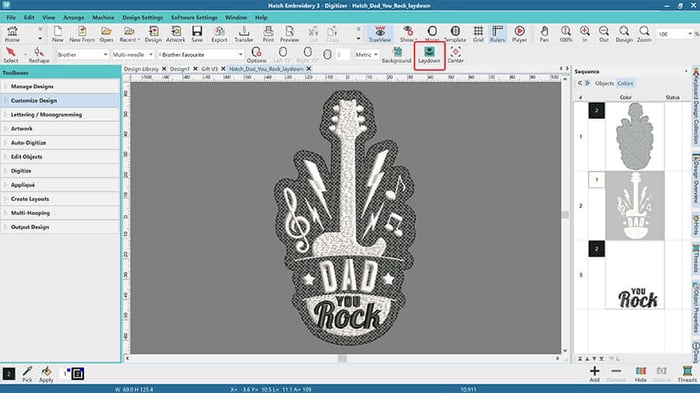
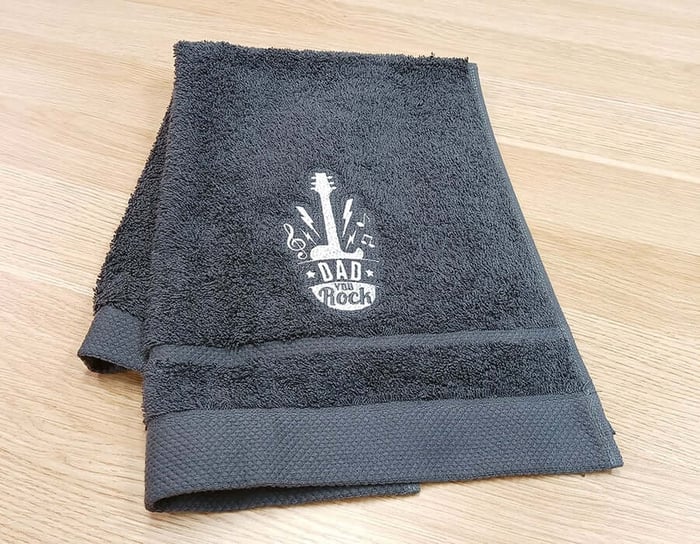
- 2. Use the Laydown Stitch tool
- 3. Play around with placement, and use what works for you!
- 4. Use an 11 or 14 sized needle
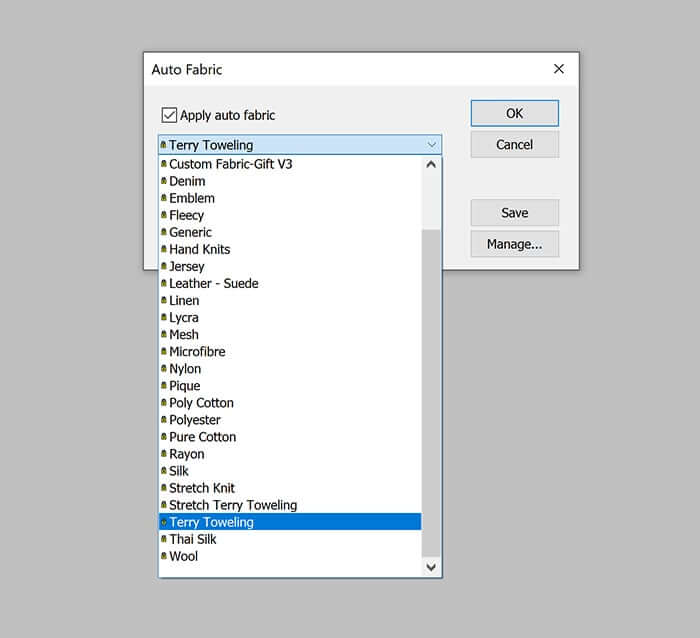
- 5. Use a tear-away stabilizer
- 6. But there are alternatives...
- 7. Use a water-soluble topping
- 8. 'Float' your towel
- 9. Use a spray-on adhesive
- 10. Use a design template
- FAQs
- ⭐⭐⭐⭐⭐
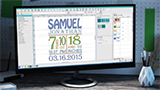
- The definitive choice when selecting embroidery software for your home embroidery business.
FAQs
What type of towel works best for embroidery?
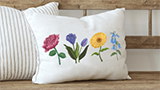
Terry cloth towels are the most popular choice due to their soft texture and durability. However, because of their high pile, it’s best to use designs with solid stitching so the details don’t get lost in the fabric.
Do I need to wash towels before embroidering?
Yes, washing and drying your towel beforehand is highly recommended. This removes any chemicals, shrinkage, or residues that could affect stitch quality and ensures a clean, stable surface for embroidery.
What stabilizer should I use for towel embroidery?
A tear-away stabilizer is commonly recommended for towels as it provides good support and a clean finish. If needed, cut-away stabilizer can also be used, especially for more complex or dense designs.
Why is a water-soluble topping important?
A water-soluble topping prevents stitches from sinking into the towel’s loops. It sits on top of the fabric during stitching and is easily removed afterward, helping your design stay crisp and visible.
What needle size should I use for embroidering towels?
Needle sizes 11 or 14 are a great starting point. A size 14 needle is sharper and better suited for thicker fabrics like towels, but you may need to adjust depending on your specific material and design.
What does it mean to “float” a towel in embroidery?
Floating means hooping only the stabilizer and placing the towel on top instead of hooping it directly. This technique is useful for thick towels and helps prevent hoop marks or fabric distortion during stitching.
 |  |  |  |
| Hatch Academy over 500 FREE lessons for software owners | 30-Day FREE Trial all the tools & features | Money-Back Guarantee ease of mind | FlexPay monthly installments |
Related Articles

New and Improved Hatch Academy
Recently, Hatch Academy received a major refresh to make navigating courses easier than ever. The revamped... more »

Avoid the JUMP! Kangaroo Free Design
We all know how annoying it can be having to clip all those jump stitches after we finish stitching a... more »
Crazy About Motifs – Video Tutorials & FREE Downloadables by Lindee Goodall
The first time I was aware of embroidery machines was at a computer swap meet at the Cincinnati Mac... more »
Taking the Guesswork out of Monogram Placement
If you look around, you will always find monograms somewhere. I was wondering how monograms came... more »